Create and publish a package using Visual Studio (.NET Framework, Windows)
Overview of NuGet Packages
A NuGet package is a single ZIP file with a .nupkg extension that contains compiled code (DLLs), related files, and a manifest that describes the package's contents. NuGet is the package manager for the .NET ecosystem, making it easier for developers to share, consume, and manage libraries.
In real-world applications, you might create a NuGet package for a library that handles image processing, data manipulation, or utility functions. By packaging your code, you can distribute it easily and ensure that it is versioned correctly, allowing other developers to integrate it into their projects seamlessly.
Prerequisites
Before you begin, ensure that you have the following:
- Visual Studio: Make sure you have Visual Studio installed on your Windows machine. The Community edition is sufficient for this task.
- NuGet CLI: You need the NuGet command-line interface (nuget.exe) to create and publish your package. Download it from NuGet Downloads.
- NuGet Account: Create a free account on nuget.org to publish your packages.
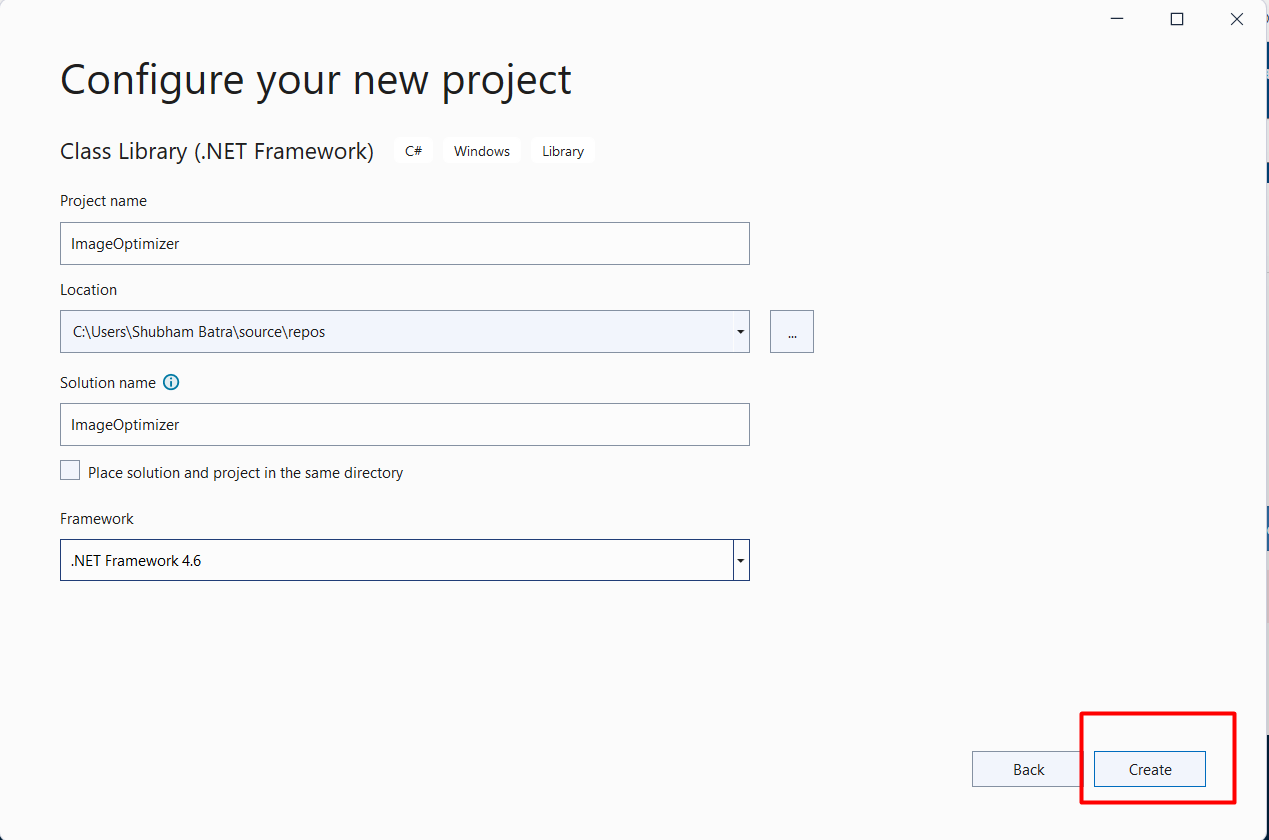
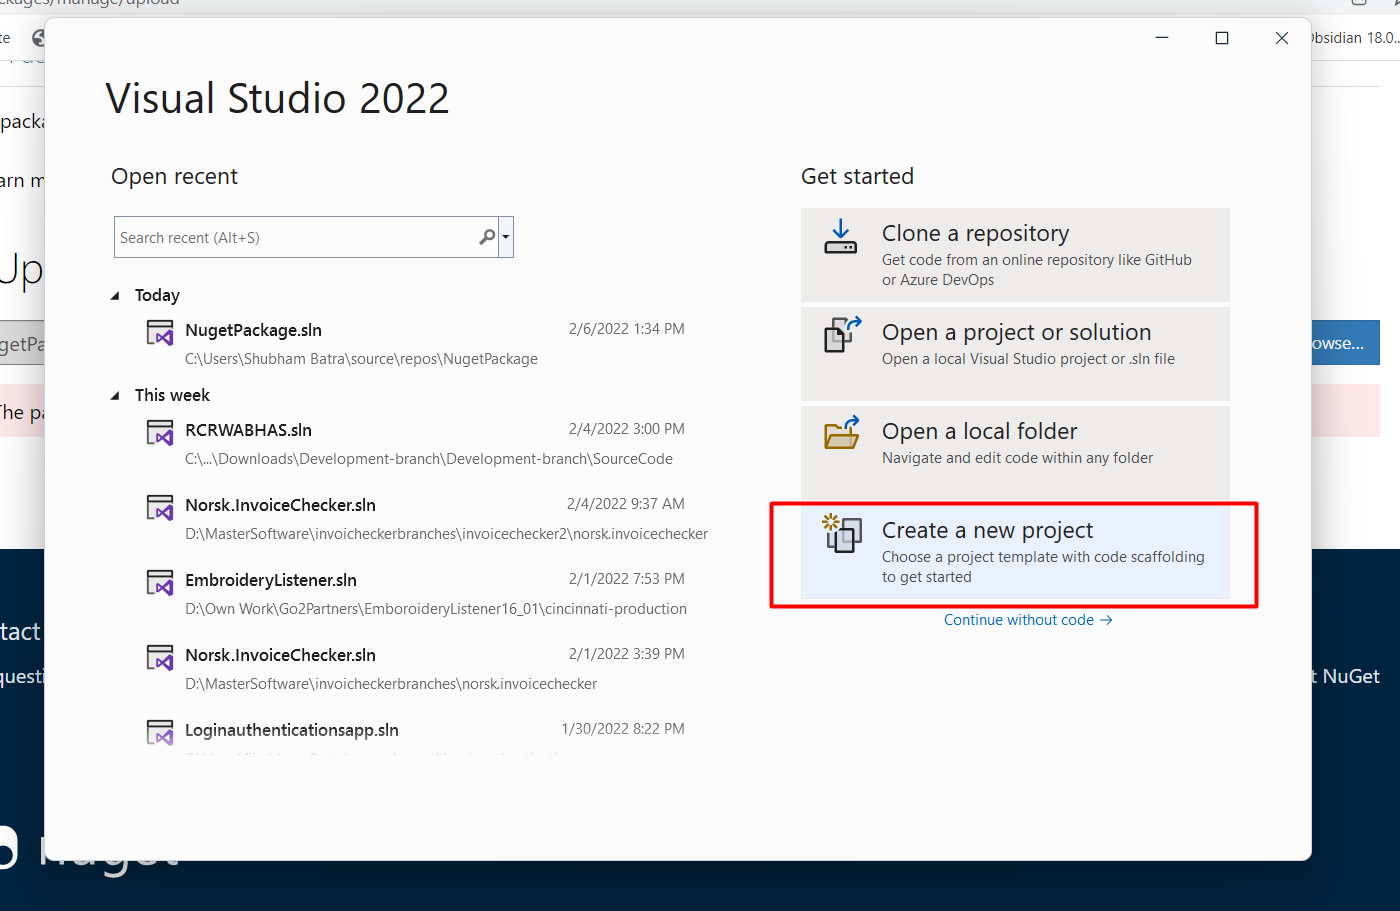
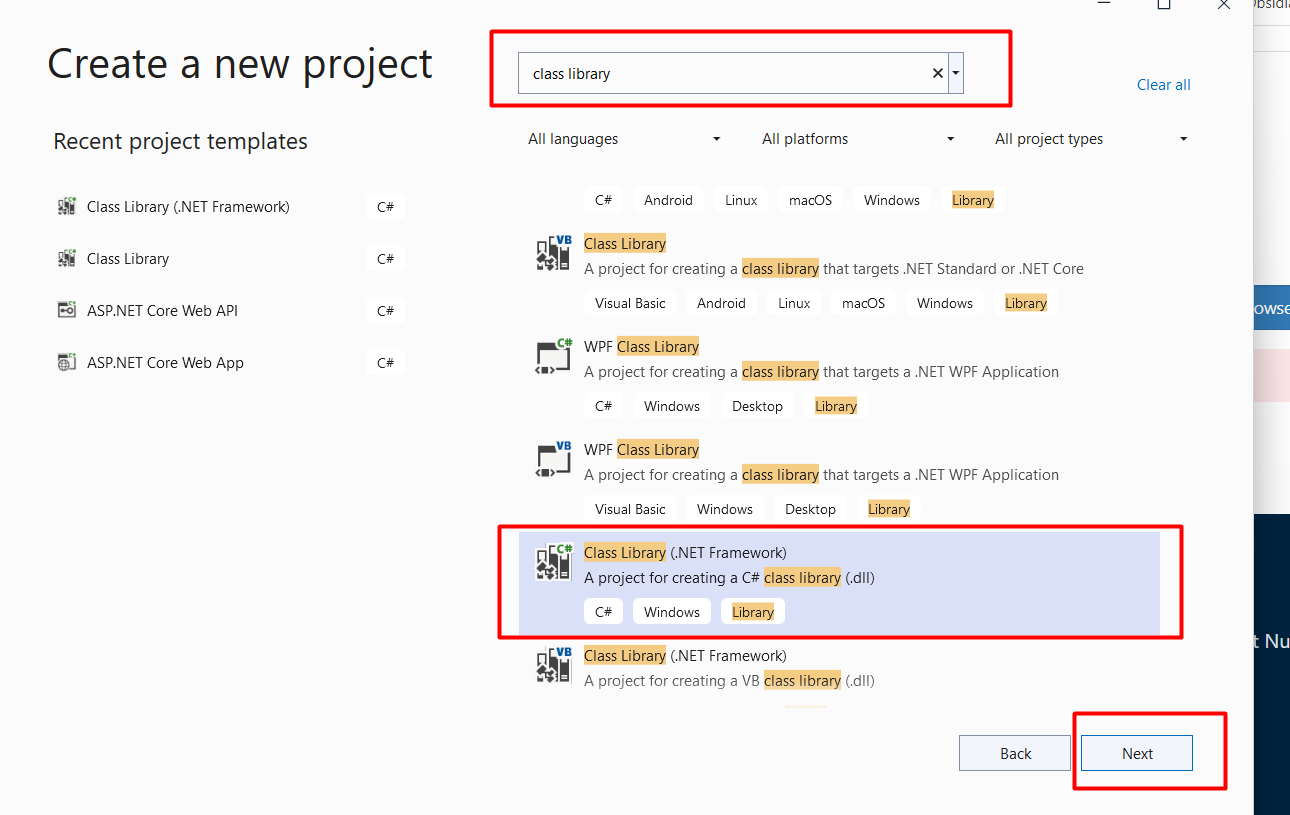
Step 1: Create a New Class Library Project
In Visual Studio, start by creating a new Class Library project:
- Open Visual Studio and select File > New > Project.
- Under the Visual C# node, select the Class Library (.NET Framework) template.
- Name your project (e.g., ImageOptimizer) and click OK.
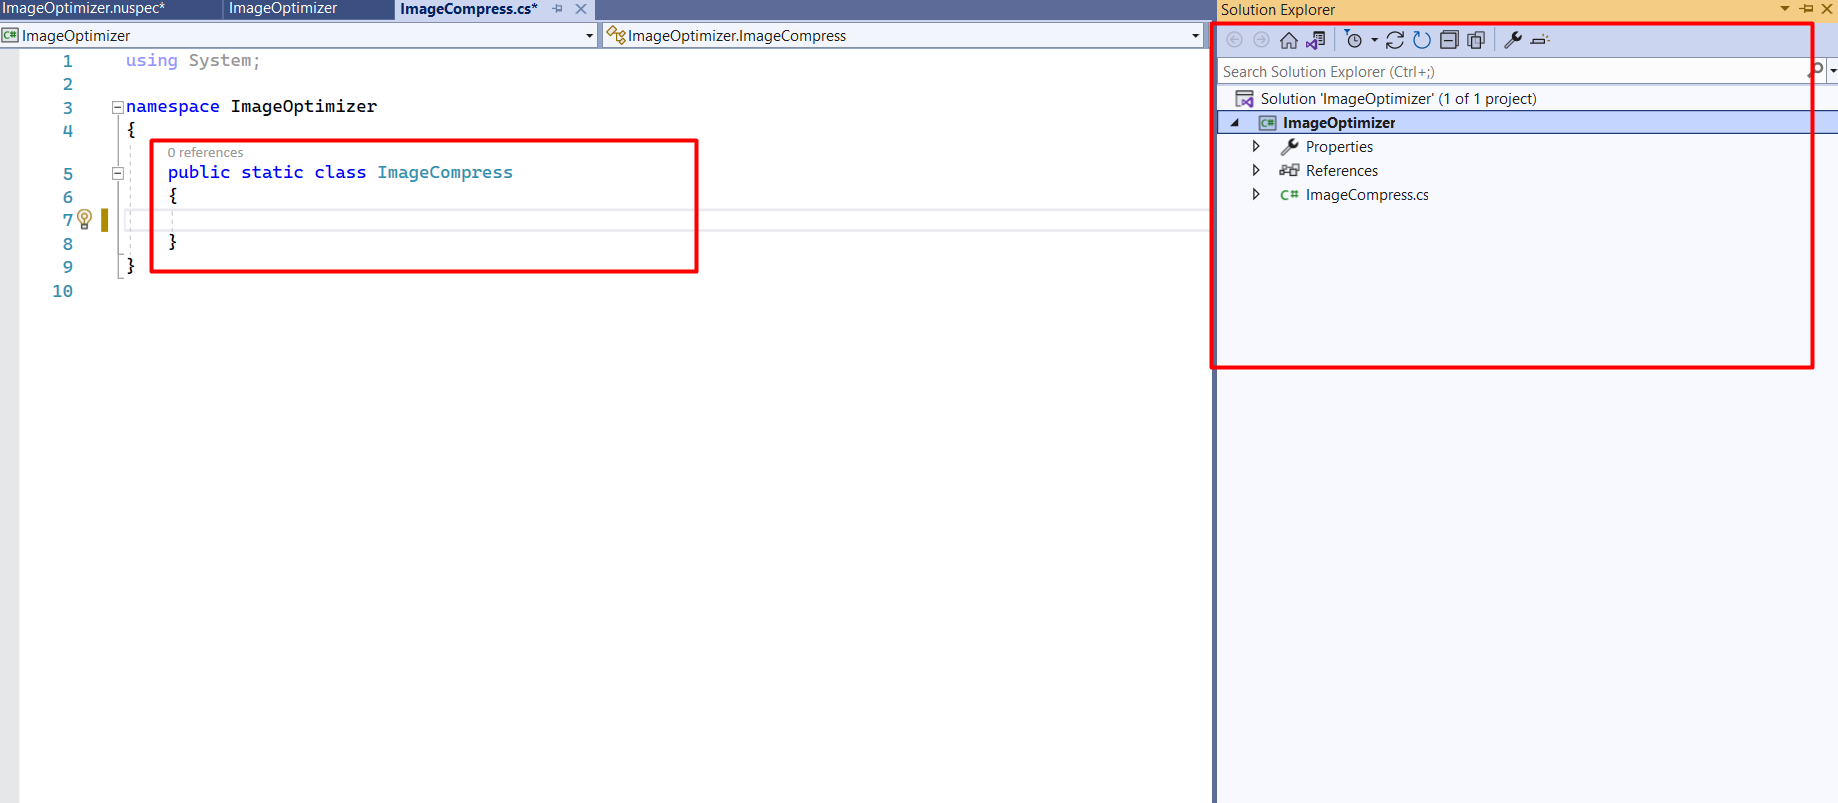
Your project will be created, and you will see a default class file named Class1.cs. You can rename this file to something more descriptive, like ImageOptimizer.cs.
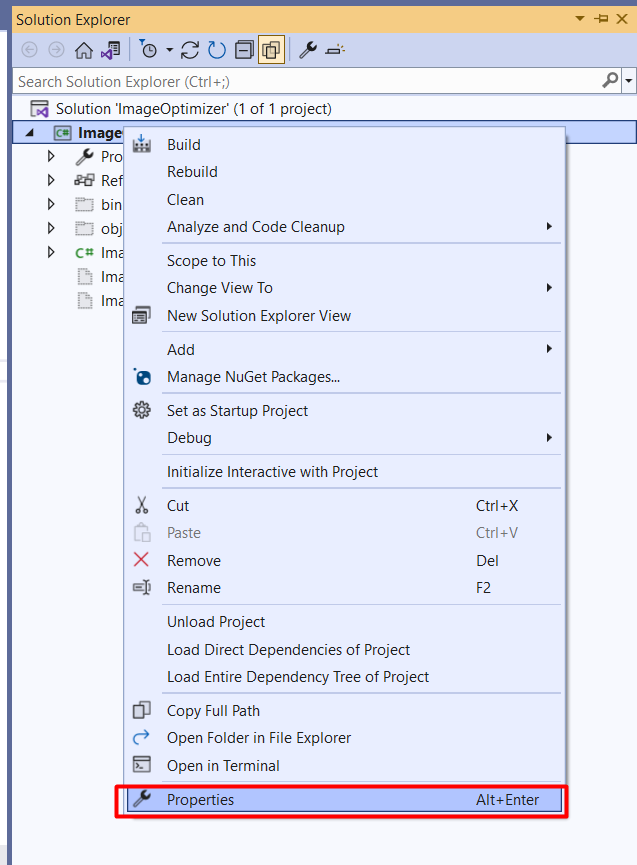
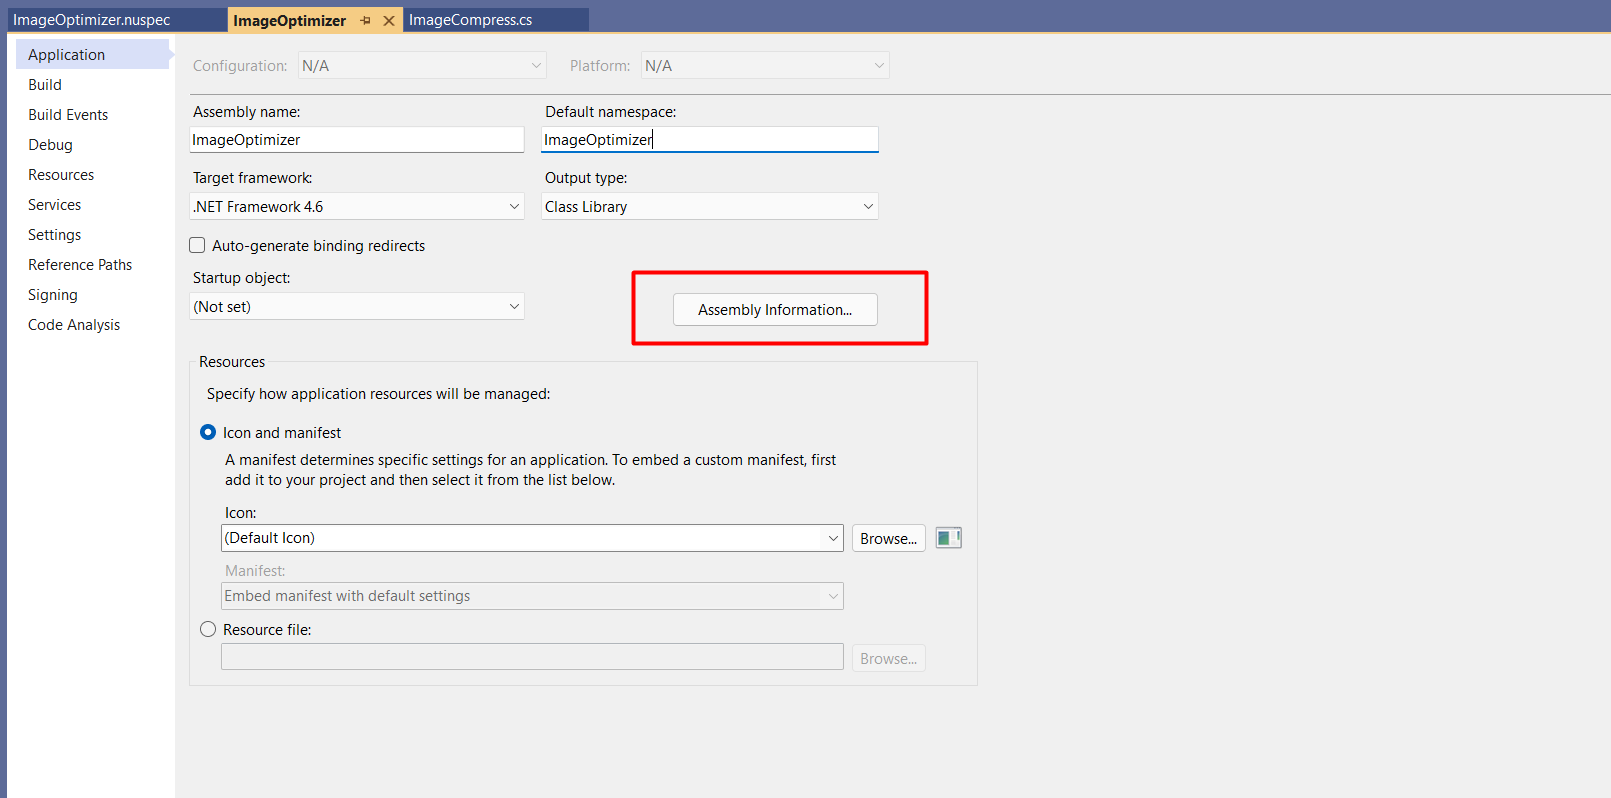
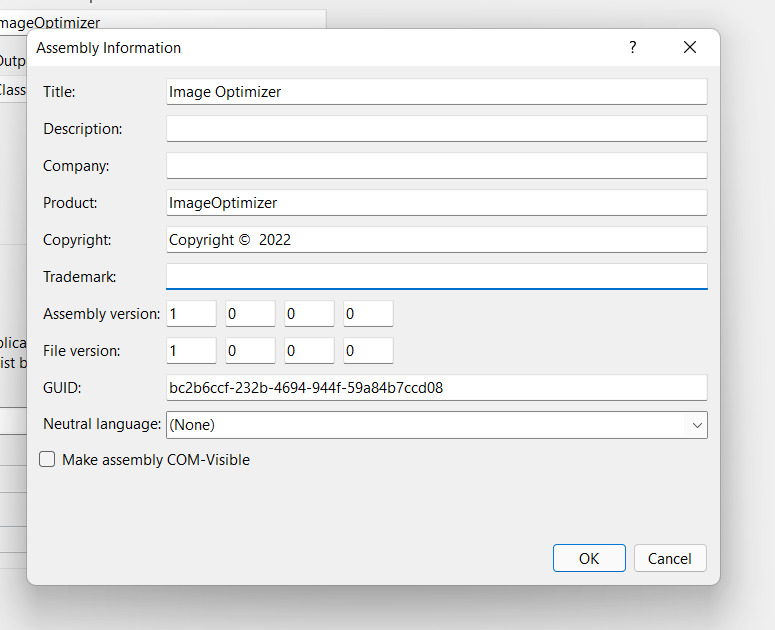
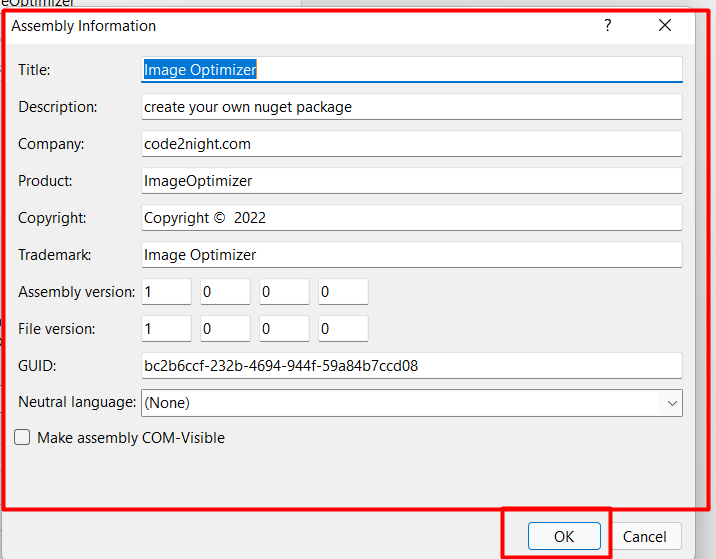
Step 2: Fill in the Assembly Info
Next, you need to provide metadata about your assembly. This information is stored in the AssemblyInfo.cs file located in the Properties folder of your project. Edit this file to include relevant details:
using System.Reflection;
using System.Runtime.InteropServices;

[assembly: AssemblyTitle("ImageOptimizer")]
[assembly: AssemblyDescription("A library for optimizing images.")]
[assembly: AssemblyConfiguration("")]
[assembly: AssemblyCompany("YourCompanyName")]
[assembly: AssemblyProduct("ImageOptimizer")]
[assembly: AssemblyCopyright("Copyright © YourCompanyName 2023")]
[assembly: ComVisible(false)]
[assembly: Guid("your-guid-here")] // Generate a GUID using Visual Studio or an online tool
[assembly: AssemblyVersion("1.0.0.0")]
[assembly: AssemblyFileVersion("1.0.0.0")]
Step 3: Create the nuspec File
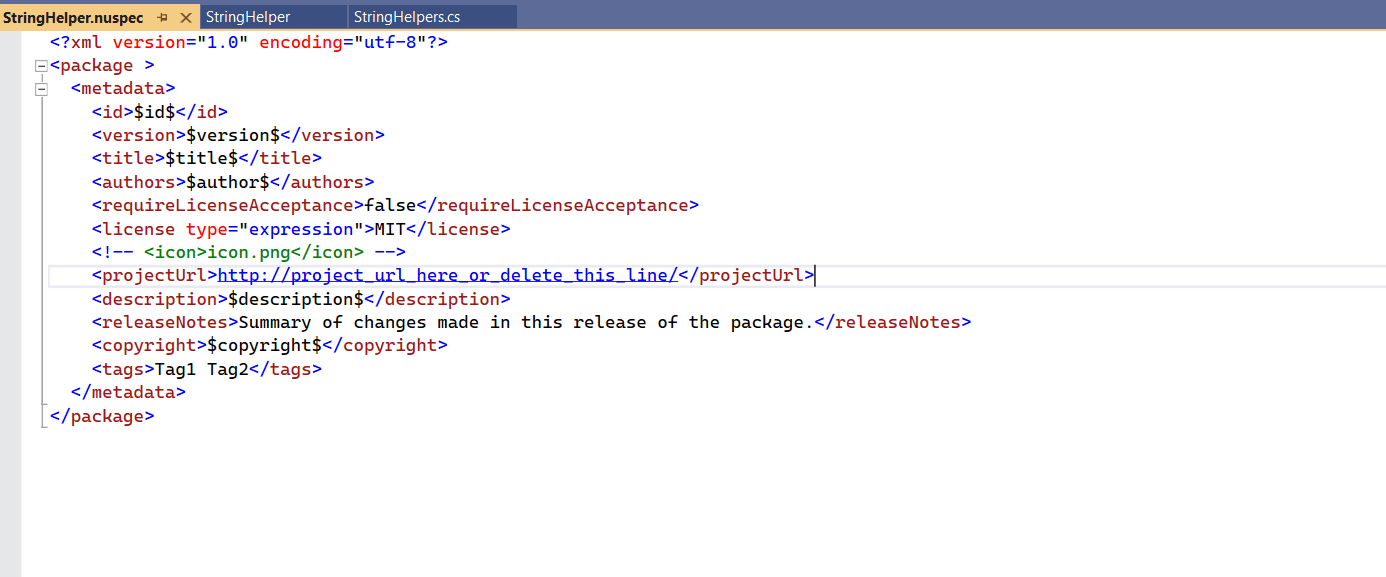
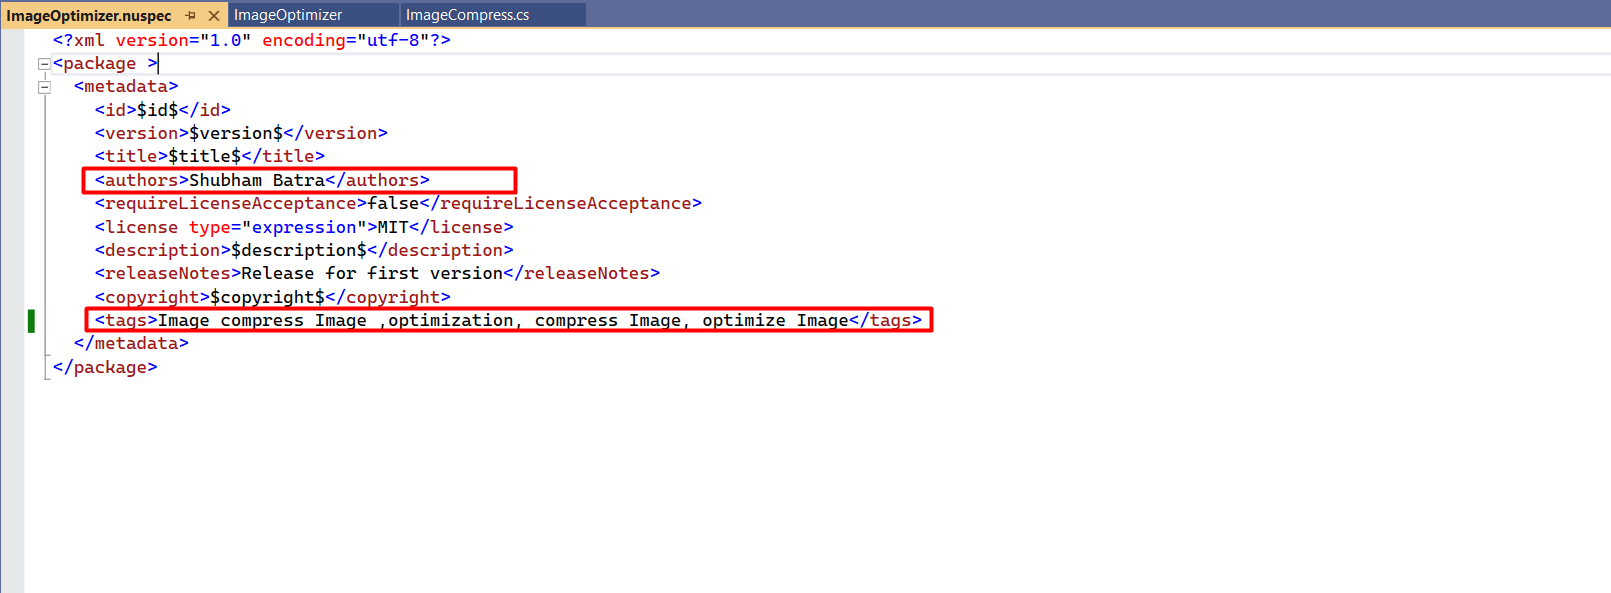
The nuspec file is an XML file that contains package metadata and is crucial for creating a NuGet package. You can generate this file using the command:
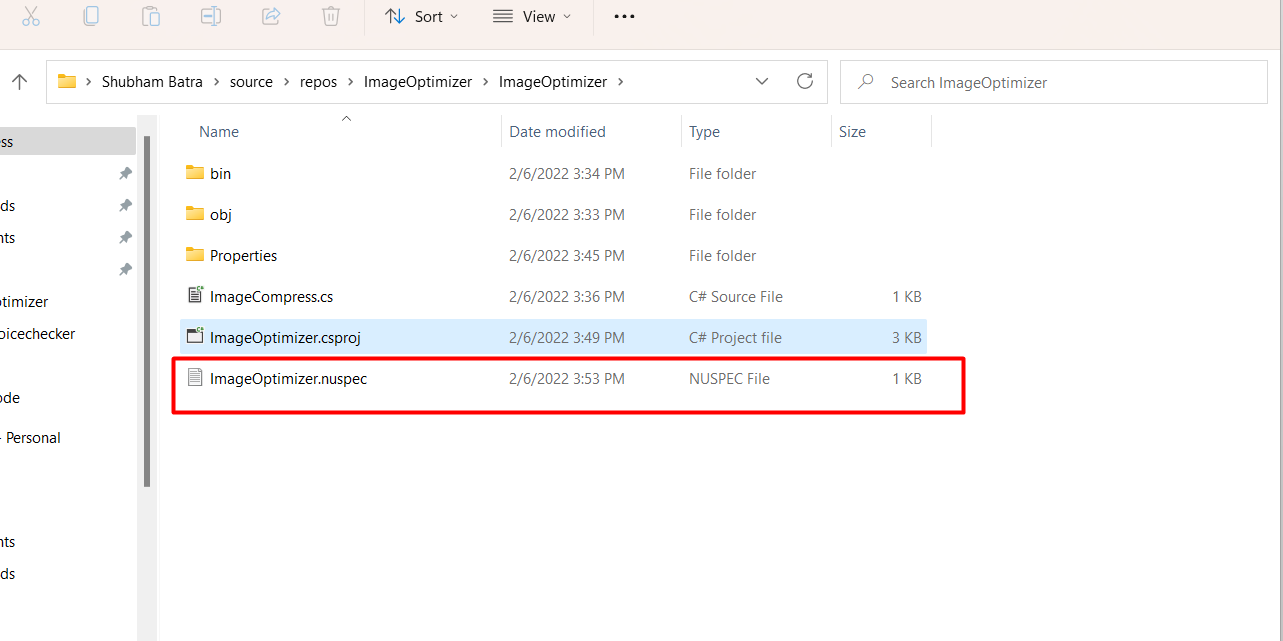
nuget spec ImageOptimizer.csprojThis command will create a ImageOptimizer.nuspec file in your project directory. Open this file and edit it to include necessary details such as authors, owners, license, and dependencies:
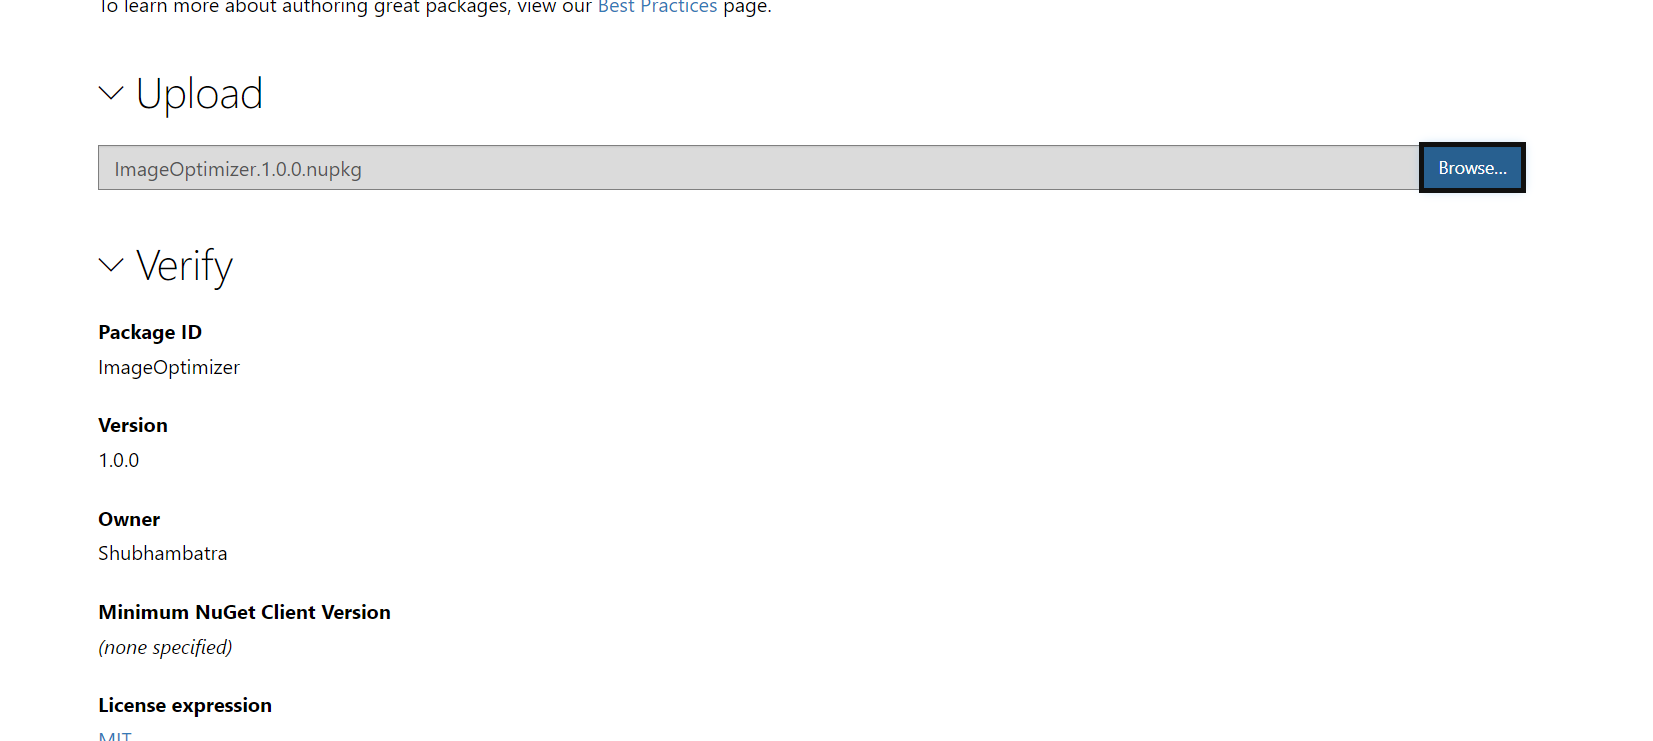
    ImageOptimizer
    1.0.0
    YourName
    YourCompanyName
    false
    A library for optimizing images.
    image optimization
Step 4: Edit Licensing Info in nuspec XML File
Licensing is an important aspect of any software package. In the nuspec file, you can specify the license information. Ensure you include a link to your license or specify the type of license:
https://opensource.org/licenses/MIT Step 5: Create the nupkg File
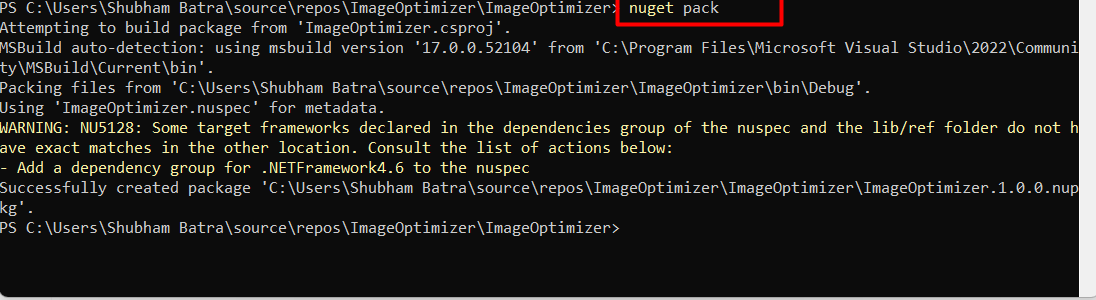
Once you have your assembly and nuspec file ready, you can create the NuGet package using the following command:
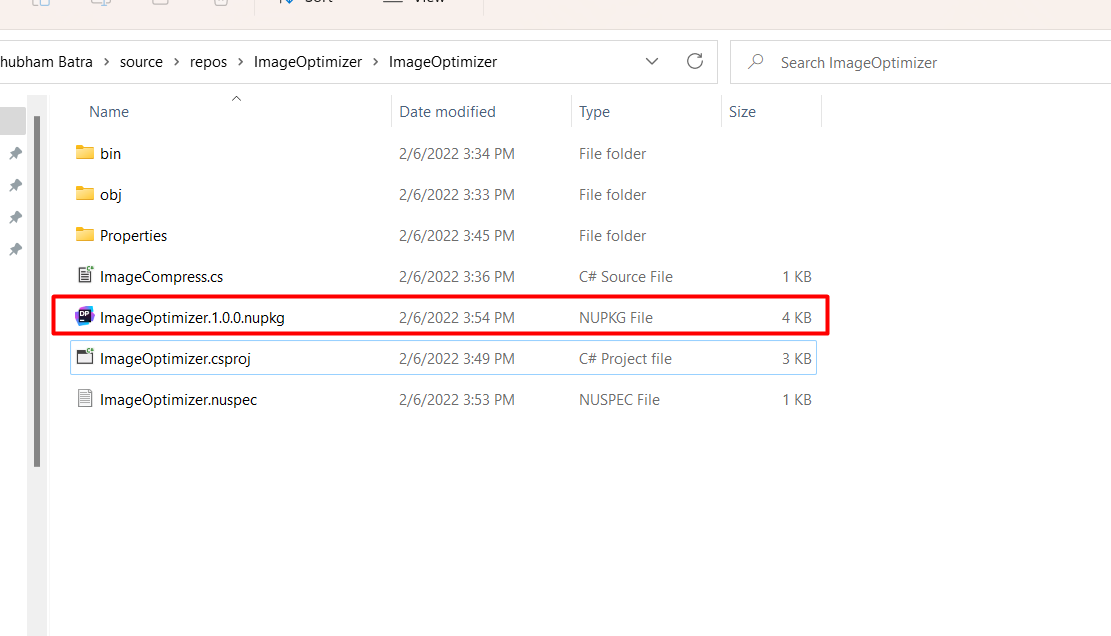
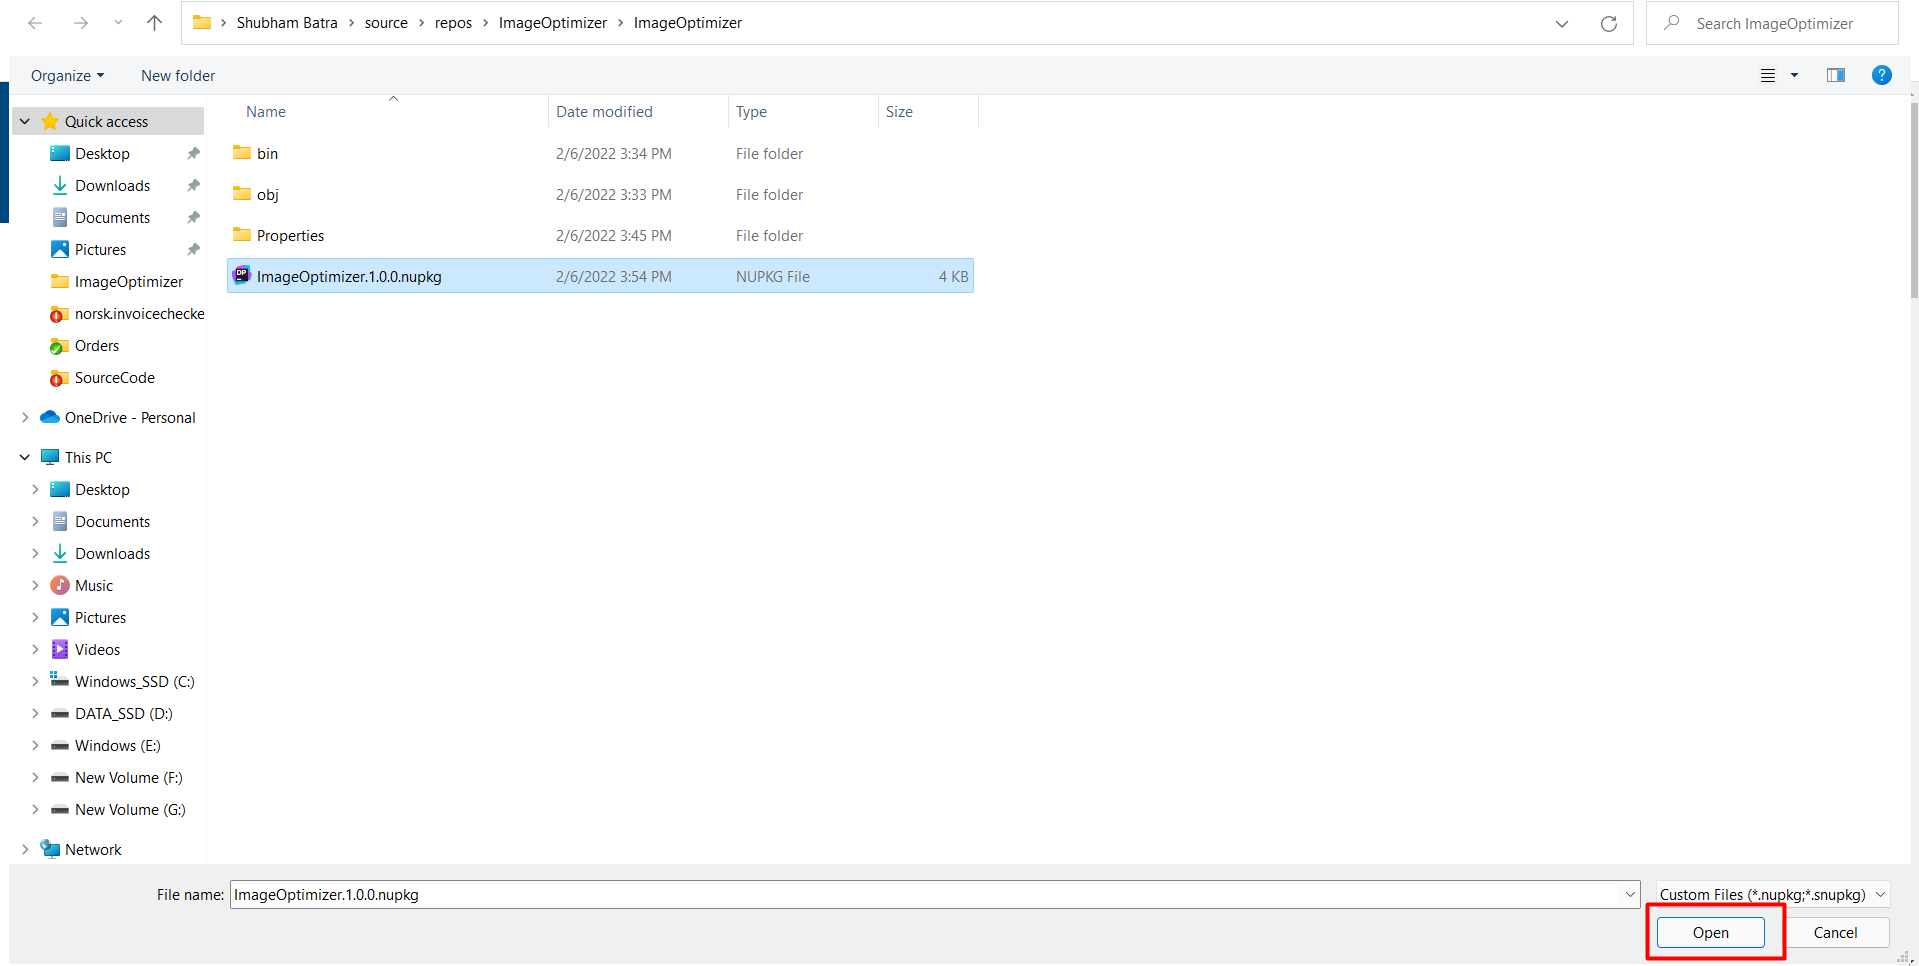
nuget pack ImageOptimizer.nuspecThis will generate a ImageOptimizer.1.0.0.nupkg file in your project directory. You can verify the contents of this package by opening it with a ZIP tool or using the command:
nuget list -AllVersionsStep 6: Publish the Package to NuGet.org
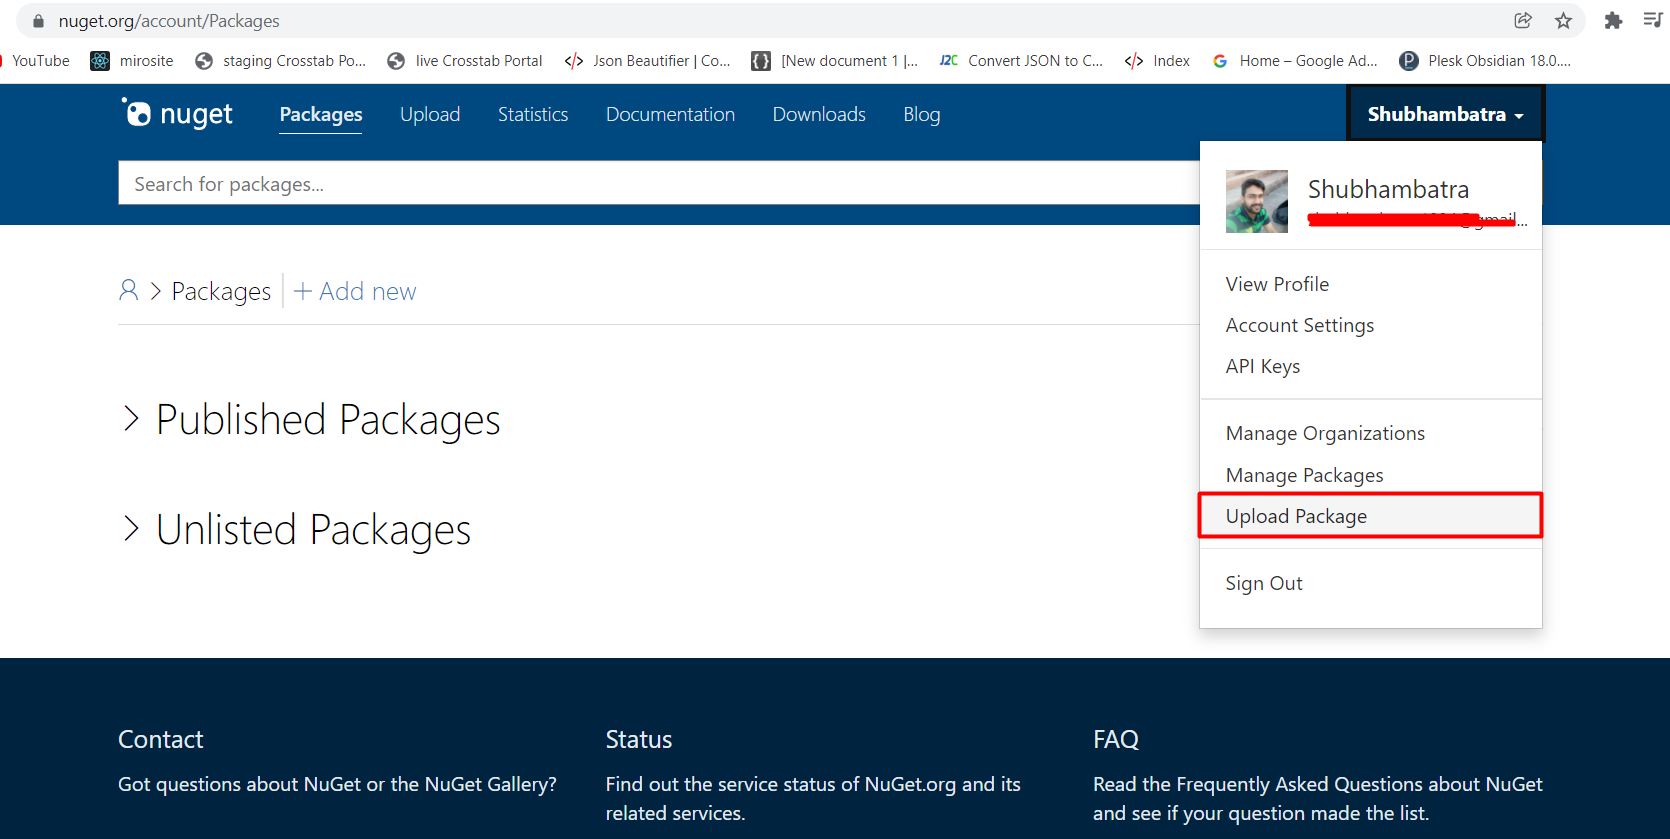
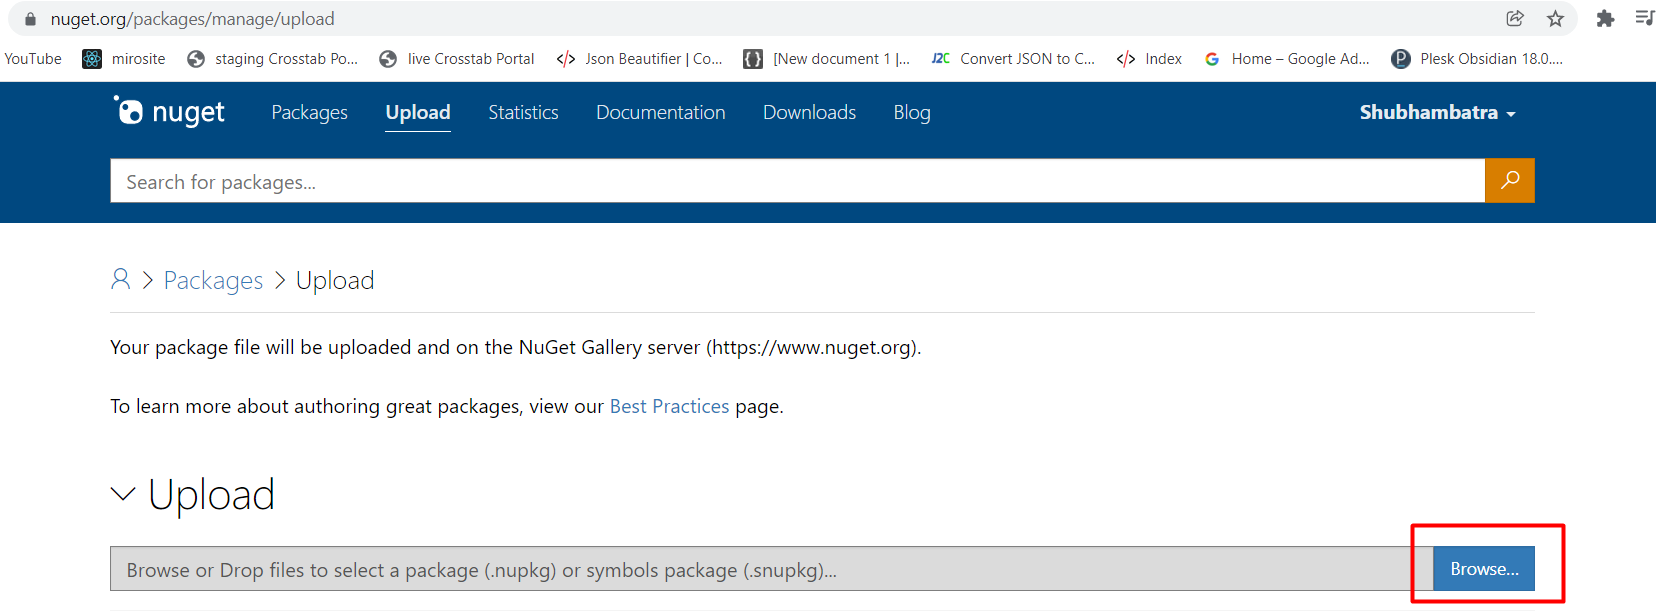
To publish your package, you will need your API key from your NuGet account. You can find this key in your NuGet account settings. Use the following command to push your package:
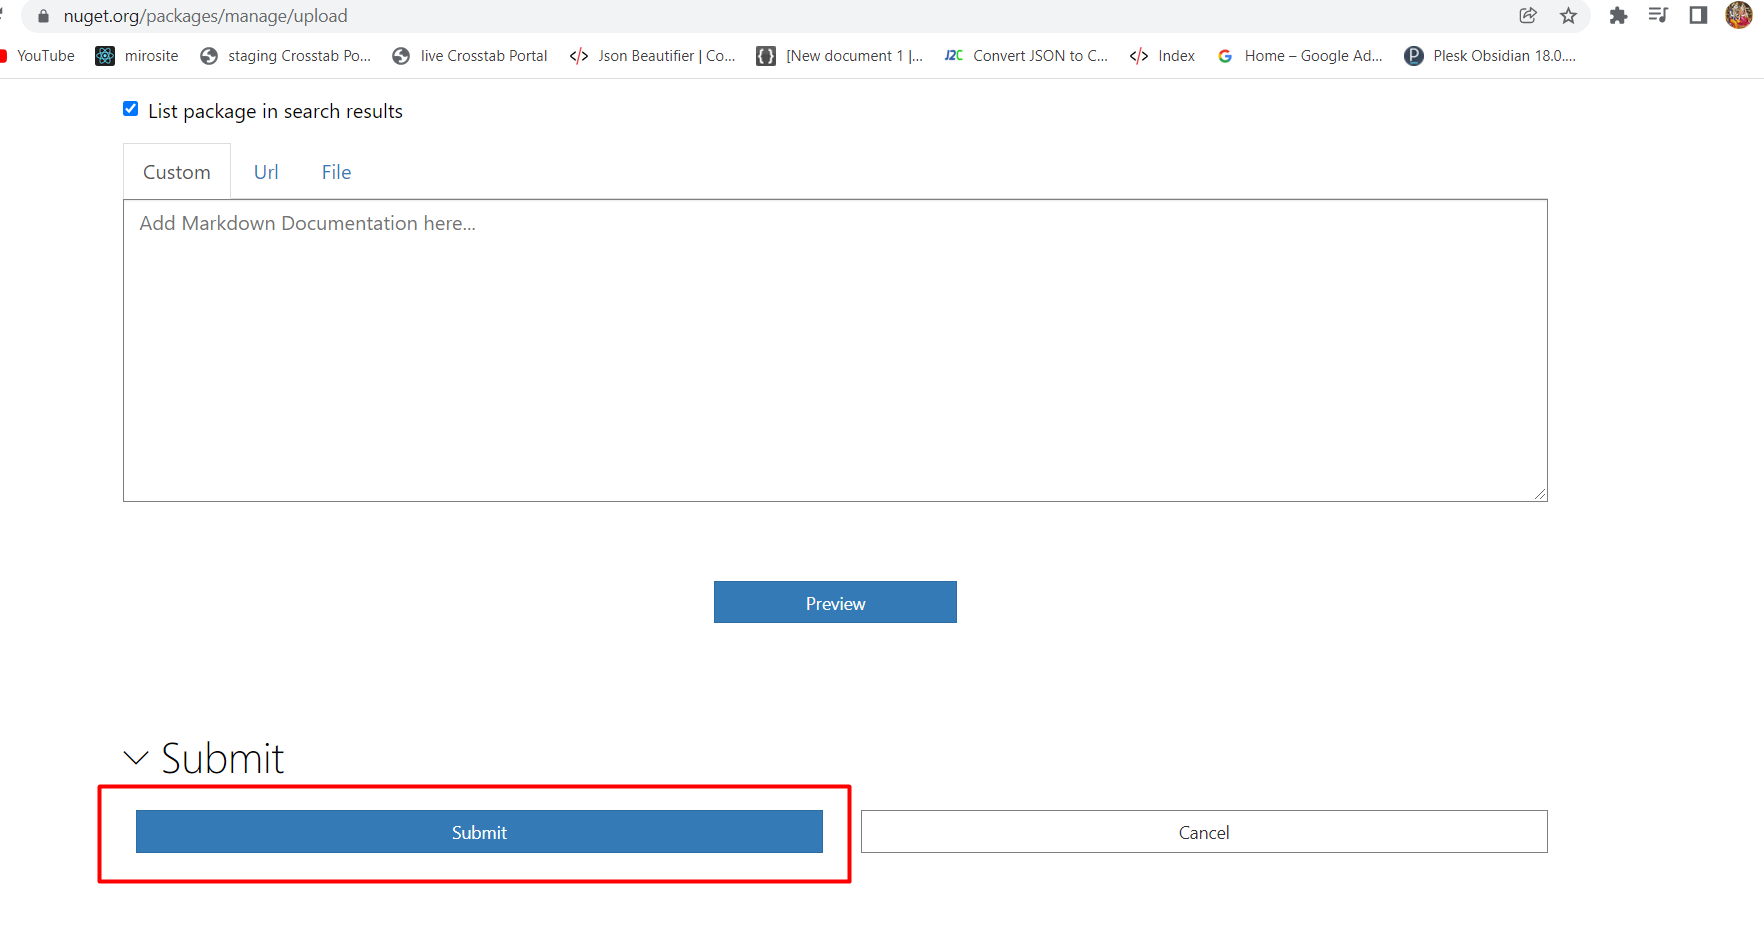
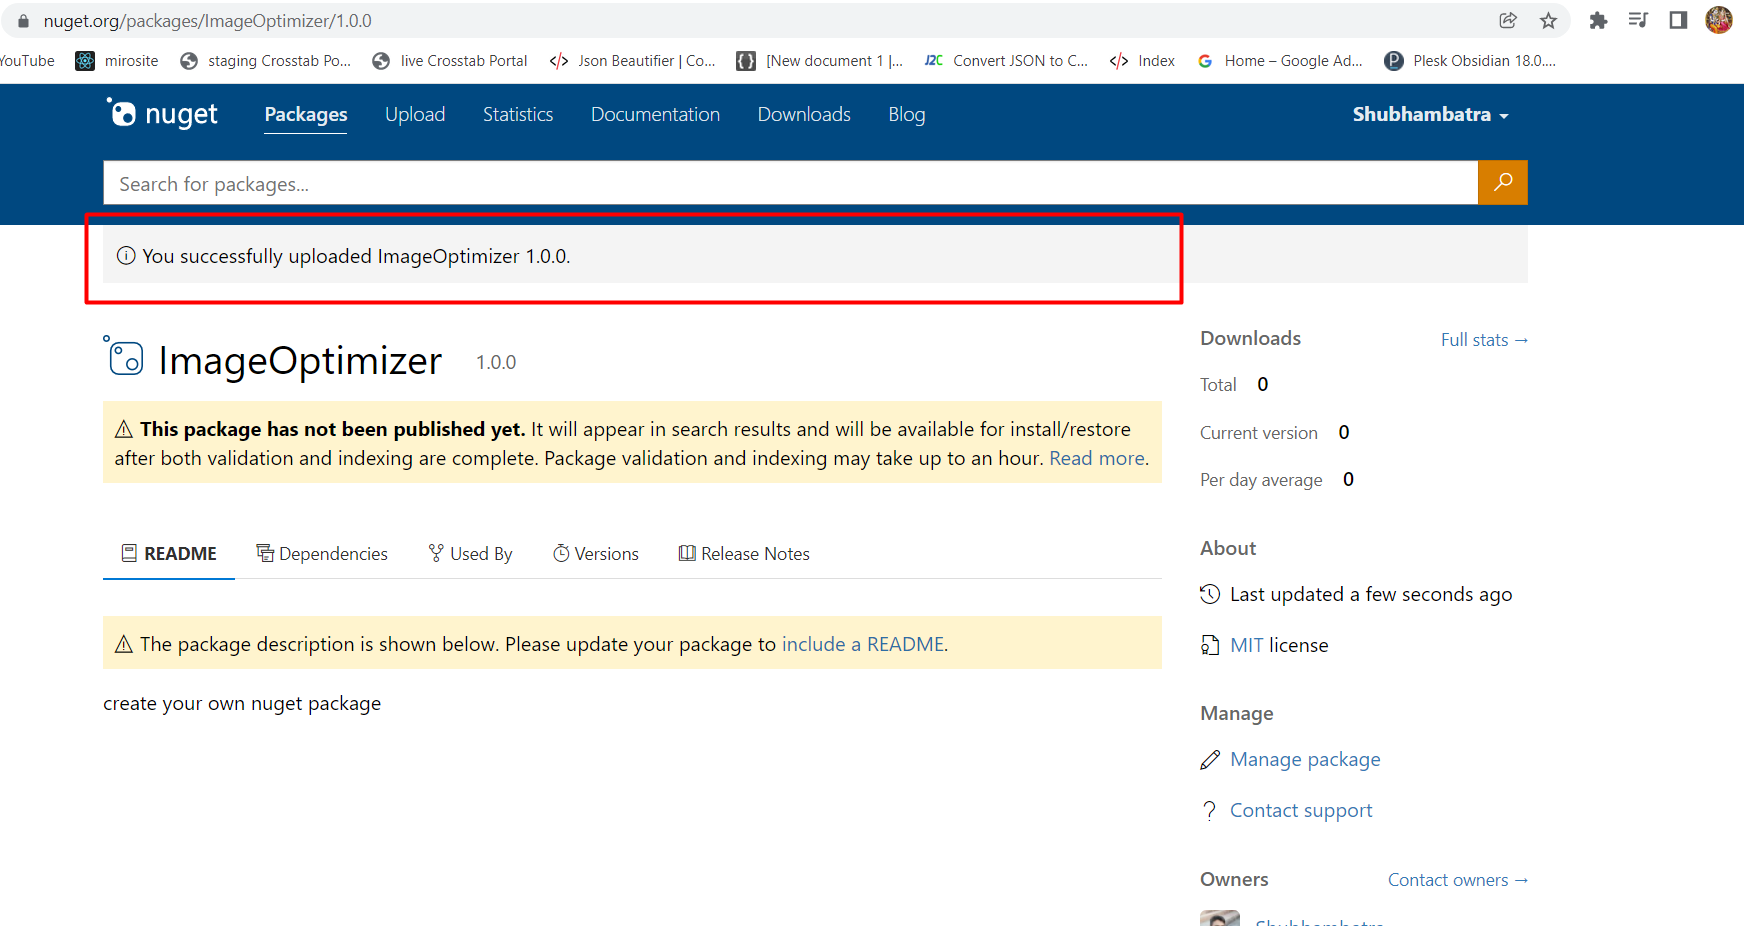
nuget push ImageOptimizer.1.0.0.nupkg -Source https://api.nuget.org/v3/index.json -ApiKey your_api_keyAfter a successful push, your package will be available on NuGet.org for others to use.
Edge Cases & Gotchas
While creating and publishing NuGet packages, you may encounter several edge cases:
- Versioning Conflicts: Ensure that each package version is unique. If you attempt to publish a version that already exists, you will receive an error.
- Missing Dependencies: If your library uses other libraries, make sure to specify these dependencies in your nuspec file. Failing to do so may lead to runtime errors for users of your package.
- Assembly Conflicts: If your assembly has the same name as another package, users may face conflicts. Consider using a unique namespace or suffix for your package.
Performance & Best Practices
To ensure your NuGet package is efficient and user-friendly, consider the following best practices:
- Optimize Your Code: Regularly profile and optimize your code to ensure it performs well. Consider using tools like Visual Studio's built-in performance profiler.
- Documentation: Provide clear documentation on how to use your library, including code examples and API references. This can significantly enhance user experience.
- Semantic Versioning: Follow semantic versioning (MAJOR.MINOR.PATCH) to communicate changes effectively. Increment the major version for breaking changes, minor for new features, and patch for bug fixes.
- Testing: Implement unit tests for your library. This ensures that your code behaves as expected and helps you maintain quality over time.
Conclusion
Creating and publishing a NuGet package from a .NET Framework Class Library is a straightforward process that can greatly enhance your software development experience. By following the steps outlined above, you can share your code with the community and leverage reusable libraries in your projects.
- Understand the importance of NuGet packages in the .NET ecosystem.
- Ensure you have the necessary prerequisites before starting.
- Follow the steps to create, pack, and publish your package effectively.
- Be aware of edge cases and best practices to avoid common pitfalls.