Image Compression in Asp.net MVC
Image Compression Overview
Image compression is a technique used to reduce the file size of images without significantly compromising their quality. This is particularly important in web applications where fast loading times and efficient resource usage are crucial. By compressing images, developers can enhance user experience, improve website performance, and reduce bandwidth consumption. There are two main types of image compression: lossless and lossy. Lossless compression retains all the original image data, while lossy compression reduces file size by removing some data, which can affect image quality.
In ASP.NET MVC, image compression can be achieved using built-in .NET libraries without the need for external packages. This allows developers to implement image compression seamlessly as part of their image upload functionality. The following sections will detail the steps involved in implementing image compression in an ASP.NET MVC project.
Prerequisites
Before we start, ensure you have the following prerequisites:
- A basic understanding of ASP.NET MVC framework.
- Visual Studio installed on your machine.
- Access to a web server or local development environment where you can run an ASP.NET MVC application.
Setting Up the Project
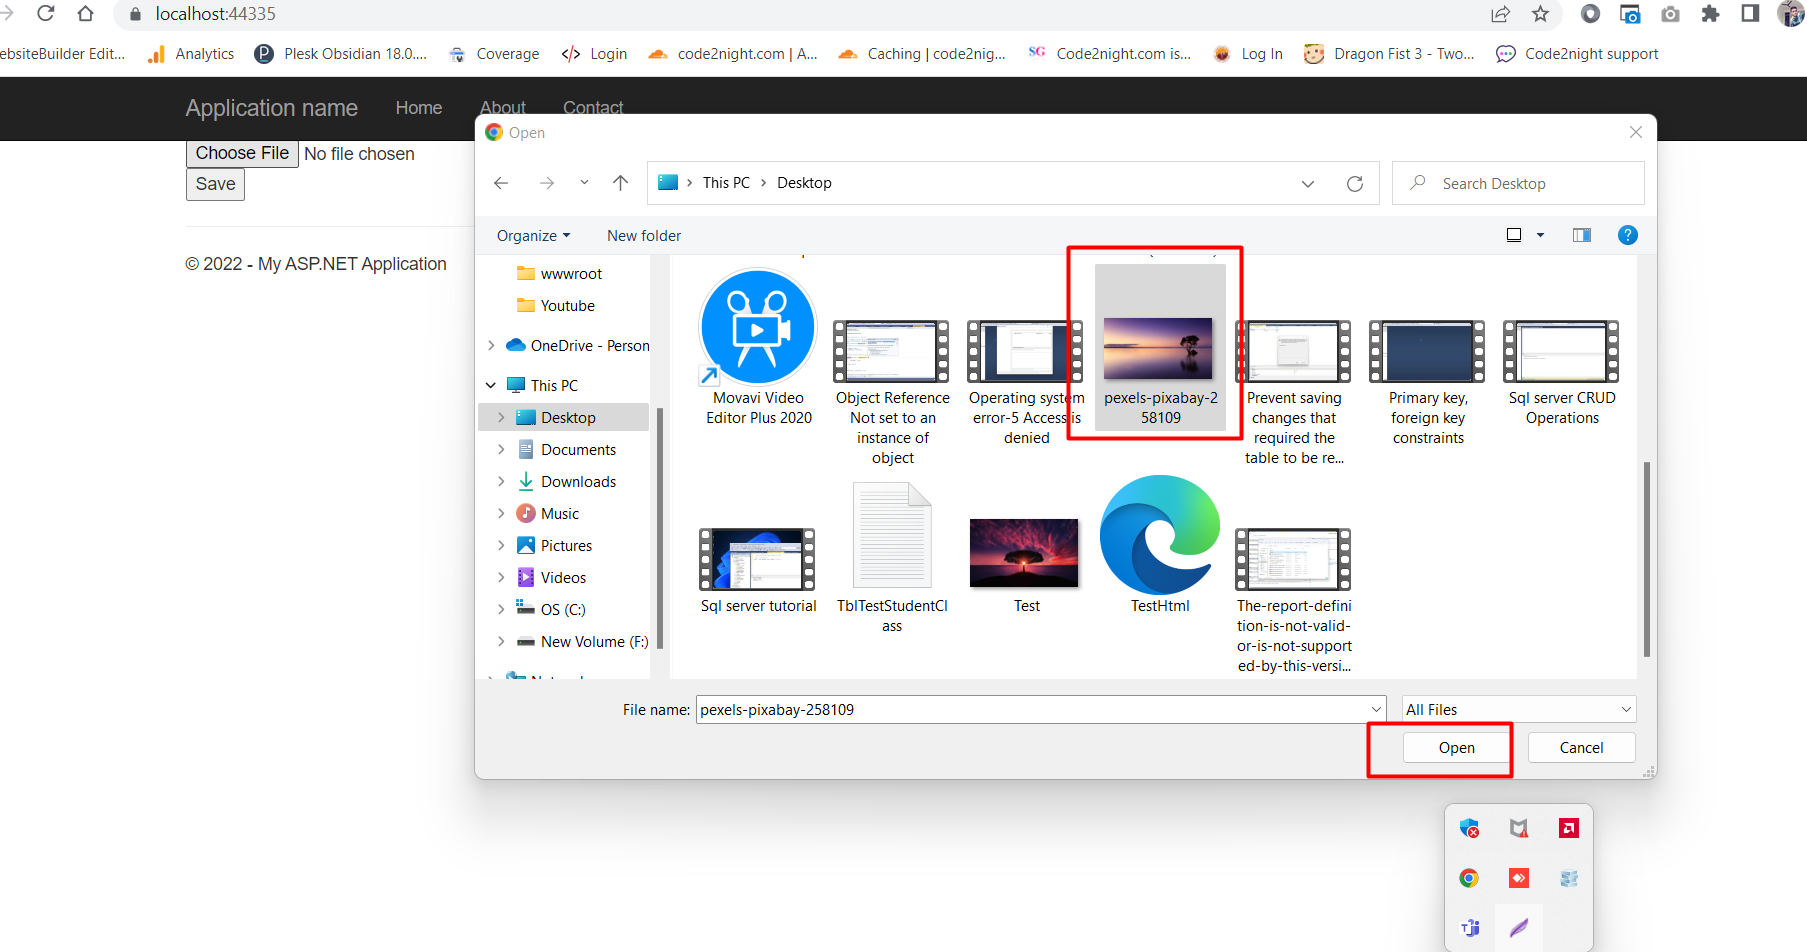
To begin, create a new ASP.NET MVC project in Visual Studio. Once your project is set up, create a new view that will handle the image upload. In this view, you will need to add an input field for file uploads and a submit button. Here’s a simple example of the code you need to add to your view:
@{ ViewBag.Title = "Home Page"; }
@using (Html.BeginForm("Compression", "Home", FormMethod.Post, new {@enctype="multipart/form-data" })) {
    <input type="file" id="file" name="file"/>
    <input type="submit" value="Save"/>
}
Adding Necessary Namespaces
Next, you need to include the necessary namespaces in your controller. These namespaces will allow you to manipulate images and handle file streams. Add the following using directives at the top of your controller:
using System.Drawing;
using System.Drawing.Drawing2D;
using System.Drawing.Imaging;
using System.IO;
Implementing the Compression Logic
Now we will implement the image compression logic. The following method will handle the compression of the uploaded image. It takes the target path, filename, and byte array of the image as parameters:
public static void CompressImage(string targetPath, string filename, byte[] byteArrayIn) {
    try {
        using (MemoryStream memStream = new MemoryStream(byteArrayIn)) {
            using (var image = Image.FromStream(memStream)) {
                float maxHeight = 900.0f;
                float maxWidth = 900.0f;
                int newWidth;
                int newHeight;
                Bitmap originalBMP = new Bitmap(memStream);
                int originalWidth = originalBMP.Width;
                int originalHeight = originalBMP.Height;
                if (originalWidth > maxWidth || originalHeight > maxHeight) {
                    float ratioX = (float)maxWidth / (float)originalWidth;
                    float ratioY = (float)maxHeight / (float)originalHeight;
                    float ratio = Math.Min(ratioX, ratioY);
                    newWidth = (int)(originalWidth * ratio);
                    newHeight = (int)(originalHeight * ratio);
                } else {
                    newWidth = originalWidth;
                    newHeight = originalHeight;
                }
                Bitmap bitmap1 = new Bitmap(originalBMP, newWidth, newHeight);
                Graphics imgGraph = Graphics.FromImage(bitmap1);
                string extension = Path.GetExtension(targetPath);
                if (extension.ToLower() == ".jpg") {
                    imgGraph.SmoothingMode = SmoothingMode.AntiAlias;
                    imgGraph.InterpolationMode = InterpolationMode.HighQualityBicubic;
                    imgGraph.DrawImage(originalBMP, 0, 0, newWidth, newHeight);
                    ImageCodecInfo jpgEncoder = GetEncoder(ImageFormat.Jpeg);
                    EncoderParameters myEncoderParameters = new EncoderParameters(1);
                    EncoderParameter myEncoderParameter = new EncoderParameter(Encoder.Quality, 50L);
                    myEncoderParameters.Param[0] = myEncoderParameter;
                    bitmap1.Save(targetPath, jpgEncoder, myEncoderParameters);
                } else {
                    imgGraph.SmoothingMode = SmoothingMode.AntiAlias;
                    imgGraph.InterpolationMode = InterpolationMode.HighQualityBicubic;
                    imgGraph.DrawImage(originalBMP, 0, 0, newWidth, newHeight);
                    bitmap1.Save(targetPath, originalBMP.RawFormat);
                }
                bitmap1.Dispose();
                imgGraph.Dispose();
                originalBMP.Dispose();
            }
        }
    } catch (Exception ex) {
        throw new Exception("Image compression failed: " + ex.Message);
    }
}
Creating the Compression Action
Now that we have the compression logic in place, we need to create an action method in our controller that will handle the image upload and call the compression method. This action will read the uploaded file, compress it, and save it to the specified location:
[HttpPost]
public ActionResult Compression(HttpPostedFileBase file) {
if (file != null && file.ContentLength > 0) {
using (var ms = new MemoryStream()) {
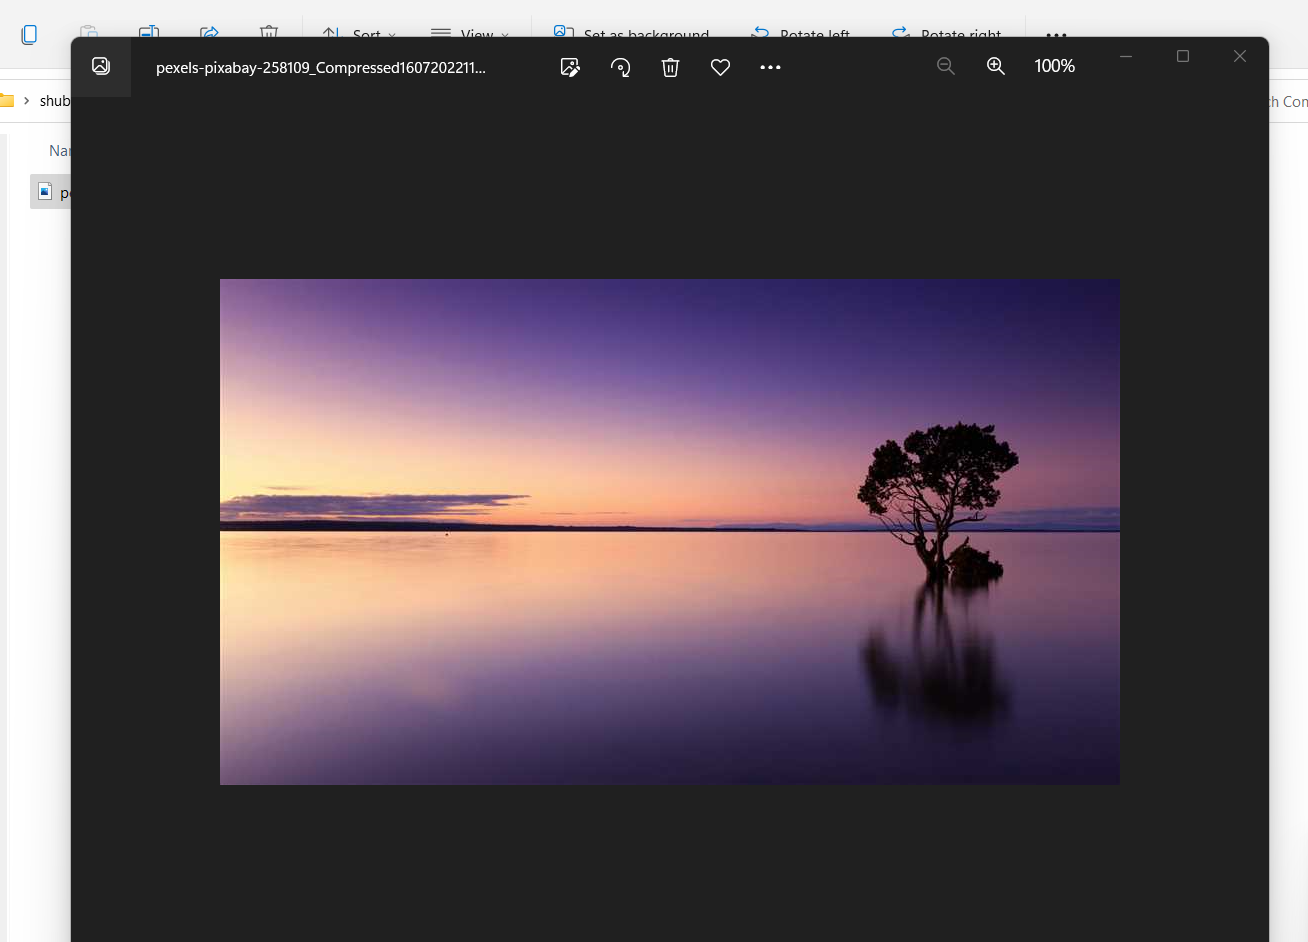
var targetImagePath = Server.MapPath("/Content/Compressed/" + Path.GetFileNameWithoutExtension(file.FileName) + "_Compressed_" + DateTime.Now.ToString("ddMMyyyyhhmmss") + Path.GetExtension(file.FileName));
byte[] image = new byte[file.ContentLength];
file.InputStream.Read(image, 0, file.ContentLength);
CompressImage(targetImagePath, file.FileName, image);
}
}
return RedirectToAction("Index");
}
Edge Cases & Gotchas
When implementing image compression, it is important to consider various edge cases that may arise:
- File Size Limits: Ensure that your application has appropriate file size limits set to prevent excessively large uploads that could cause performance issues.
- File Format Support: Not all image formats support compression in the same way. Make sure to handle different formats appropriately and provide feedback to users if their uploads are not supported.
- Error Handling: Implement robust error handling to manage exceptions that may occur during image processing, such as unsupported formats or memory issues.
Performance & Best Practices
To optimize the performance of your image compression implementation, consider the following best practices:
- Asynchronous Processing: If possible, implement asynchronous file uploads to avoid blocking the main thread while images are being processed.
- Use Caching: Cache frequently accessed images to reduce the need for repeated compression and improve load times.
- Monitor Server Performance: Regularly monitor server performance and adjust image compression settings to maintain optimal performance levels.
Conclusion
Implementing image compression in your ASP.NET MVC applications is a vital step in enhancing performance and user experience. By following the steps outlined in this article, you can effectively manage image uploads and ensure that your server resources are utilized efficiently. Here are the key takeaways:
- Image compression reduces file sizes, improving loading times and server performance.
- ASP.NET MVC allows for easy implementation of image compression without third-party libraries.
- Handling edge cases and implementing best practices is essential for robust image processing.