Implement AutoMapper in Asp.net MVC
Hello guys and welcome to Code2Night! Today, we're diving into the world of ASP.NET MVC and exploring a handy tool called AutoMapper. If you've ever found yourself in a situation where you needed to map database objects to other objects, you're in the right place.
Mapping objects manually can be a time-consuming task, especially when dealing with complex data structures. Luckily, AutoMapper comes to the rescue, offering a way to automate the mapping process between similar kinds of objects. This powerful library can save you valuable development time and effort.
In this blog post, we'll take a closer look at how to implement AutoMapper in your ASP.NET MVC application. We'll guide you through the steps required to set it up, configure the mappings, and unleash its potential to simplify your object mapping tasks.
Whether you're a seasoned ASP.NET MVC developer looking for a more efficient way to handle object mapping or a beginner eager to learn about this exciting tool, this blog post will provide you with the knowledge you need to get started with AutoMapper.
By the end of this blog post, you'll have a comprehensive understanding of how to implement AutoMapper in your ASP.NET MVC application. You'll be equipped with the knowledge and tools to automate your object mapping tasks, allowing you to focus on other aspects of your application's development.
So, let's roll up our sleeves and delve into the world of AutoMapper to streamline your object mapping workflow in ASP.NET MVC. Buckle up and get ready to witness the magic of automation! Let's get started on this exciting journey together!
AutoMapper
AutoMapper is a third-party library that helps us to automate the mapping between two similar kinds of objects. For using that we can follow these steps.
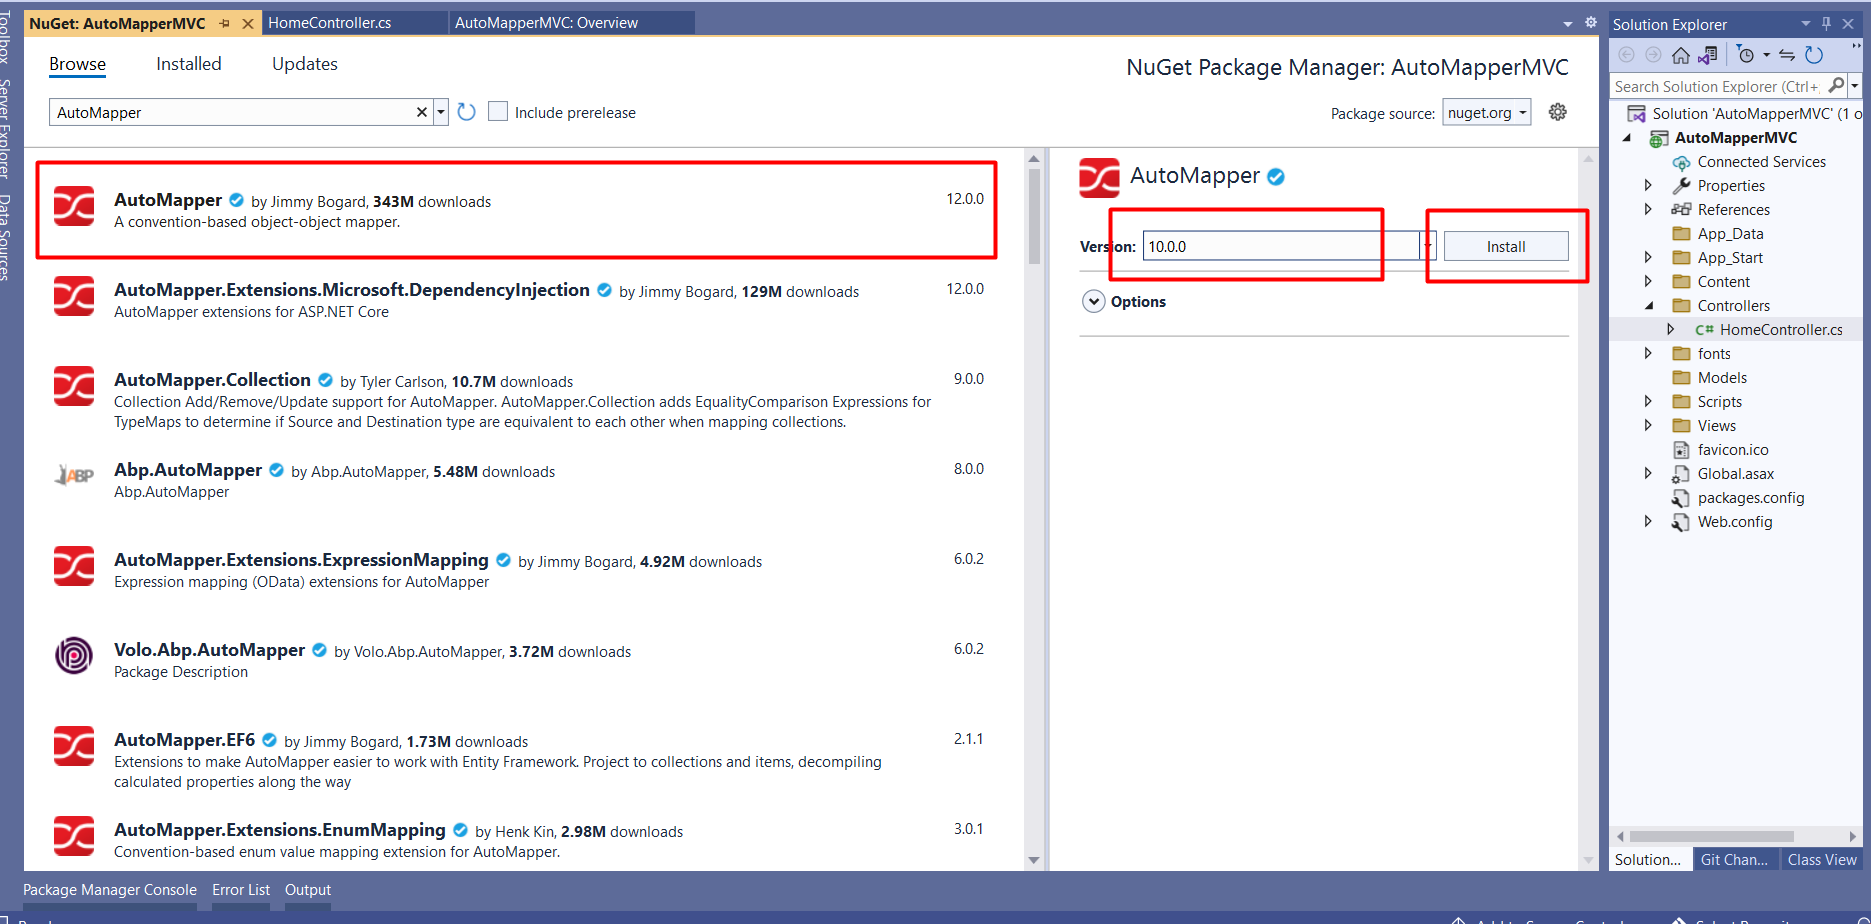
First of all, you have to install the AutoMapper Nuget package that you can see in the image below

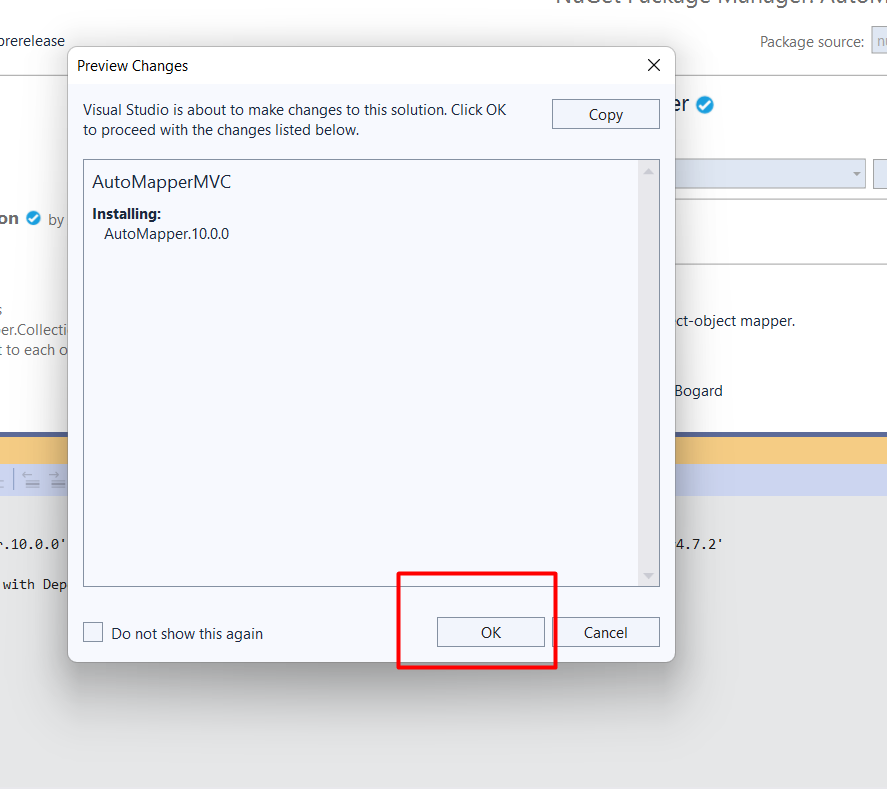
Now click on install and it will ask for permission to install Automapper.
Once the auto mapper is completely installed. You can add one new class to your project.
public class ProductDTO
    {
        public int ProductID { get; set; }
        public string ProductCategory { get; set; }
        public string SubCategory { get; set; }
        public string ProductName { get; set; }
        public string ProductDescription { get; set; }
        public decimal ProductPrice { get; set; }
        public decimal ProductWeight { get; set; }
        public int Units { get; set; }
        public decimal Total { get; set; }
    }
So this is the class we will use in auto mapper mapping. Now you have to add one new class MappingProfile for creating mappings.
using AutoMapper;
using AutoMapperMVC.Models;
using System;
using System.Collections.Generic;
using System.Linq;
using System.Web;

namespace AutoMapperMVC
{
    public static class Mapping
    {
        private static readonly Lazy<IMapper> Lazy = new Lazy<IMapper>(() =>
        {
            var config = new MapperConfiguration(cfg => {
                // This line ensures that internal properties are also mapped over.
                cfg.ShouldMapProperty = p => p.GetMethod.IsPublic || p.GetMethod.IsAssembly;
                cfg.AddProfile<MappingProfile>();
            });
            var mapper = config.CreateMapper();
            return mapper;
        });

        public static IMapper Mapper => Lazy.Value;
    }

    public class MappingProfile : Profile
    {


        public MappingProfile()
        {
              CreateMap<Product, Products>().ReverseMap();
            //CreateMap<Product, ProductDTO>().ForMember(x => x.ProductName, opt => opt.MapFrom(y => y.ProductName)).ReverseMap(); //For custom mappings
        }
    }
}
So in this class, you can create a map for all kinds of objects using the CreateMap method. You can use RevereseMap() to enable reverse mappings.
Now go to your controller and add the following code
using AutoMapper;
using AutoMapperMVC.Models;
using System;
using System.Collections.Generic;
using System.Linq;
using System.Web;
using System.Web.Mvc;

namespace AutoMapperMVC.Controllers
{
    public class HomeController : Controller
    {

        public HomeController()
        {

        }

        public ActionResult Index()
        {
            DbEmployeeEntities db = new DbEmployeeEntities();
            List<Product> prodList = db.Products.ToList();
            List<ProductDTO> products = new List<ProductDTO>();

            foreach (var item in prodList)
            {
                products.Add( Mapping.Mapper.Map<ProductDTO>(item));
            }

            return View();
        }


    }
}
So, here you can see how we are using the Mapper. You don't have to configure a mapper for every place and you can simply use the Mapping.Mapper.Map() method wherever you want to use an auto mapper.
So this is how we can implement AutoMapper in asp.net mvc.

