Implement Facebook Login in Asp.Net MVC
Welcome to Code2Night! In today’s world, social media has become an integral part of our lives. Facebook, being the largest social media platform, provides a convenient way for users to log in to different applications. This is where Facebook Login comes in, which allows users to authenticate themselves on your application using their Facebook account credentials.
In this blog post, we will discuss how to implement Facebook Login in an ASP.NET MVC application. We will cover the necessary steps to set up. By the end of this blog post, you will have a clear understanding of how to integrate Facebook Login into your ASP.NET MVC application and allow your users to seamlessly log in with their Facebook account. Let’s get started!
To enable Facebook login in a C# application, the Facebook SDK for .NET can be utilized. This software development kit provides developers with straightforward methods for authorizing users via Facebook.
By integrating Facebook login into your application, you can provide your users with a seamless and convenient way to access your platform. Using Facebook as an authentication provider eliminates the need for users to create yet another login and password, saving them time and simplifying the login process.
So the first step is to install the Facebook Nuget package in your application. You have to install the Nuget package displayed in the image below: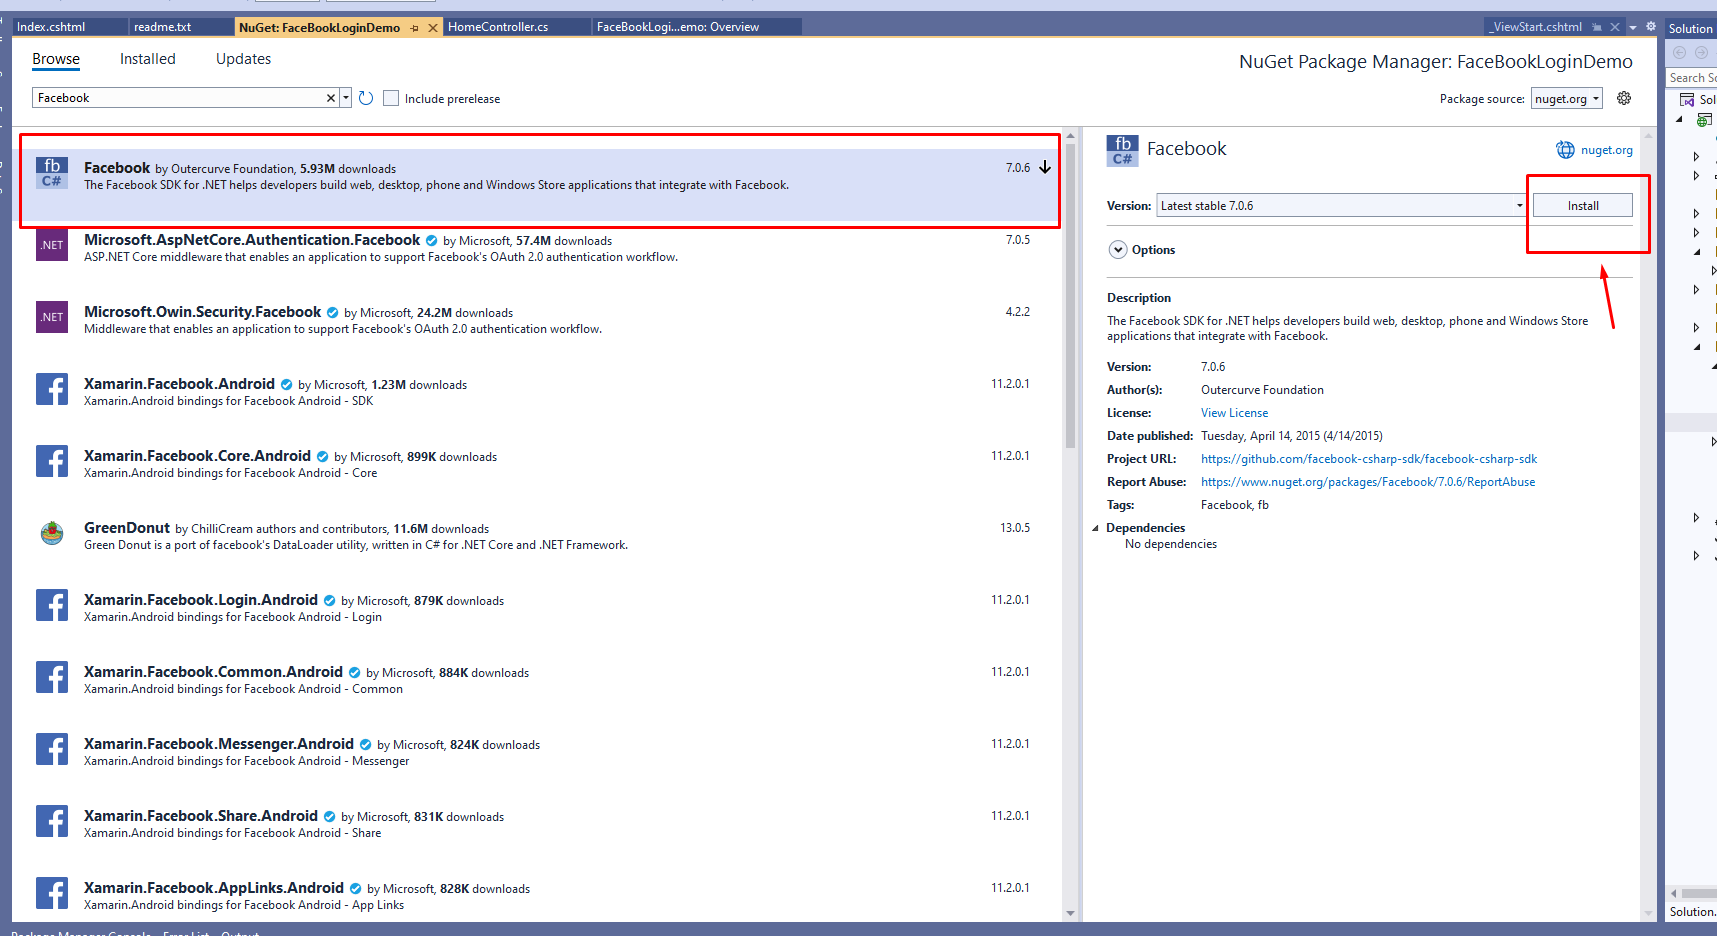
After successfully installing the Nuget package, the next step is to proceed to the controller and include the required namespace in your code. This will enable you to access the functionality provided by the package and utilize it in your application.
public ActionResult Index()
        {
            var fb = new FacebookClient();
            var loginUrl = fb.GetLoginUrl(new
            {
                client_id = "your_app_id",
                redirect_uri = "your_redirect_uri",
                scope = "public_profile,email"
            });
            ViewBag.Url = loginUrl;

            return View();
        }
In this code, the Index method creates a new instance of the FacebookClient class and retrieves a login URL from Facebook. The redirect_uri parameter should be set to a URL in your application that can handle the authentication response from Facebook. We will then set this URL in the ViewBag and use it in the view.
Now on the view side, we have to add the following code
@{
    ViewBag.Title = "Home Page";
}

<div class="jumbotron">
    <h1>Facebook Login in ASP.NET</h1>

    <p><a href="@ViewBag.Url" class="btn btn-primary btn-lg">Login With Facebook</a></p>
</div>
Now we have to create one more action to support the redirect after successful login
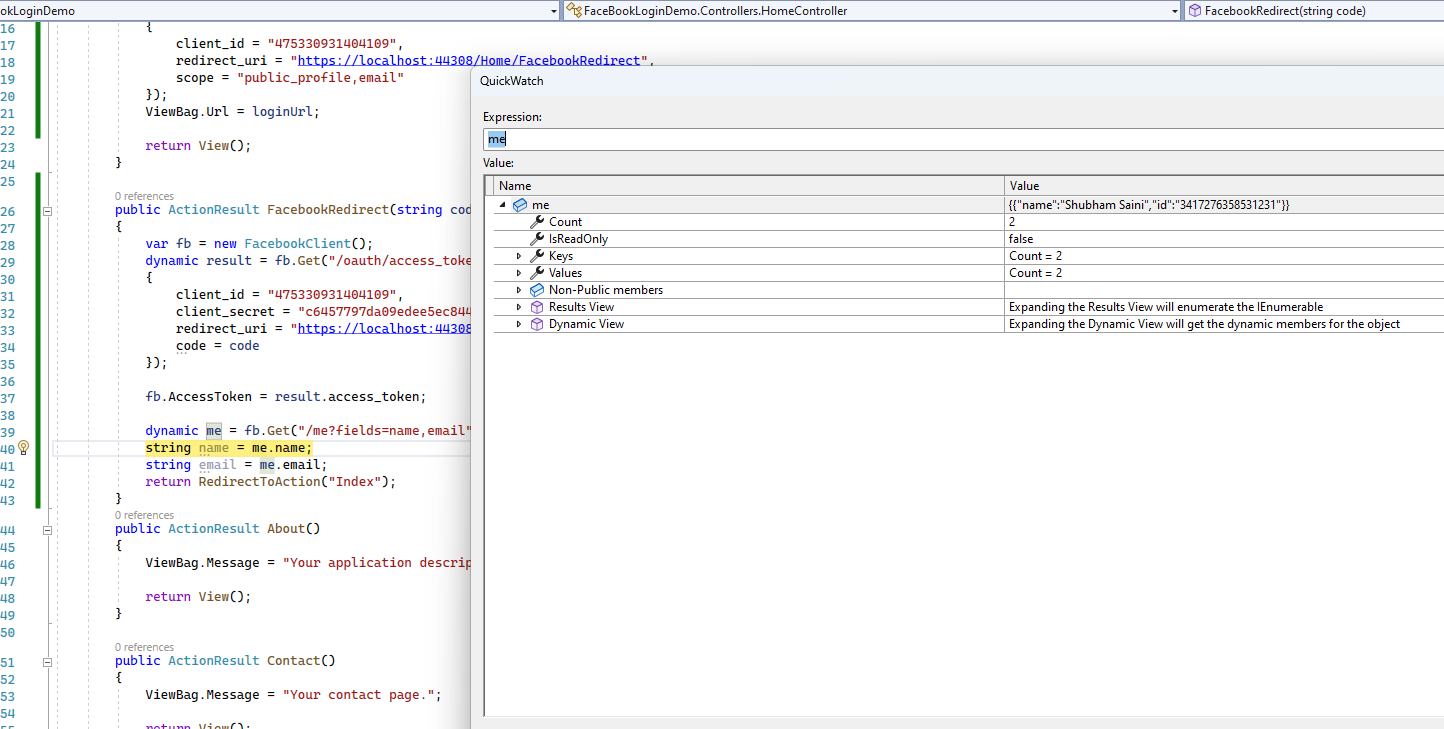
 public ActionResult FacebookRedirect(string code)
        {
            var fb = new FacebookClient();
            dynamic result = fb.Get("/oauth/access_token", new
            {
                client_id = "your_app_id",
                client_secret = "your_app_secret",
                redirect_uri = "your_redirect_uri",
                code = code

            });

            fb.AccessToken = result.access_token;

            dynamic me = fb.Get("/me?fields=name,email");
            string name = me.name;
            string email = me.email;
            return RedirectToAction("Index");
        }
When the user clicks the login button, the web browser control will navigate to the login URL. The login URL will display a Facebook login dialog to the user. After the user logs in and grants permission to your app, Facebook will redirect them to the redirect_uri URL with an authentication code in the query string.
The FacebookRedirect event handler retrieves the access token from Facebook using the authentication code and then uses the access token to retrieve the user's name and email address. You can use this information to log the user into your application.
Note that you will need to replace the placeholders "your_app_id", "your_app_secret", and "your_redirect_uri" with your own values, which you can obtain by registering your app with Facebook.
Now run the application and you will see this result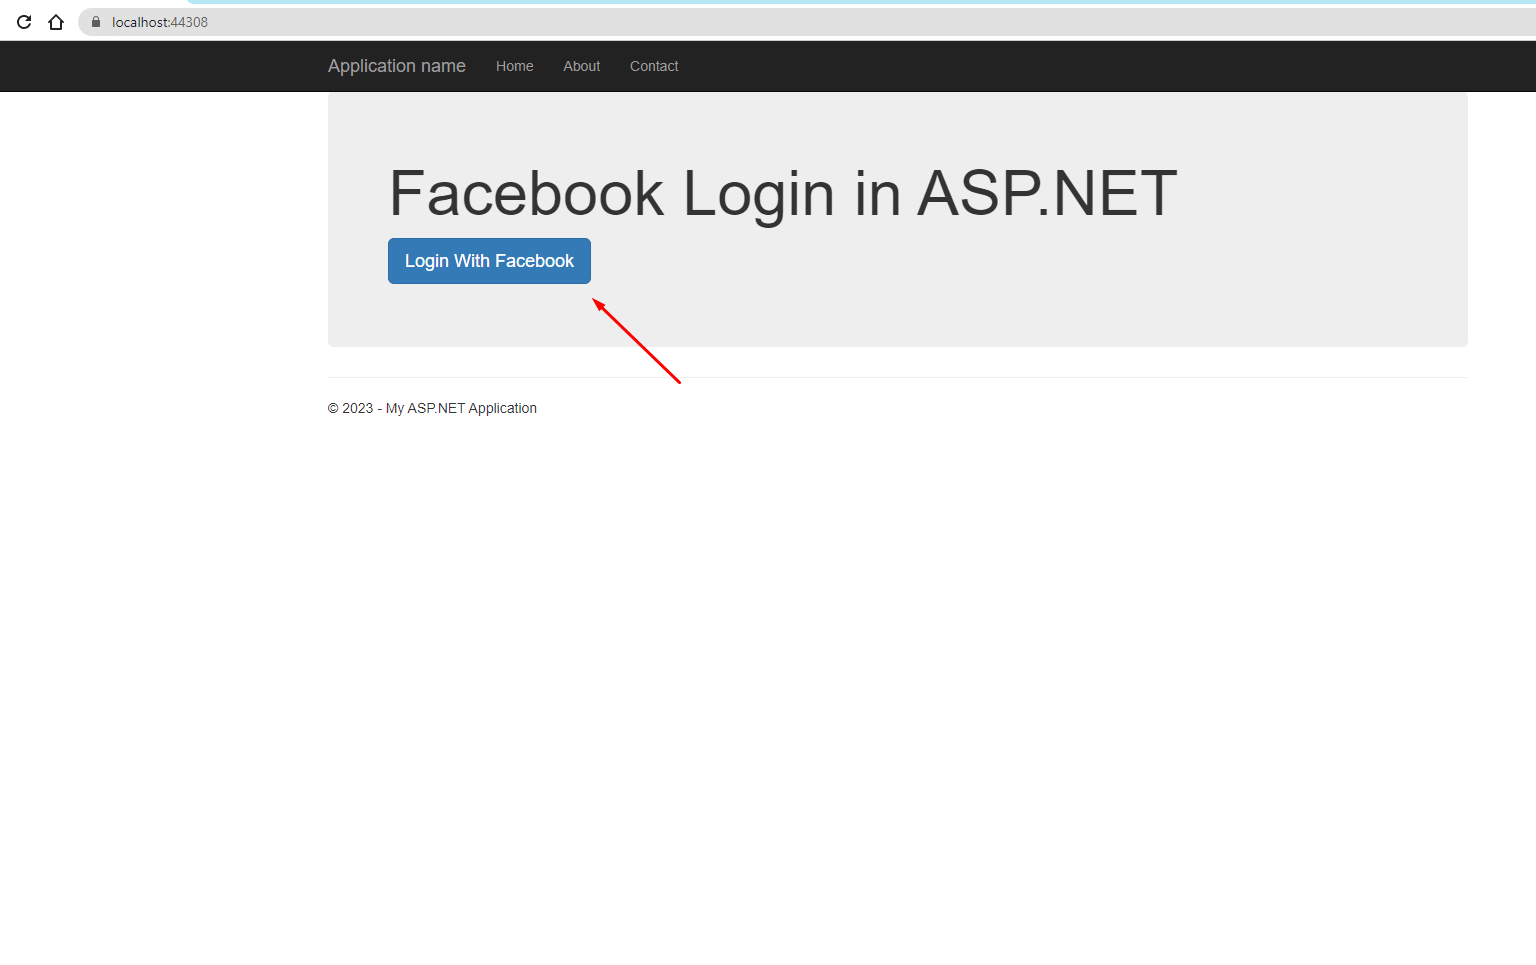
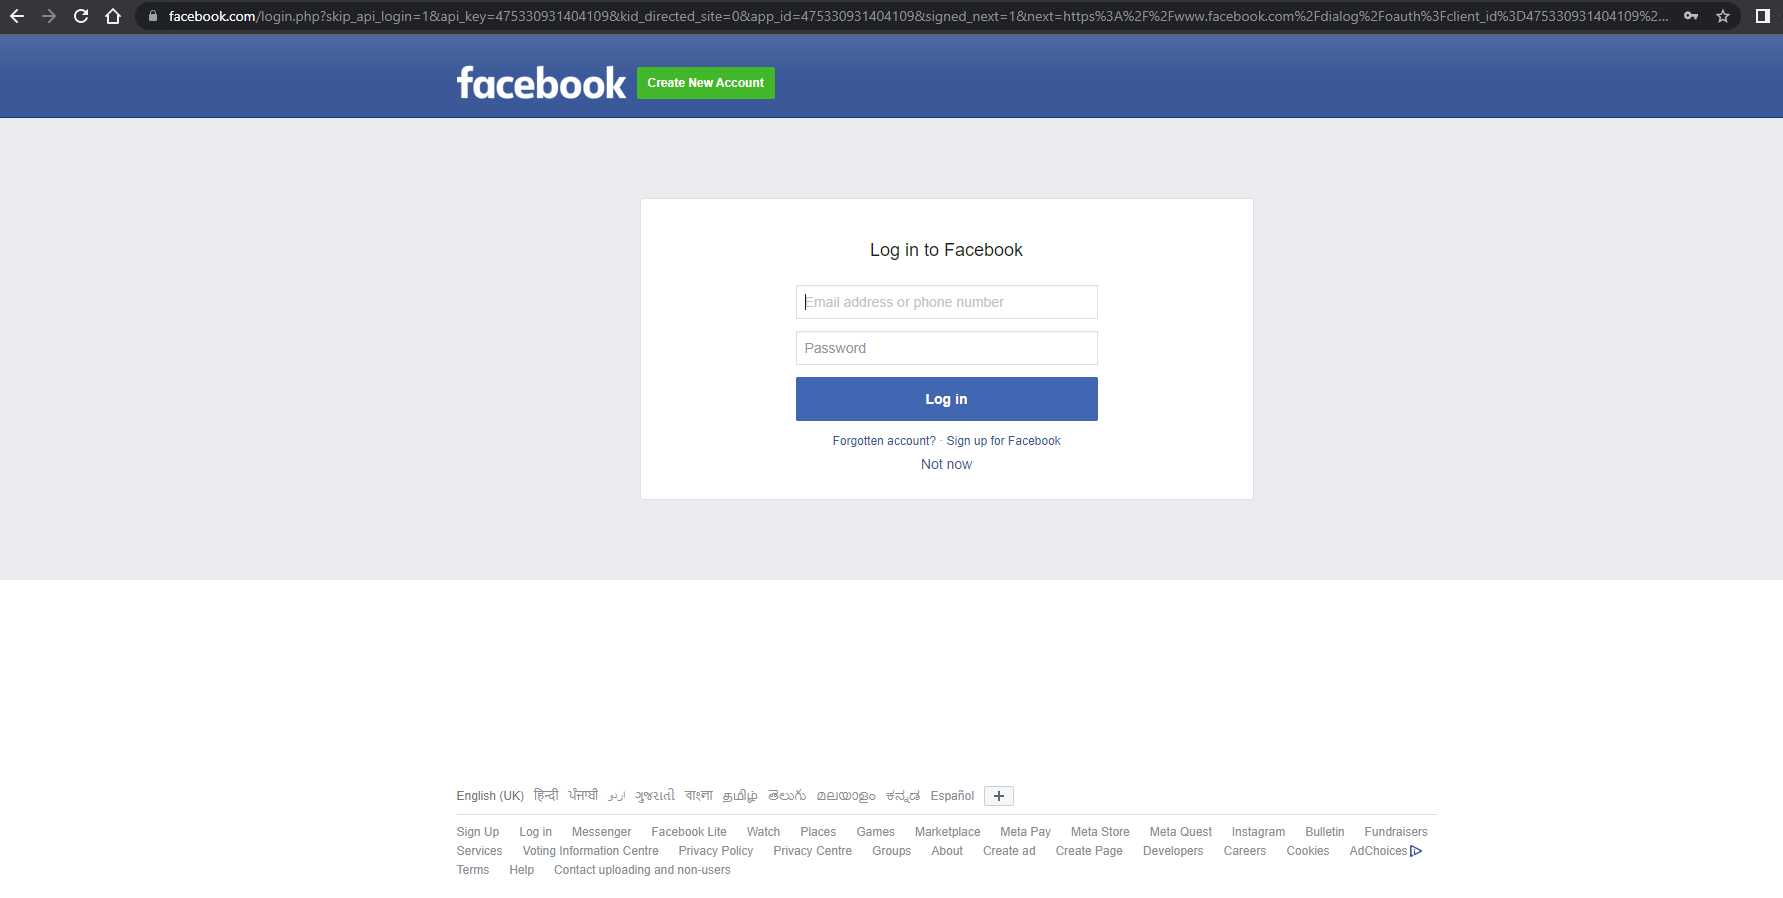
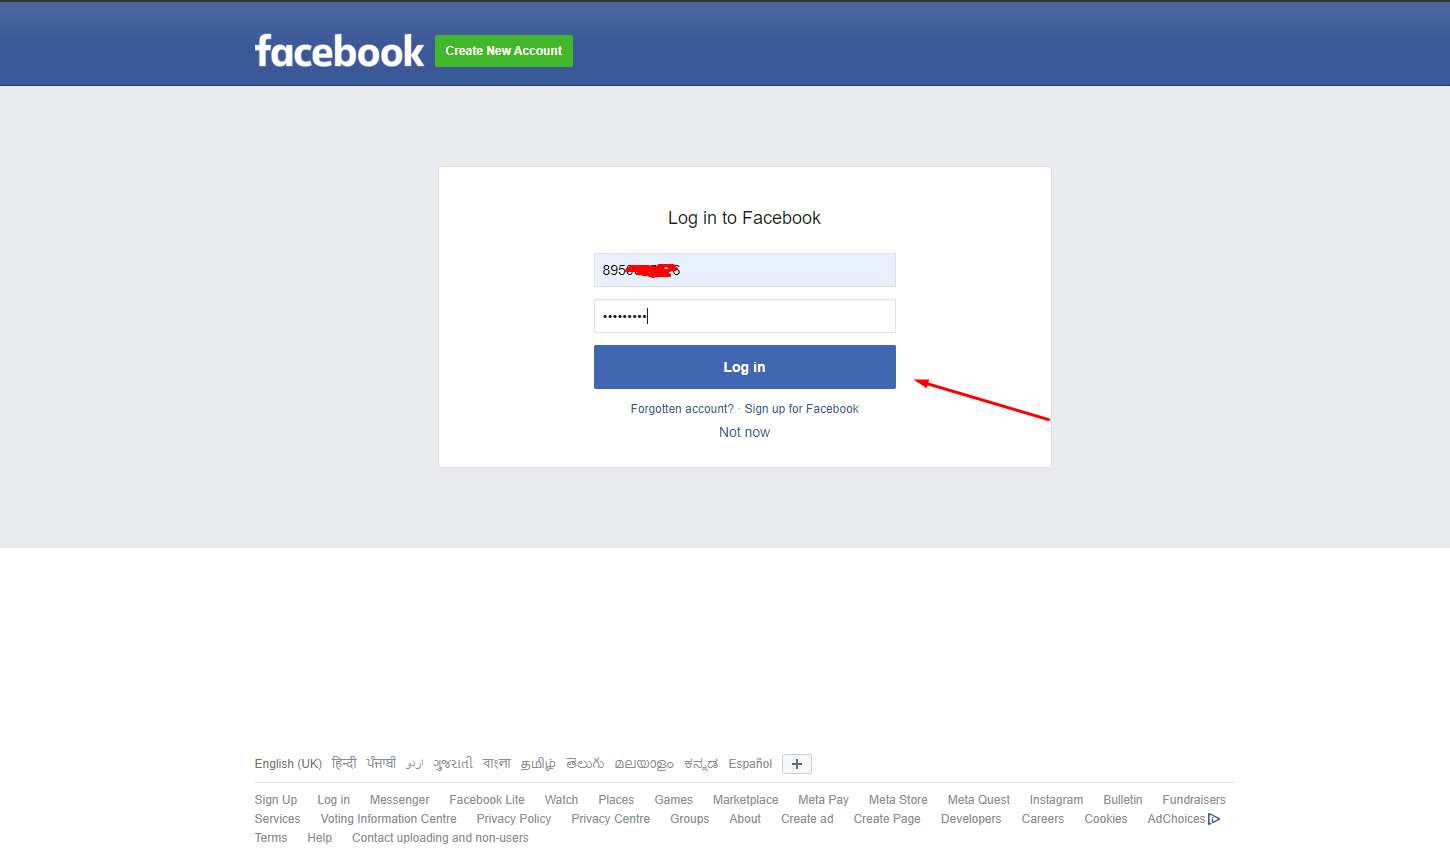
 You can create your app account by doing a developer login on Facebook and obtaining the rapid, app secret, and redirecting URI from there. so this is how we can implement Facebook Login in Asp.Net MVC

