Complete Guide to Slick Slider in JavaScript with Examples
What is Slick Slider?
Slick Slider is a highly customizable jQuery plugin created by Ken Wheeler that facilitates the creation of responsive carousels. It is renowned for its ease of use and versatility, making it a favorite among developers. With Slick Slider, you can create a variety of sliders, ranging from simple image galleries to complex content sliders that include text, videos, and more.
This plugin is particularly useful in modern web development, where responsive design is crucial. Slick Slider ensures your content looks great on any device, whether it’s a desktop, tablet, or smartphone. By employing Slick Slider, you can significantly enhance the visual appeal of your website while providing an engaging user experience.
Prerequisites
Before diving into the implementation of Slick Slider, ensure you have a basic understanding of the following:
- HTML: Familiarity with basic HTML structure and elements is essential.
- CSS: Understanding CSS will help you customize the appearance of your slider.
- JavaScript/jQuery: Basic knowledge of JavaScript and jQuery is necessary, as Slick Slider is a jQuery plugin.
Additionally, ensure you have the latest version of jQuery and Slick Slider included in your project, as outlined in the next section.
Step 1: Online CDN of jQuery and Slick
To get started with Slick Slider, you need to include the necessary libraries in your HTML. You can easily do this by using the following CDN links:
<script type="text/javascript" src="//code.jquery.com/jquery-1.11.0.min.js"></script>
<script src="https://cdnjs.cloudflare.com/ajax/libs/slick-carousel/1.8.1/slick.min.js"></script>
<link href="https://cdnjs.cloudflare.com/ajax/libs/slick-carousel/1.8.1/slick.css" rel="stylesheet" />
<link href="https://cdnjs.cloudflare.com/ajax/libs/slick-carousel/1.8.1/slick-theme.css" rel="stylesheet" />
These links will ensure that you have the required JavaScript and CSS files for Slick Slider to function correctly.
Step 2: Script for Slick Slider
Once you have included the necessary libraries, you can initialize the Slick Slider by writing a simple jQuery script. The following code snippet demonstrates how to set up a basic slider:
$(document).ready(function () {
    $('.slider').slick({
        slidesToShow: 3,
        slidesToScroll: 3,
        dots: true,
        infinite: true,
        cssEase: 'linear',
        arrows: true
    });
});
This script configures the slider to show three slides at a time, scroll three slides per action, and includes navigation dots and arrows for user interaction.
Step 3: HTML Code
Now, let’s create the HTML structure for the slider. Below is an example of how to set up the slider with images:
<div class="slider">
    <div><img src="http://kenwheeler.github.io/slick/img/fonz1.png" /></div>
    <div><img src="http://kenwheeler.github.io/slick/img/fonz2.png" /></div>
    <div><img src="http://kenwheeler.github.io/slick/img/fonz3.png" /></div>
    <div><img src="http://kenwheeler.github.io/slick/img/fonz1.png" /></div>
    <div><img src="http://kenwheeler.github.io/slick/img/fonz2.png" /></div>
    <div><img src="http://kenwheeler.github.io/slick/img/fonz3.png" /></div>
</div>
This code creates a slider containing three images that will be displayed in a carousel format.
Step 4: Complete Code of HTML and Script
Here is the complete HTML code that integrates everything we have discussed so far. This code includes the necessary styles, scripts, and HTML structure to create a fully functional Slick Slider:
<html>
<head>
<style>
.slider {
width: 650px;
margin: 0 auto;
}
img {
width: 200px;
height: 200px;
}
.slick-prev:before, .slick-next:before {
font-family: 'slick';
font-size: 20px;
line-height: 1;
opacity: .75;
color: gray !important;
-webkit-font-smoothing: antialiased;
-moz-osx-font-smoothing: grayscale;
}
</style>
</head>
<body style="margin-top: 62px !important;">
<div class="row">
<div class="slider">
<div><img src="http://kenwheeler.github.io/slick/img/fonz1.png" /></div>
<div><img src="http://kenwheeler.github.io/slick/img/fonz2.png" /></div>
<div><img src="http://kenwheeler.github.io/slick/img/fonz3.png" /></div>
<div><img src="http://kenwheeler.github.io/slick/img/fonz1.png" /></div>
<div><img src="http://kenwheeler.github.io/slick/img/fonz2.png" /></div>
<div><img src="http://kenwheeler.github.io/slick/img/fonz3.png" /></div>
</div>
</div>
<script type="text/javascript" src="//code.jquery.com/jquery-1.11.0.min.js"></script>
<script src="https://cdnjs.cloudflare.com/ajax/libs/slick-carousel/1.8.1/slick.min.js"></script>
<link href="https://cdnjs.cloudflare.com/ajax/libs/slick-carousel/1.8.1/slick.css" rel="stylesheet" />
<link href="https://cdnjs.cloudflare.com/ajax/libs/slick-carousel/1.8.1/slick-theme.css" rel="stylesheet" />
<script>
$(document).ready(function () {
$('.slider').slick({
slidesToShow: 3,
slidesToScroll: 3,
dots: true,
infinite: true,
cssEase: 'linear',
arrows: true
});
});
</script>
</body>
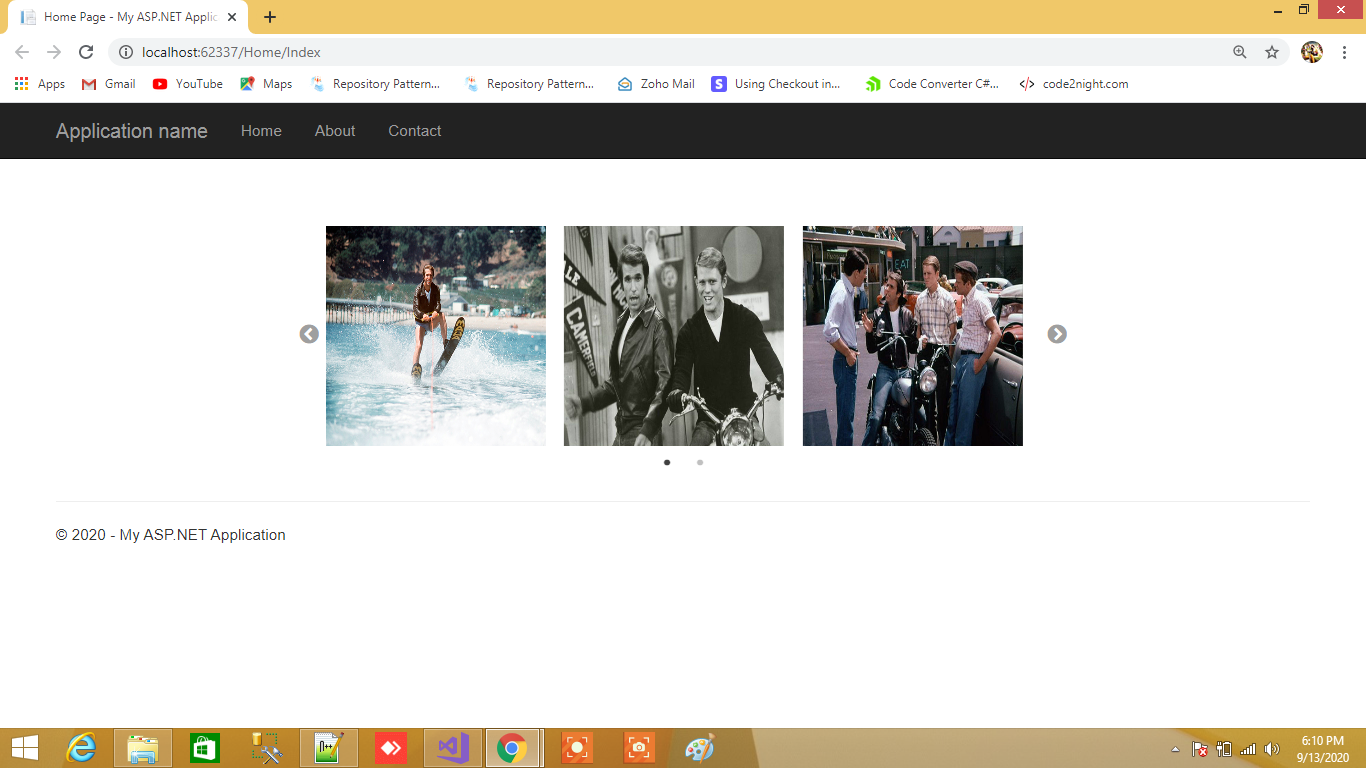
</html>To see the output, press Ctrl + F5 after running the program.
Edge Cases & Gotchas
While Slick Slider is robust, there are some common edge cases and gotchas that developers should be aware of:
- Responsive Behavior: Ensure that the slider is responsive by adjusting the
slidesToShowandslidesToScrollproperties based on the viewport size. You can use media queries or Slick's responsive settings. - Image Loading: If images take too long to load, the slider may not display correctly. Consider using loading placeholders or lazy loading techniques.
- Event Handling: Be cautious when binding events to slider elements. Ensure that you are not duplicating event listeners, which can lead to unexpected behavior.
Performance & Best Practices
To ensure optimal performance when using Slick Slider, consider the following best practices:
- Image Optimization: Optimize images for web use to reduce load times. Use formats like WebP and compress images without losing quality.
- Minimize DOM Manipulation: Avoid excessive DOM manipulation within the slider initialization function. Prepare your content before initializing the slider.
- Use Lazy Loading: Implement lazy loading for images that are not immediately visible in the viewport. This can significantly improve page load times.
- Debounce Resize Events: If you are adjusting slider settings on window resize, debounce the resize event to prevent performance issues.
Conclusion
Slick Slider is a powerful tool for creating responsive carousels that enhance user experience. By following the steps outlined in this guide and adhering to best practices, you can effectively integrate Slick Slider into your projects.
- Understand the core features of Slick Slider and how to implement them.
- Be aware of edge cases and performance considerations.
- Optimize your sliders for responsiveness and load times.
- Utilize best practices to ensure smooth functionality across devices.