Compress image using ImageCompress NuGet package
What is Image Compression?
Image compression refers to the process of reducing the file size of an image without significantly affecting its quality. This is vital for optimizing web applications, as smaller images load faster, which improves the overall user experience. Additionally, compressed images consume less bandwidth, which is particularly beneficial for users with limited data plans or slower internet connections.
There are two main types of image compression: lossy and lossless. Lossy compression reduces file size by permanently eliminating some data, which may result in a decrease in image quality. In contrast, lossless compression reduces file size without losing any data, allowing the original image to be perfectly reconstructed. The ImageCompress NuGet package offers options for both types of compression, making it versatile for different use cases.
Prerequisites
Before you begin, ensure you have the following prerequisites:
- A development environment set up for C# and ASP.NET.
- Visual Studio or a similar IDE installed.
- Basic knowledge of C# and ASP.NET MVC framework.
- The ability to install NuGet packages.
Installing the ImageCompress NuGet Package
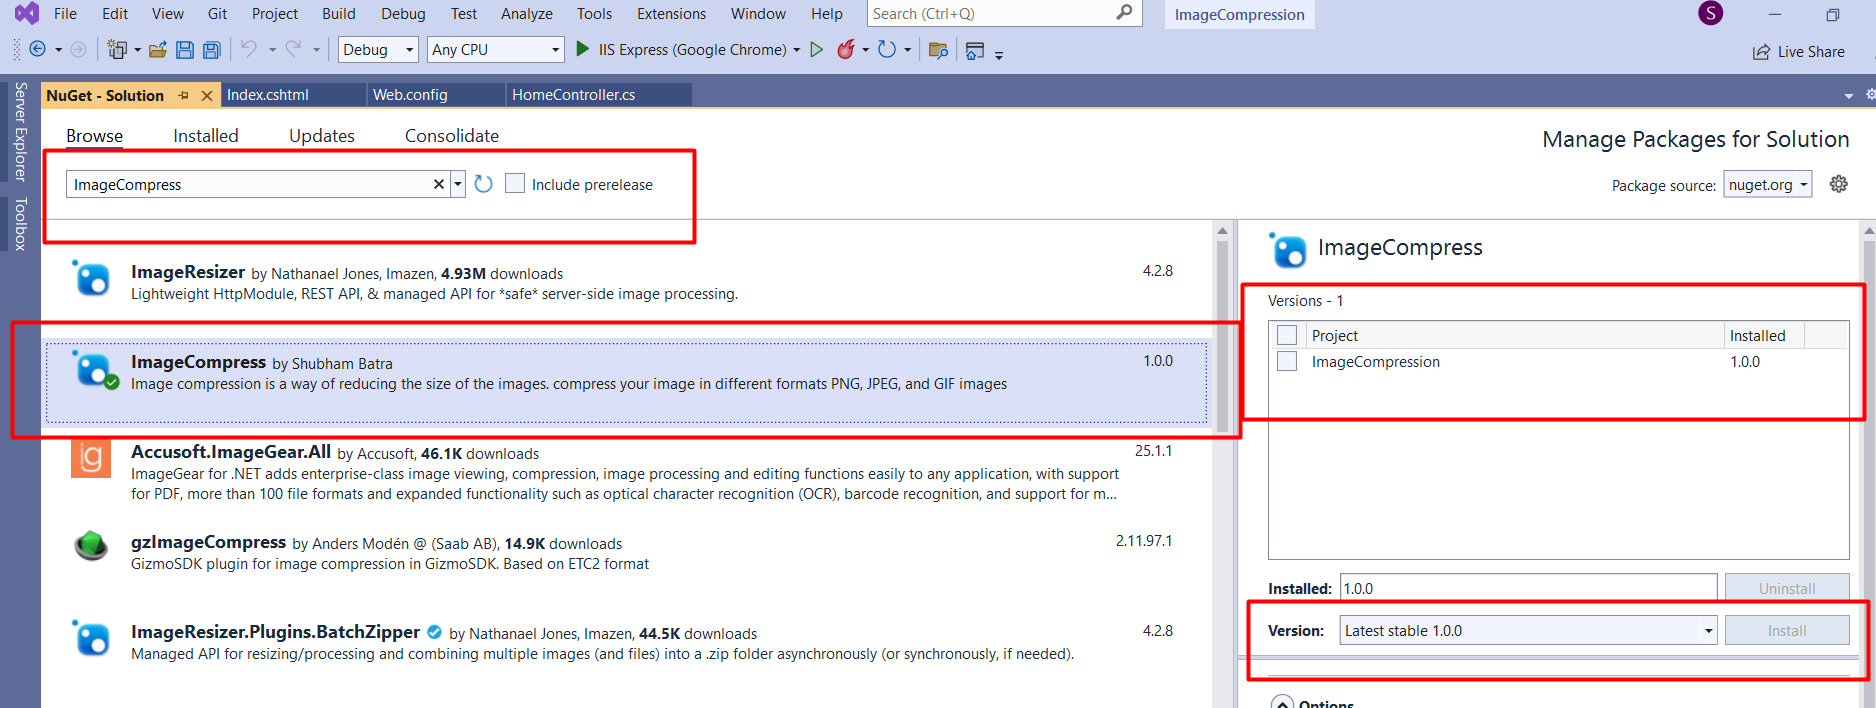
The first step in utilizing the ImageCompress package is to install it in your project. You can do this using the NuGet Package Manager Console or through the NuGet Package Manager GUI in Visual Studio.
Install-Package ImageCompress -Version 1.0.0Once the package is installed, you will be ready to implement image compression in your application. The following image illustrates how to install the package via the NuGet Package Manager GUI:
Implementing Image Compression
After installing the package, you can create an action method in your controller to handle file uploads and compress the images. The code snippet below demonstrates how to read the uploaded file, convert it into a byte array, and then call the compression method from the ImageCompress package:
[HttpPost]
public ActionResult Compression(HttpPostedFileBase file) {
    try {
        using (var mS = new MemoryStream()) {
            var targetpath = Server.MapPath("/Content/Compressed/");
            var imageName = Path.GetFileNameWithoutExtension(file.FileName) + "_Compressed" + DateTime.Now.ToString("ddMMyyyyhhmmss") + Path.GetExtension(file.FileName);
            byte[] image = new byte[file.ContentLength];
            file.InputStream.Read(image, 0, image.Length);
            CompressImage.CompressingImage(targetpath, imageName, image, 900.0f, 900.0f);
        }
    } catch (Exception ex) {
        string exc = ex.Message;
    }
    return RedirectToAction("Index");
}
In this example, we specify the target path for the compressed images and create a unique filename to avoid overwriting existing files. The CompressingImage method is invoked with parameters for the target path, image name, image byte array, and desired width and height.
Creating the Upload Form
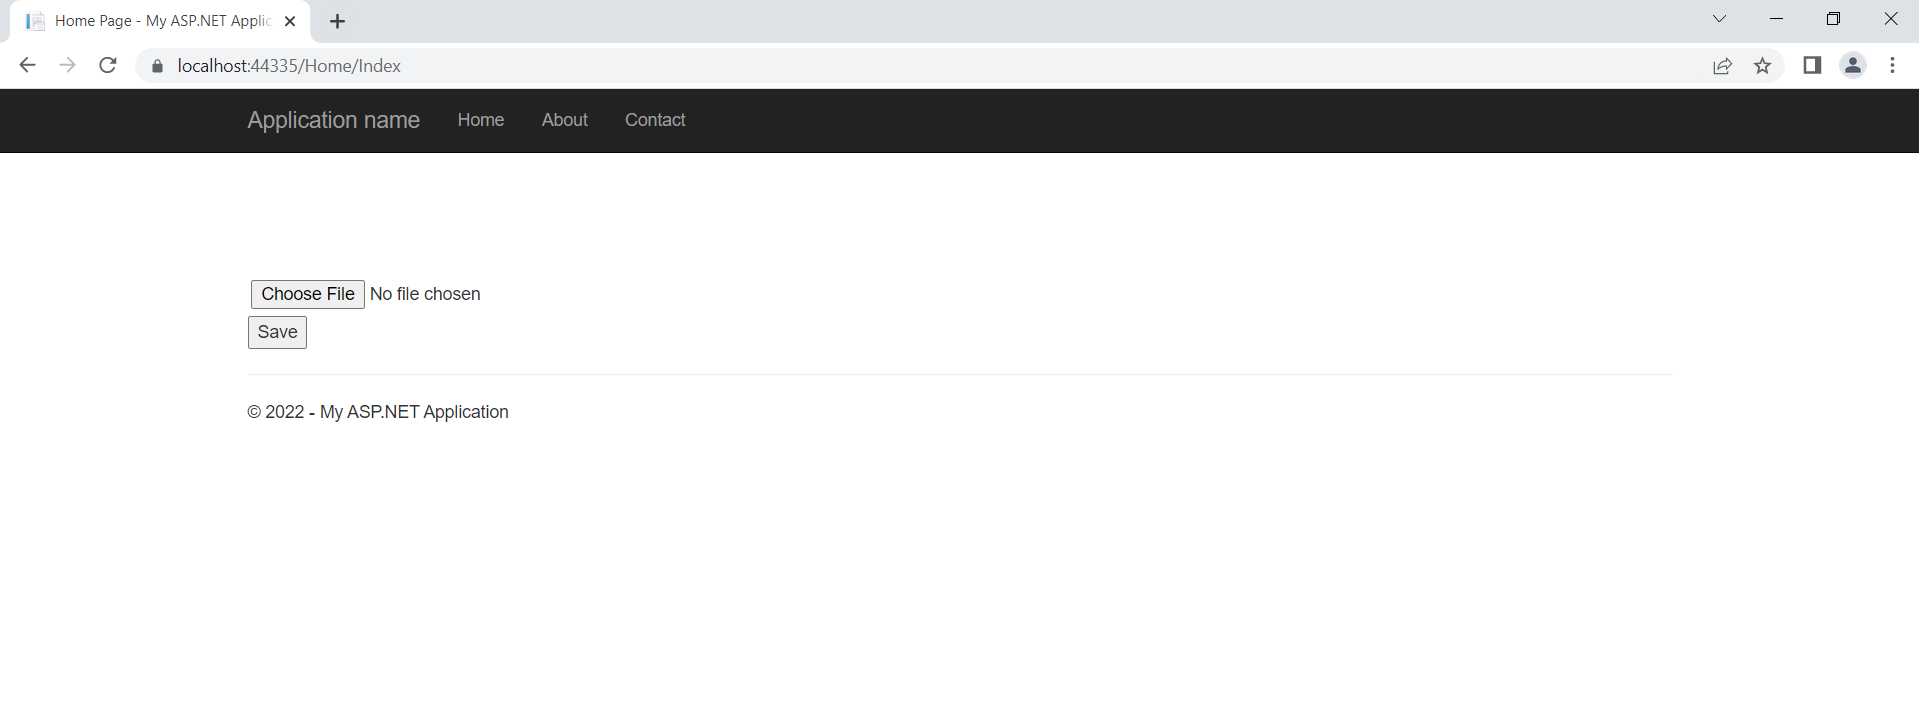
To allow users to upload images for compression, you need to create a simple HTML form in your view. The form should include a file input for selecting images and a submit button:
@{ ViewBag.Title = "Home Page"; }
@using (Html.BeginForm("Compression", "Home", FormMethod.Post, new {@enctype="multipart/form-data" })) {
    <input type="file" id="file" name="file"/>
    <input type="submit" value="Save"/>
}
When the form is submitted, the selected image will be sent to the Compression action method in your controller. After processing, the user will be redirected back to the index page.
Testing the Compression
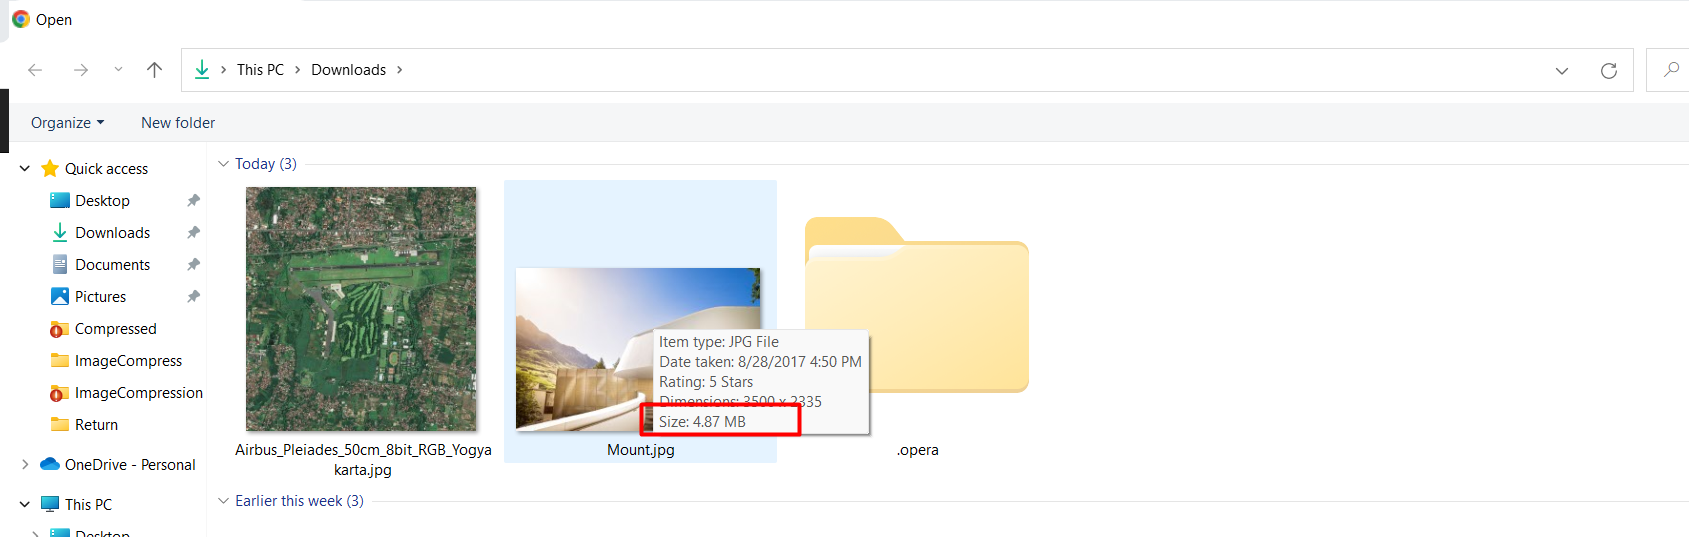
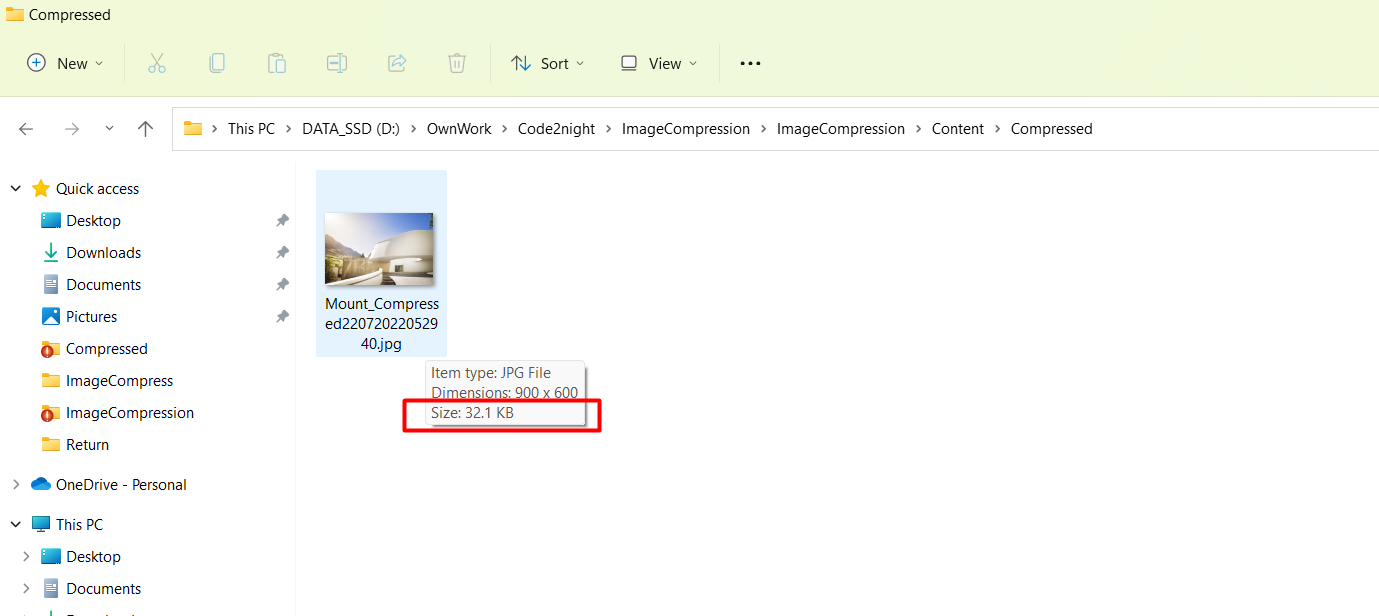
Run your application and navigate to the page with the upload form. Select a large image file and click the save button. Upon successful upload and compression, the compressed image should be saved in the specified folder, demonstrating a significant reduction in file size.
The following image shows the compressed folder with the newly saved image:
Edge Cases & Gotchas
While implementing image compression, there are several edge cases and potential issues to be aware of:
- File Size Limits: Ensure that your application can handle large files. You might need to configure the maximum file upload size in your web application's configuration settings.
- File Format Support: The ImageCompress package supports various formats, but ensure that the uploaded files are in a compatible format. You may want to validate the file type before processing.
- Error Handling: Implement robust error handling to manage exceptions that may occur during file reading or compression. This will improve user experience and provide informative feedback.
Performance & Best Practices
To ensure optimal performance when using the ImageCompress package, consider the following best practices:
- Optimize Images Before Upload: Encourage users to compress their images locally before uploading, especially if they are very large.
- Asynchronous Processing: For large files, consider implementing asynchronous processing to avoid blocking the main thread, improving responsiveness.
- Monitor Compression Quality: Test different compression settings to find the best balance between size reduction and image quality. The parameters used in the CompressingImage method can be adjusted based on your requirements.
- Cache Compressed Images: If the same images are frequently uploaded, consider caching the compressed versions to speed up subsequent requests.
Conclusion
In this tutorial, we explored how to compress images using the ImageCompress NuGet package in an ASP.NET application. By following the steps outlined, you can effectively reduce image file sizes, enhancing your application's performance and user experience.
Key Takeaways:
- Image compression is essential for optimizing web performance.
- The ImageCompress NuGet package provides an easy way to compress images in various formats.
- Implementing error handling and validation is crucial for a robust application.
- Adopting best practices can significantly enhance the effectiveness of image compression.
With these techniques, you can ensure that your applications handle images efficiently, providing a faster and more responsive experience for your users.