Zoom C# Wrapper Integration
Overview of Zoom C# Wrapper Integration
The Zoom C# wrapper provides a convenient interface for developers to utilize Zoom's powerful video conferencing features within their .NET applications. This integration is particularly useful for businesses that require seamless communication tools within their software solutions. By integrating Zoom, developers can offer users features like scheduling meetings, joining video calls, and managing participants directly from their applications.
Zoom's SDK allows for a variety of use cases, including online education platforms, telehealth applications, and remote team collaboration tools. As remote work becomes increasingly common, understanding how to leverage such tools can significantly enhance your application's value proposition.
Prerequisites
Before you start integrating the Zoom C# wrapper, ensure you have the following prerequisites:
- Visual Studio: Make sure you have Visual Studio installed with C++ development tools. This is essential for building the Zoom C# wrapper.
- Zoom Account: Create a Zoom account if you don’t already have one. This will be necessary for obtaining your SDK credentials.
- SDK Key and Secret: After creating your account, you need to generate an SDK Key and Secret from the Zoom App Marketplace.
- Basic Knowledge of C#: Familiarity with C# and .NET development is recommended for a smooth integration process.
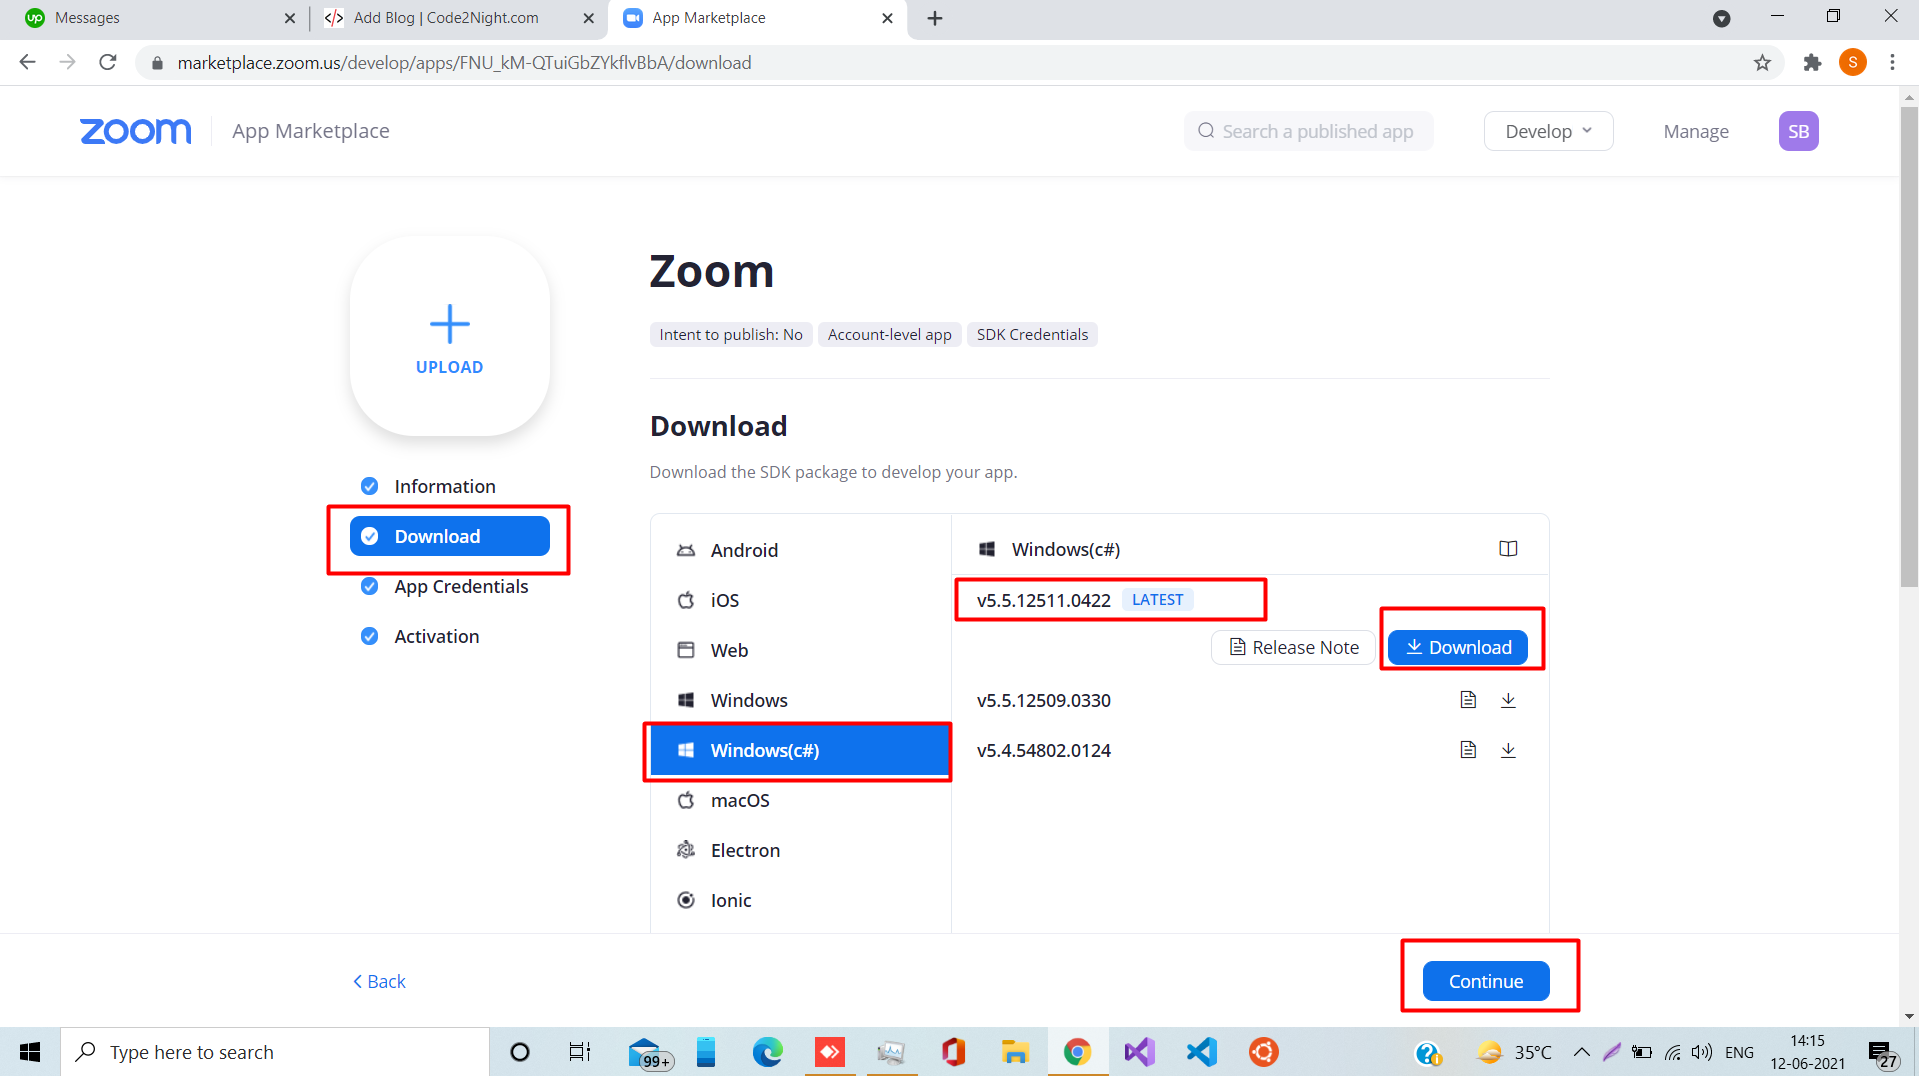
Step 1: Download the Sample Code for Zoom C# Wrapper
The first step is to create a new Zoom account if you haven't done so already. Once your account is set up, navigate to the Zoom App Marketplace and download the sample code for the Zoom C# wrapper. The specific version you need can be found on the official Zoom SDK documentation page.
After downloading, unzip the package (e.g., zoom-c-sharp-wrapper-5.5.12511.0422.zip) and ensure you start with a clean solution in Visual Studio.
Step 2: Open the Solution in Visual Studio
Open the extracted solution file zoom_sdk_c_sharp_wrap.sln in Visual Studio. It's important to ensure that the C++ development tools are installed as they are required for building the wrapper.
Step 3: Configure Project Settings
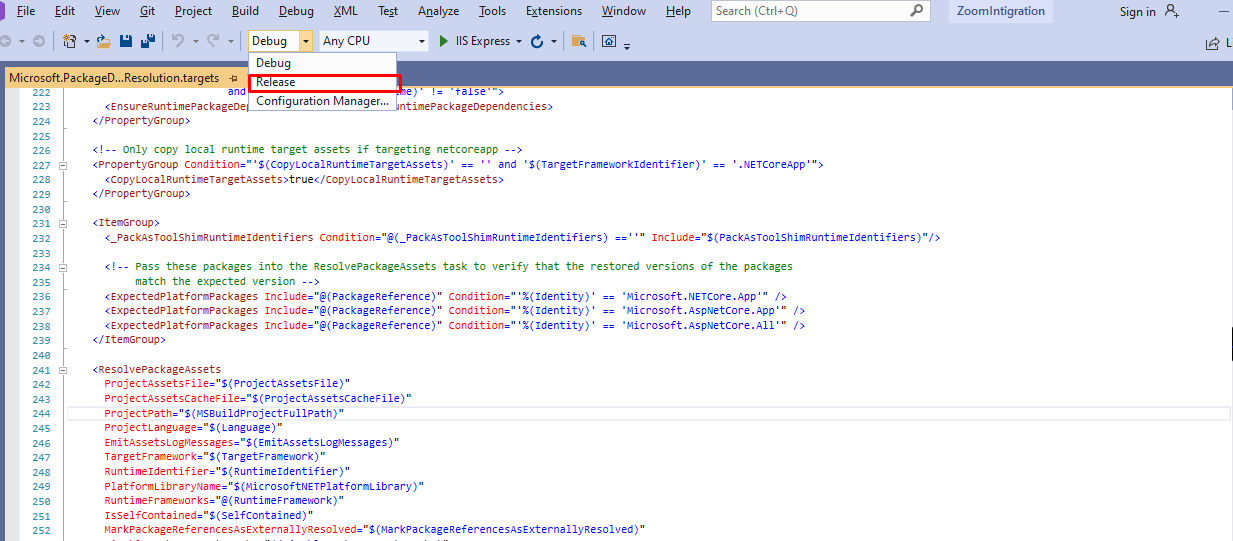
Before building the solution, you need to configure the project settings. Change the project configuration to Release and set the platform to x86. This configuration is necessary for compatibility with the Zoom SDK.
// Example of changing configuration in Visual Studio
// Right-click on the solution in Solution Explorer
// Select 'Properties' and navigate to 'Configuration Properties'
// Change 'Configuration' to 'Release' and 'Platform' to 'x86'
Step 4: Build the Solution
After configuring the project settings, build your solution. This can be done by selecting Build from the top menu and then Build Solution. Wait for the build process to complete successfully.
Step 5: Set Startup Project
Once the build is complete, locate the zoom_sdk_demo project in the Solution Explorer. Right-click on it and select Set as Startup Project. This ensures that the demo application runs when you start debugging.
Step 6: Run the Application
Run the solution by clicking on the Start button in Visual Studio. A window will open displaying the MainWindow.xml interface, which serves as the entry point for user interaction.
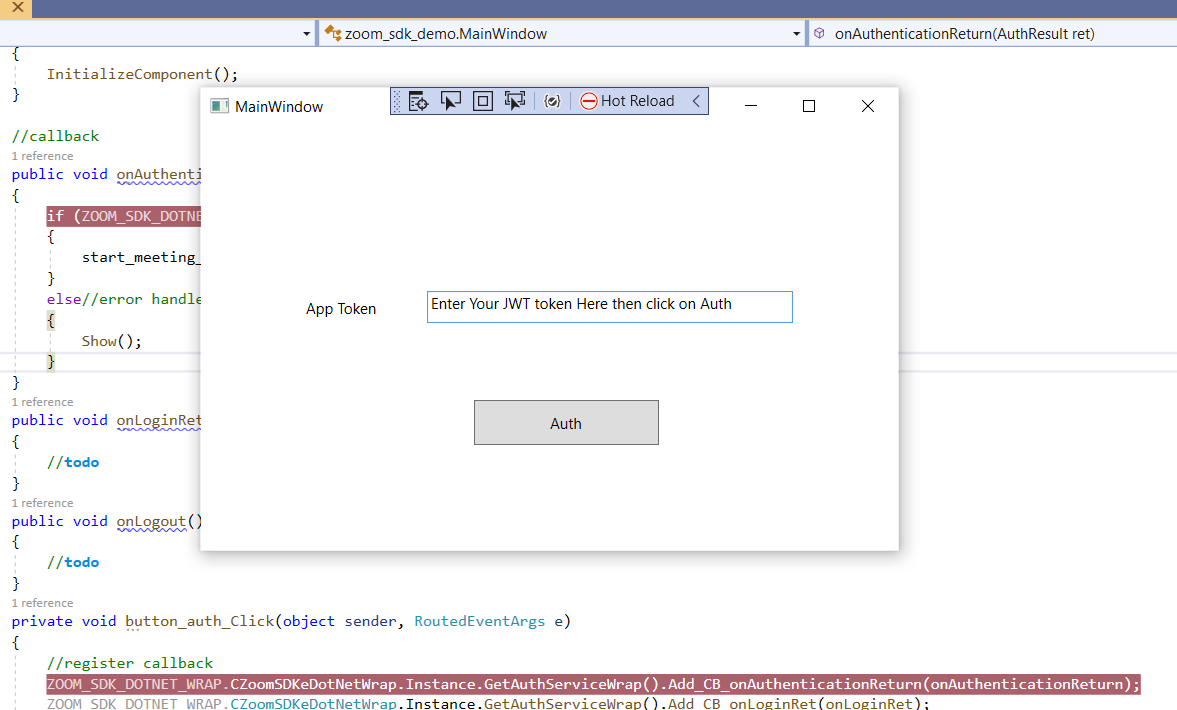
Step 7: Input Token and Authenticate
To authenticate your application with Zoom, you need to input a JWT token. This token can be generated using your SDK Key and Secret. To obtain the token:
- Go to Zoom's website and create a new meeting. This will provide you with a meeting number and password.
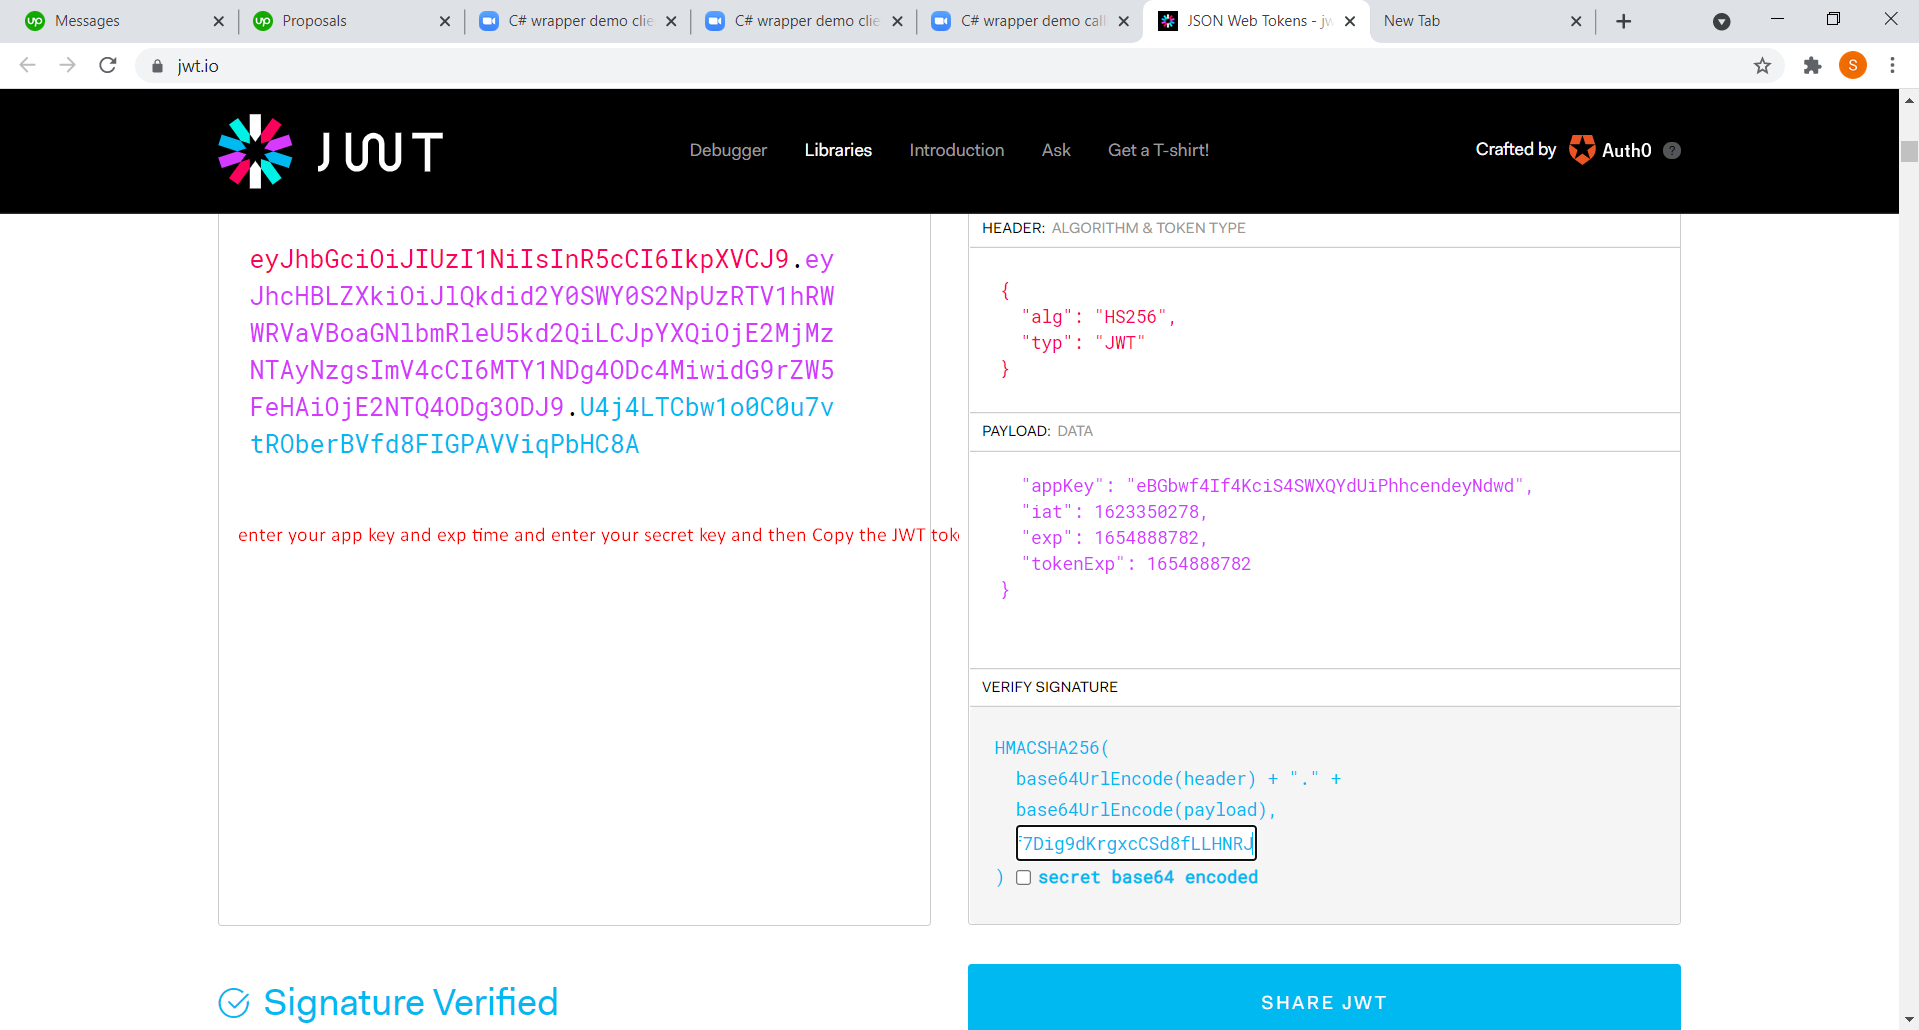
- Use the following JSON structure to generate your JWT token:
{
  "appKey": "your_sdk_key",
  "iat": 1623350278,
  "exp": 1654888782,
  "tokenExp": 1654888782
}
Replace your_sdk_key with the SDK Key you obtained earlier. After generating the token, enter it in the designated textbox in the MainWindow and click Auth.
Step 8: Create a New Meeting
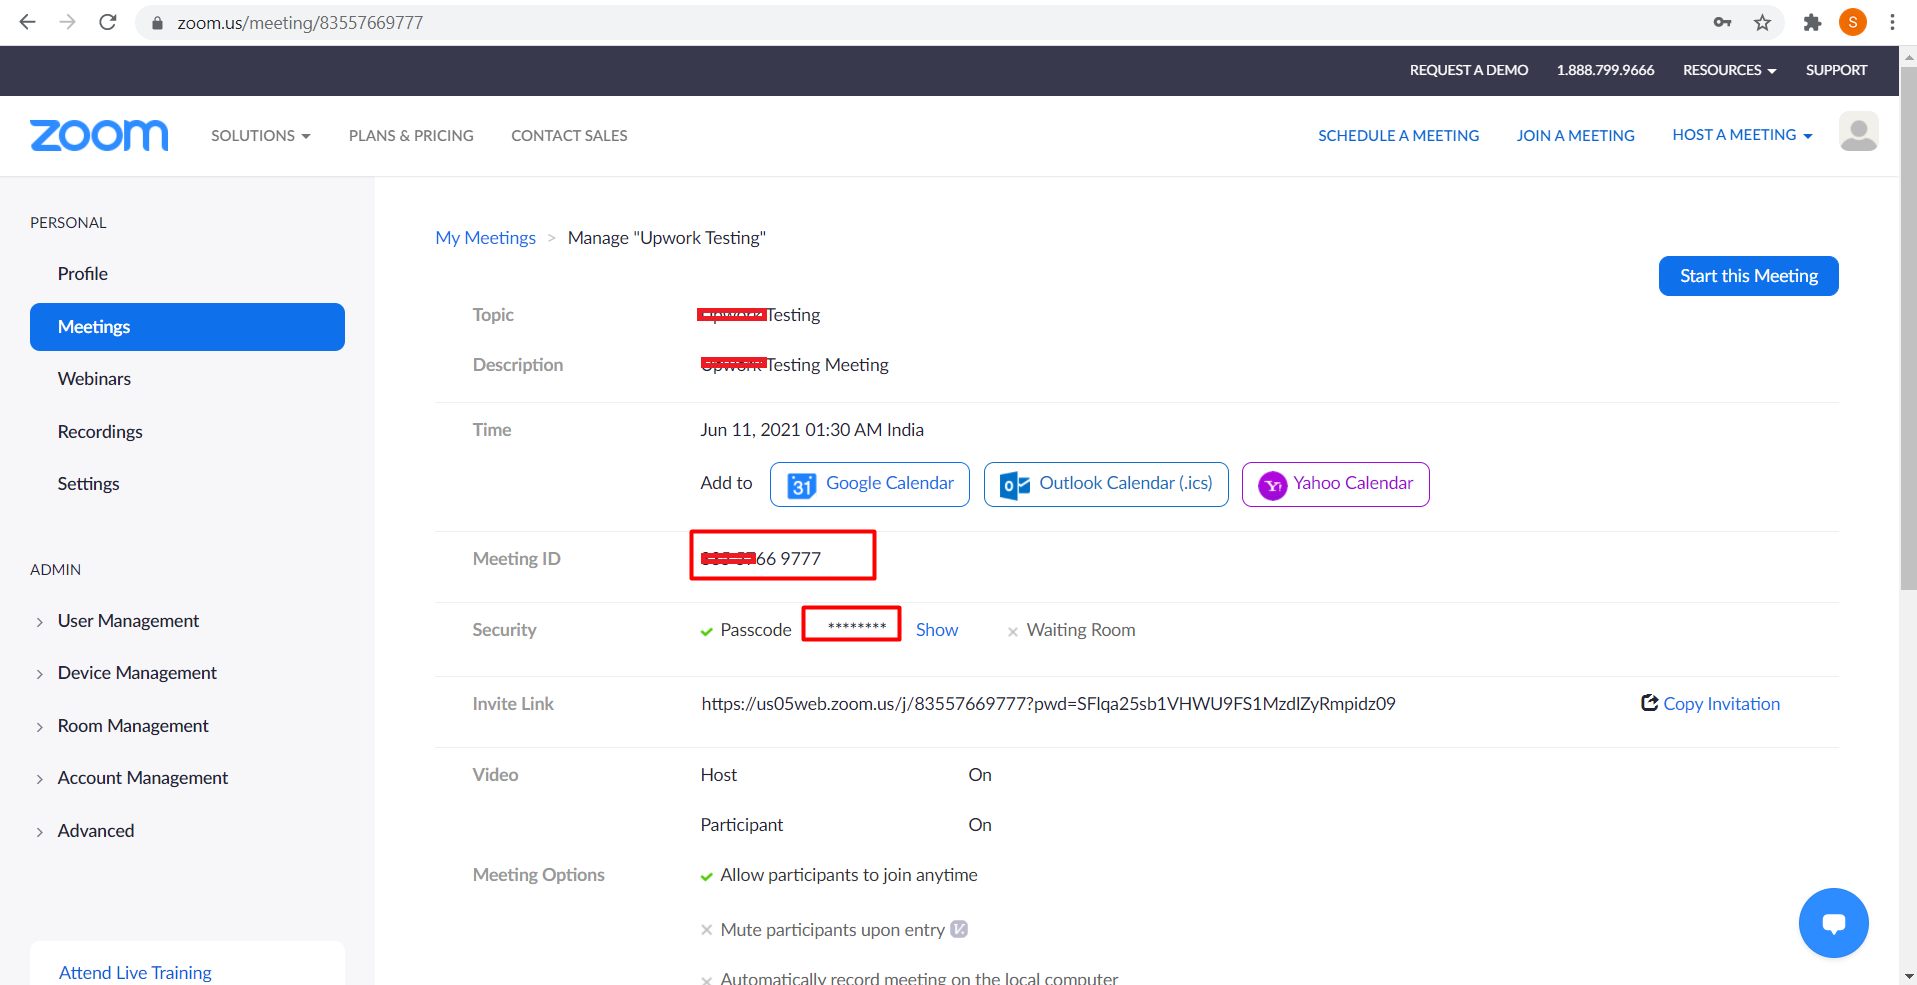
After authenticating, you will need to create a new meeting on the Zoom platform. Log in to your Zoom account and create a meeting. Make sure to note the meeting ID and password, as you will need them to join the meeting.
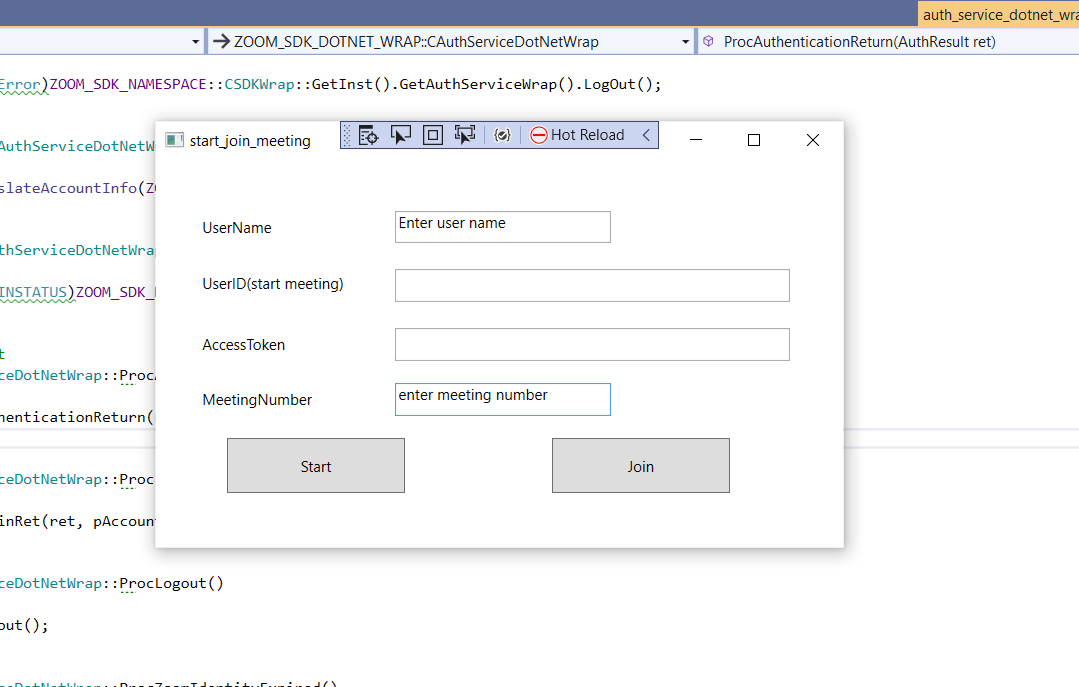
Step 9: Join the Meeting
Once you have the meeting ID, a pop-up will appear prompting you to enter the meeting number. Input the meeting ID you obtained earlier.
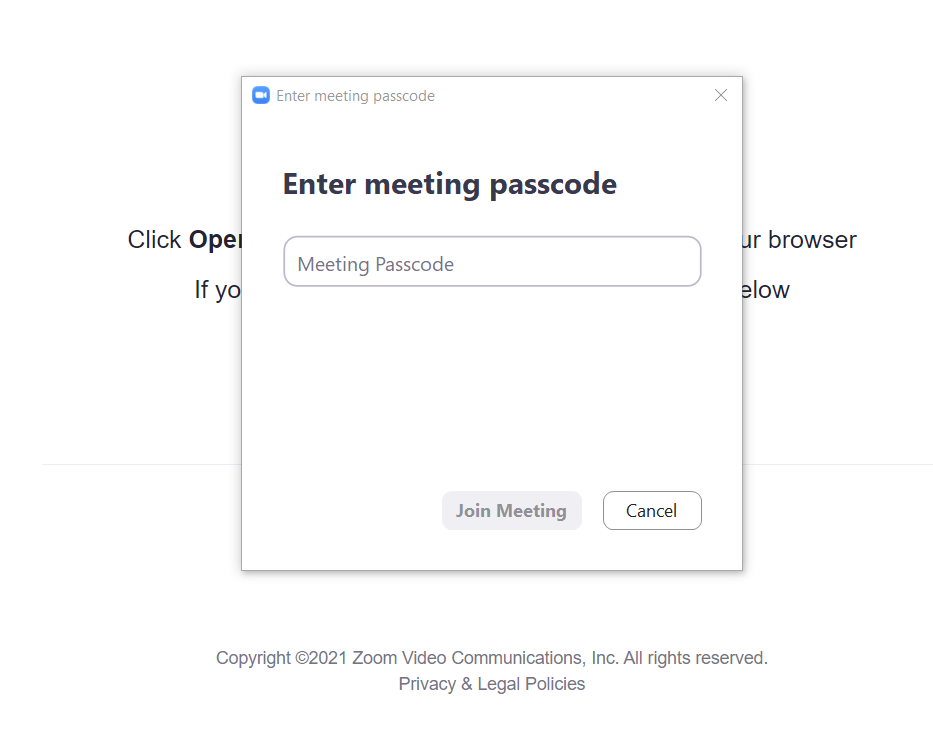
Step 10: Enter Meeting Password
Next, you will be prompted to enter the meeting password. Use the password you received when creating the meeting and click Join with Video.

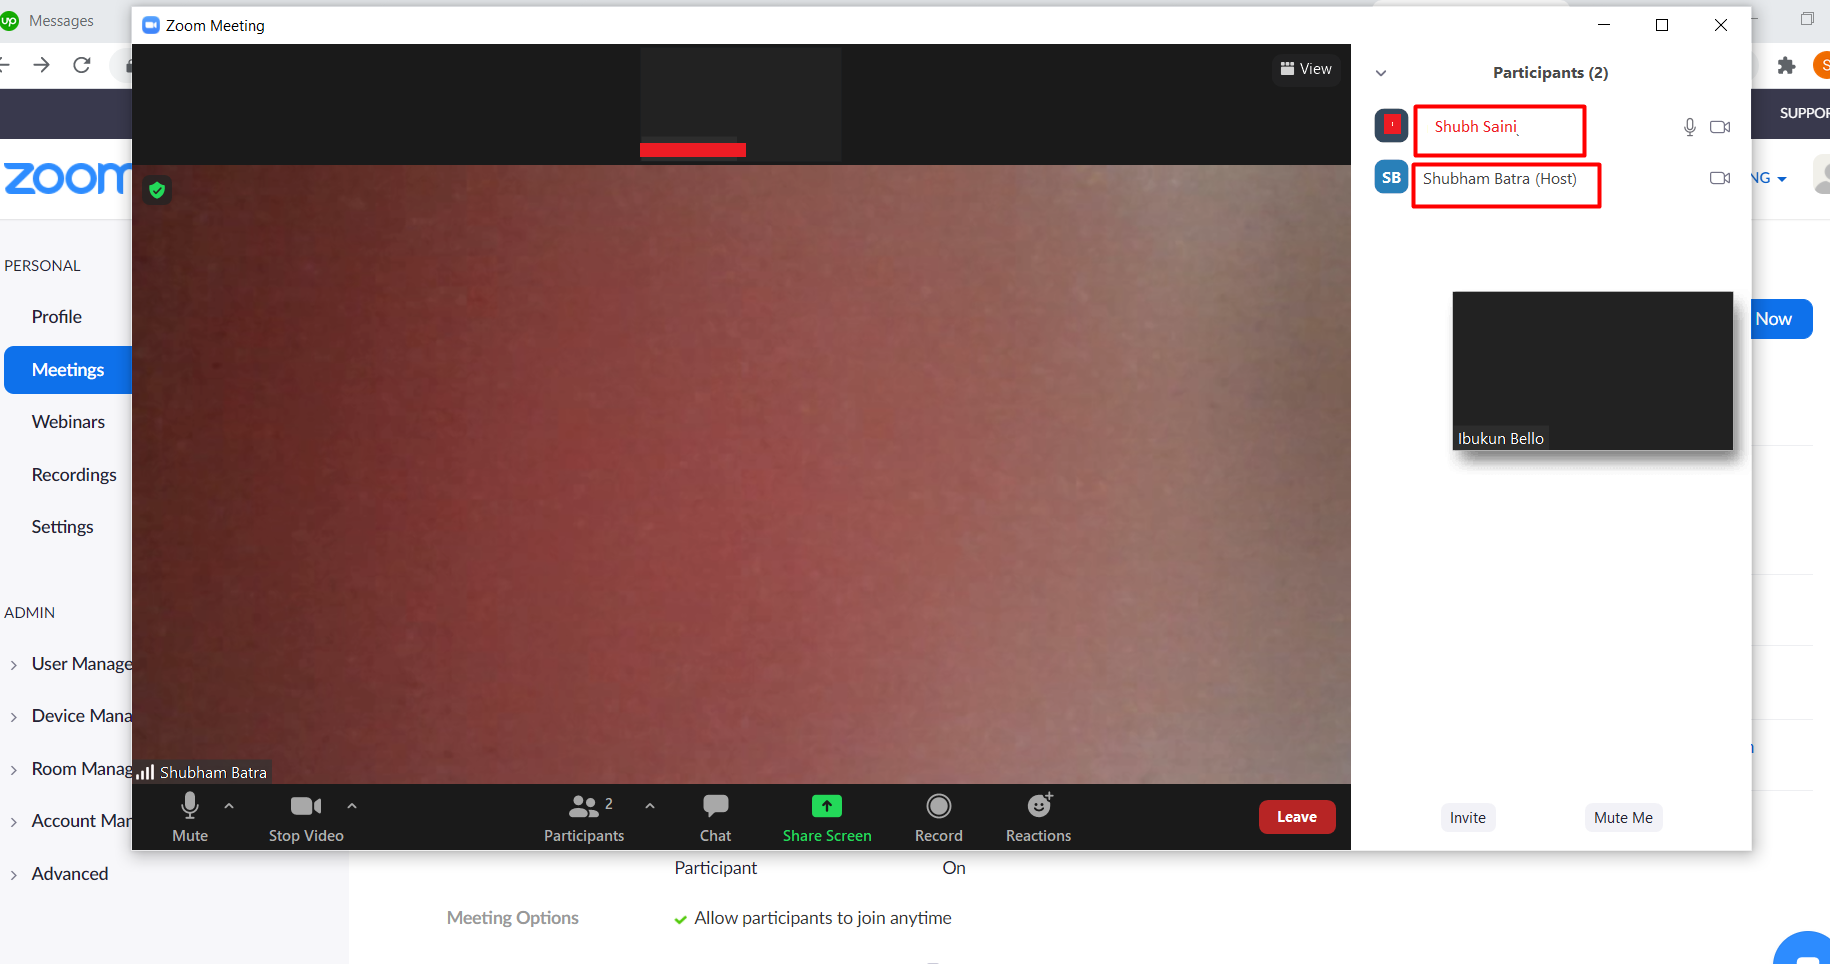
Step 11: Start Your Meeting
After entering the meeting password, a new window will open, indicating that your meeting has started. You can now use the Zoom UI to manage your meeting, including options like screen sharing and participant management.
Edge Cases & Gotchas
When integrating the Zoom C# wrapper, there are several edge cases and potential issues to keep in mind:
- Token Expiration: Ensure that the JWT token is generated with a valid expiration time. If the token expires, the user will not be able to join the meeting.
- Network Issues: Be prepared to handle network errors gracefully. If the user has a poor internet connection, it may affect their ability to join or maintain a stable meeting.
- Meeting Limitations: Be aware of the limitations of your Zoom account plan regarding the number of participants and meeting duration.
Performance & Best Practices
To ensure optimal performance when integrating the Zoom C# wrapper, consider the following best practices:
- Token Management: Implement a secure method for generating and storing tokens to prevent unauthorized access.
- Error Handling: Incorporate comprehensive error handling to manage exceptions that might arise during API calls or user interactions.
- User Feedback: Provide users with clear feedback during the meeting joining process, such as loading indicators or error messages.
- Testing: Thoroughly test your integration in different scenarios to ensure robustness and reliability.
Conclusion
Integrating the Zoom C# wrapper into your .NET application can significantly enhance its functionality, allowing for seamless video conferencing capabilities. By following the steps outlined in this article, you can easily set up and manage Zoom meetings programmatically. Here are some key takeaways:
- Understand the prerequisites for Zoom C# wrapper integration.
- Follow the detailed steps for downloading, configuring, and running the Zoom SDK.
- Be aware of edge cases and implement best practices for a smoother user experience.
- Test your integration thoroughly to ensure it meets user needs and expectations.