Authentication for swagger UI in production in ASP.Net Core 6.0
Understanding Swagger UI and Its Importance
Swagger UI is a powerful tool that provides an interactive interface for API documentation. It allows developers and users to visualize and interact with the API's endpoints without needing to write any code. However, exposing this interface publicly can lead to security vulnerabilities, especially if sensitive data is involved. By implementing authentication, you can control access to the Swagger UI, ensuring that only authorized personnel can view or interact with your API documentation.
In a production environment, securing your API documentation is not just a best practice; it is essential. Unauthorized access can lead to data breaches, misuse of API functionality, and other security issues. Therefore, implementing authentication is critical in protecting your application's integrity and user data.
Prerequisites
Before you begin, ensure you have the following prerequisites:
- Basic understanding of ASP.NET Core and C#.
- ASP.NET Core 6.0 SDK installed on your machine.
- A working ASP.NET Core application where you want to implement Swagger UI authentication.
Implementing Basic Authentication for Swagger UI
To secure your Swagger UI, you will create a custom middleware that checks for basic authentication credentials in the request headers. Here's how to set it up:
public class SwaggerBasicAuth { private readonly RequestDelegate next; public SwaggerBasicAuth(RequestDelegate next) { this.next = next; } public async Task InvokeAsync(HttpContext context) { if (context.Request.Path.StartsWithSegments("/swagger")) { string authHeader = context.Request.Headers["Authorization"]; if (authHeader != null && authHeader.StartsWith("Basic ")) { // Get the credentials from request header var header = AuthenticationHeaderValue.Parse(authHeader); var inBytes = Convert.FromBase64String(header.Parameter); var credentials = Encoding.UTF8.GetString(inBytes).Split(':'); var username = credentials[0]; var password = credentials[1]; // validate credentials if (username.Equals("Swagger") && password.Equals("Shubham123")) { await next.Invoke(context).ConfigureAwait(false); return; } } context.Response.Headers["WWW-Authenticate"] = "Basic"; context.Response.StatusCode = (int)HttpStatusCode.Unauthorized; } else { await next.Invoke(context).ConfigureAwait(false); } } }The above middleware checks if the request path starts with '/swagger'. If it does, it inspects the 'Authorization' header for basic authentication credentials. If the credentials are valid, it allows the request to proceed; otherwise, it responds with a 401 Unauthorized status.
Registering the Middleware in Program.cs
Next, you need to register the authentication middleware in your application's startup configuration. Open your Program.cs file and add the necessary code:
var builder = WebApplication.CreateBuilder(args); // Add services to the container. builder.Services.AddControllers(); builder.Services.AddEndpointsApiExplorer(); builder.Services.AddSwaggerGen(c => { c.SwaggerDoc("v1", new Microsoft.OpenApi.Models.OpenApiInfo { Title = "SwaggerAuth", Version = "v1" }); }); var app = builder.Build(); // Configure the HTTP request pipeline. app.UseSwaggerAuthorized(); app.UseSwagger(); app.UseSwaggerUI(c => { c.SwaggerEndpoint("/swagger/v1/swagger.json", "SwaggerAuth V1"); }); app.UseHttpsRedirection(); app.UseAuthorization(); app.MapControllers(); app.Run();Make sure to call UseSwaggerAuthorized() before UseSwagger() and UseSwaggerUI() to ensure that the authentication middleware is executed before accessing the Swagger UI.
Testing Your Swagger UI Authentication
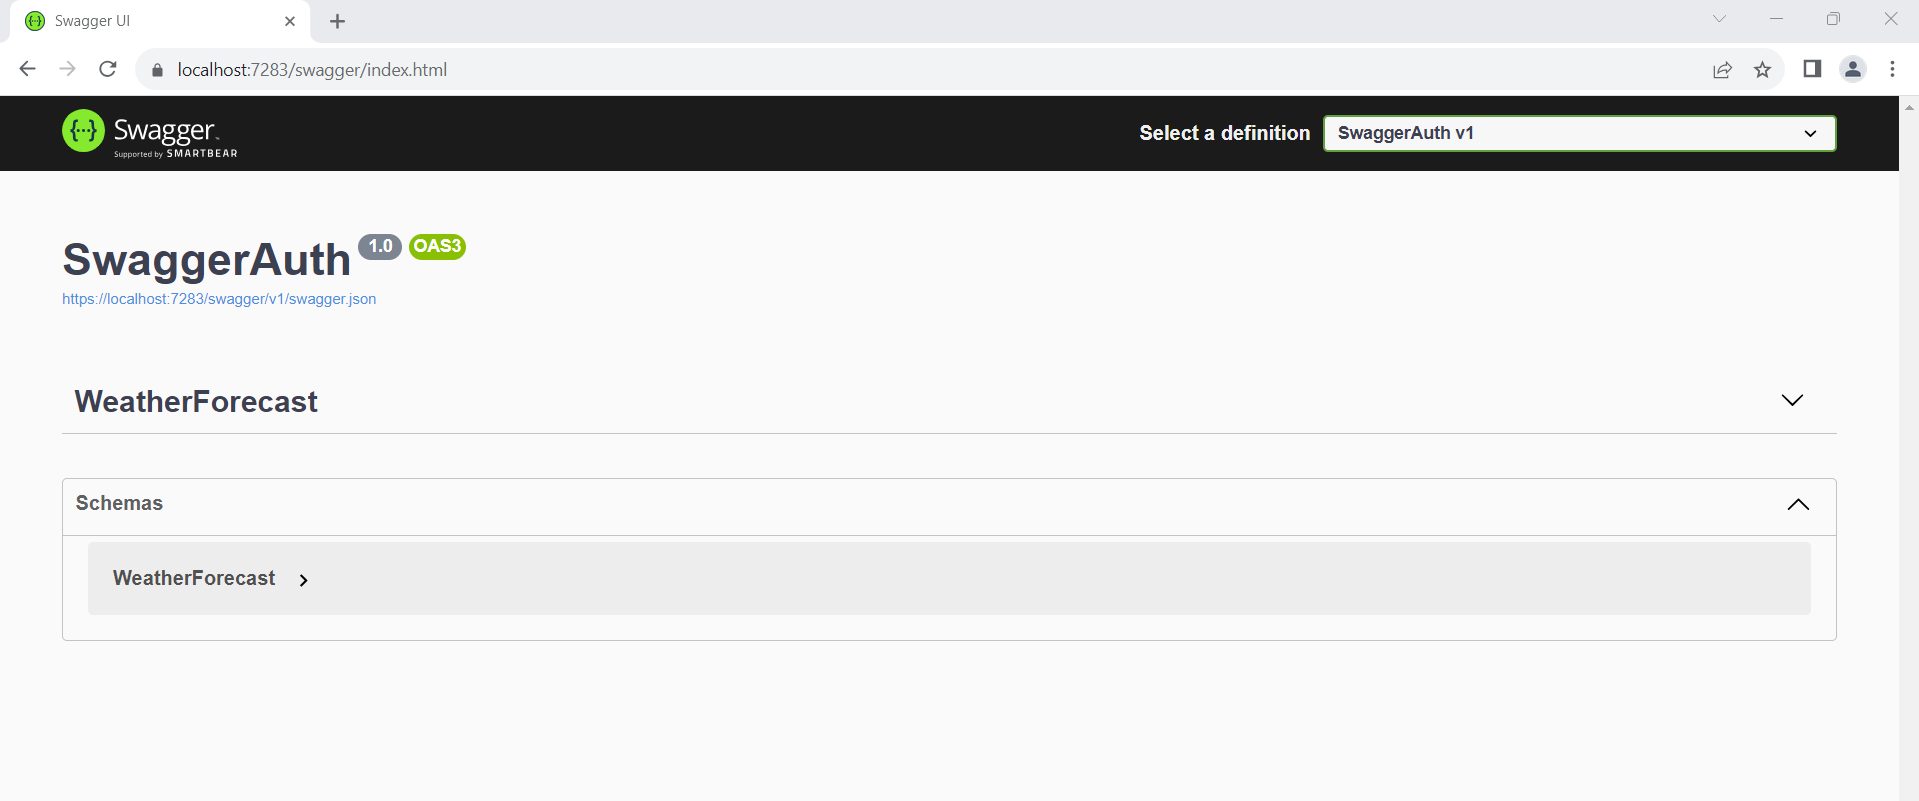
After implementing the middleware and updating your Program.cs file, run your application. When you navigate to the Swagger UI, you should see a prompt for credentials. Enter the username and password you defined in your middleware (in this case, 'Swagger' and 'Shubham123') to access the API documentation.
Here's what you can expect:
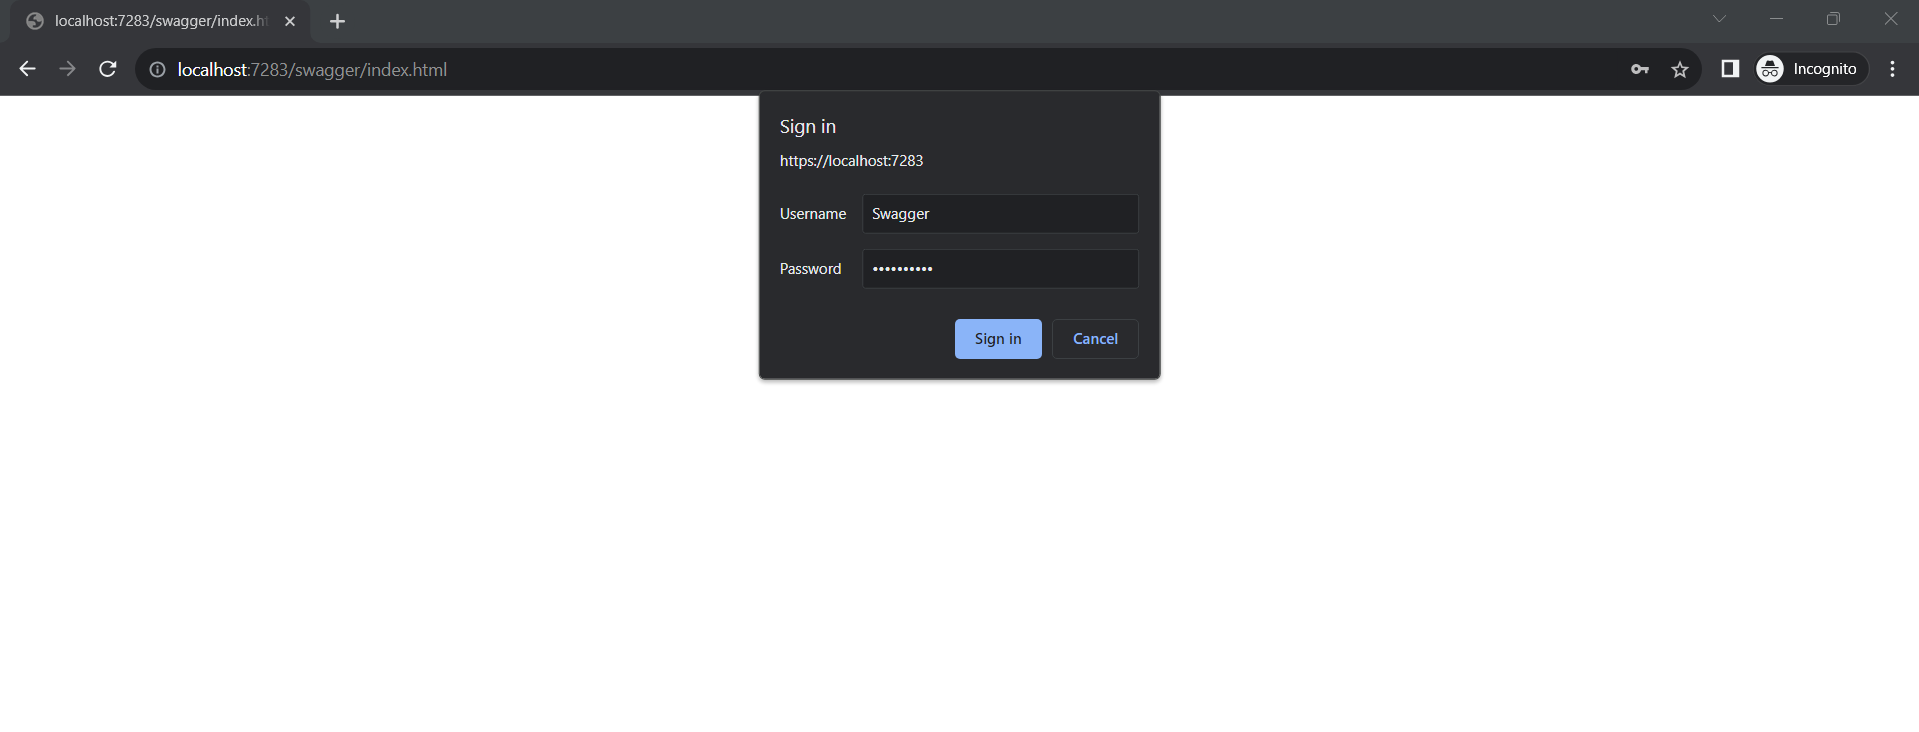
If the credentials are correct, you will be granted access to the Swagger UI. If not, you'll receive a 401 Unauthorized response.
Edge Cases & Gotchas
While implementing basic authentication for Swagger UI, consider the following edge cases and gotchas:
- Invalid Credentials: Ensure that invalid credentials return a clear 401 response to prevent confusion.
- Session Management: Basic authentication does not maintain session state. Users will need to re-enter credentials if they navigate away from the Swagger UI.
- HTTPS Requirement: Always use HTTPS when transmitting credentials to prevent interception during transmission.
Performance & Best Practices
When securing your Swagger UI, consider the following best practices:
- Use Strong Passwords: Ensure that the credentials used for authentication are strong and not easily guessable.
- Monitor Access: Implement logging to monitor access attempts to your Swagger UI. This can help identify unauthorized access attempts.
- Limit Access: If possible, restrict access to the Swagger UI to specific IP addresses or use VPNs to limit exposure.
- Regularly Update Credentials: Change your authentication credentials periodically to improve security.
Conclusion
Securing your Swagger UI in a production environment is vital for protecting your API documentation and sensitive information. By implementing basic authentication, you can control access and ensure that only authorized users can view your API endpoints. Here are the key takeaways:
- Implement basic authentication to secure your Swagger UI.
- Always use HTTPS to protect credentials during transmission.
- Monitor access and regularly update authentication credentials.
- Consider additional security measures such as IP whitelisting and logging.