Git Tutorial for Beginners and Intermediate
GitHub
GitHub is a platform for hosting your code for version control and collaboration with other people. It lets you and others work together on projects from anywhere. This tutorial teaches you basics of GitHub like repositories, commits ,branches and creating pull requests. So , the first step is to create a github account
Step 1: Go to https://Github.com Then Create a GitHub account or log in with your credentials
You can simply create your github account as that is free for basic use and provides limited number of repositories without any cost. So , we will create our account and then will login from that.
Step 2: Create a new repository
Now since we have already done login, the first step for adding your project to github is to create a new repository. A repository is like a container that stores your project. You can choose any name for your repository. You can check the steps in below screenshots
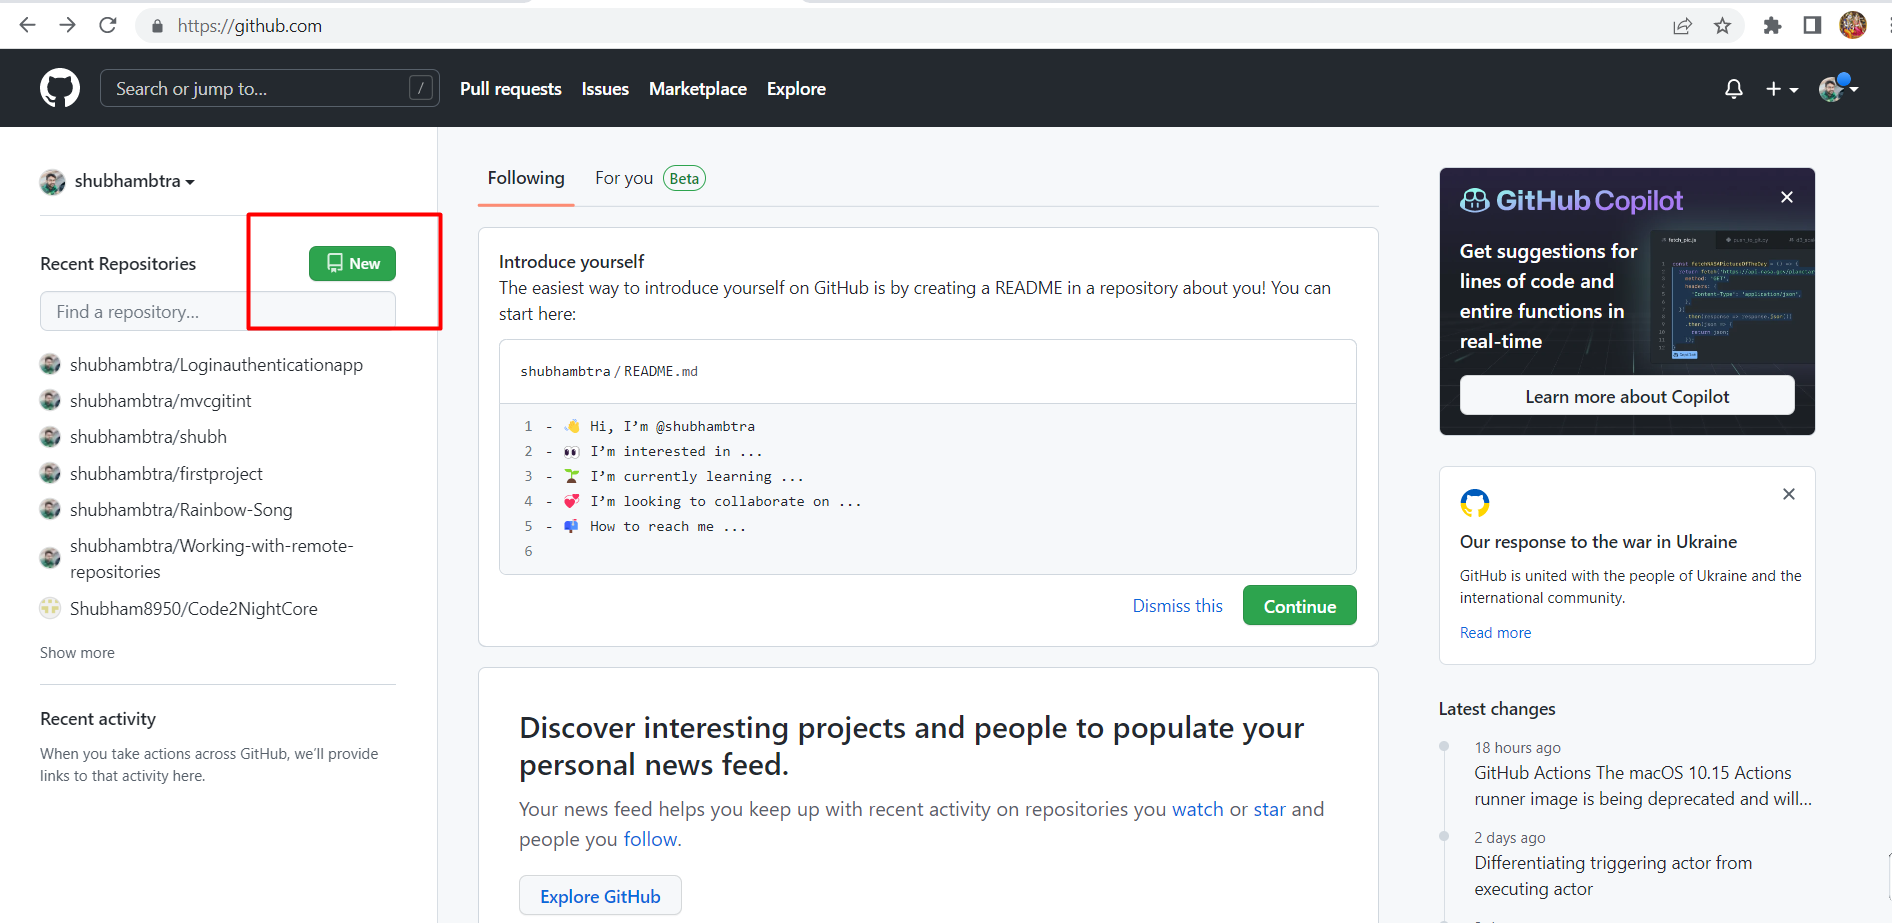
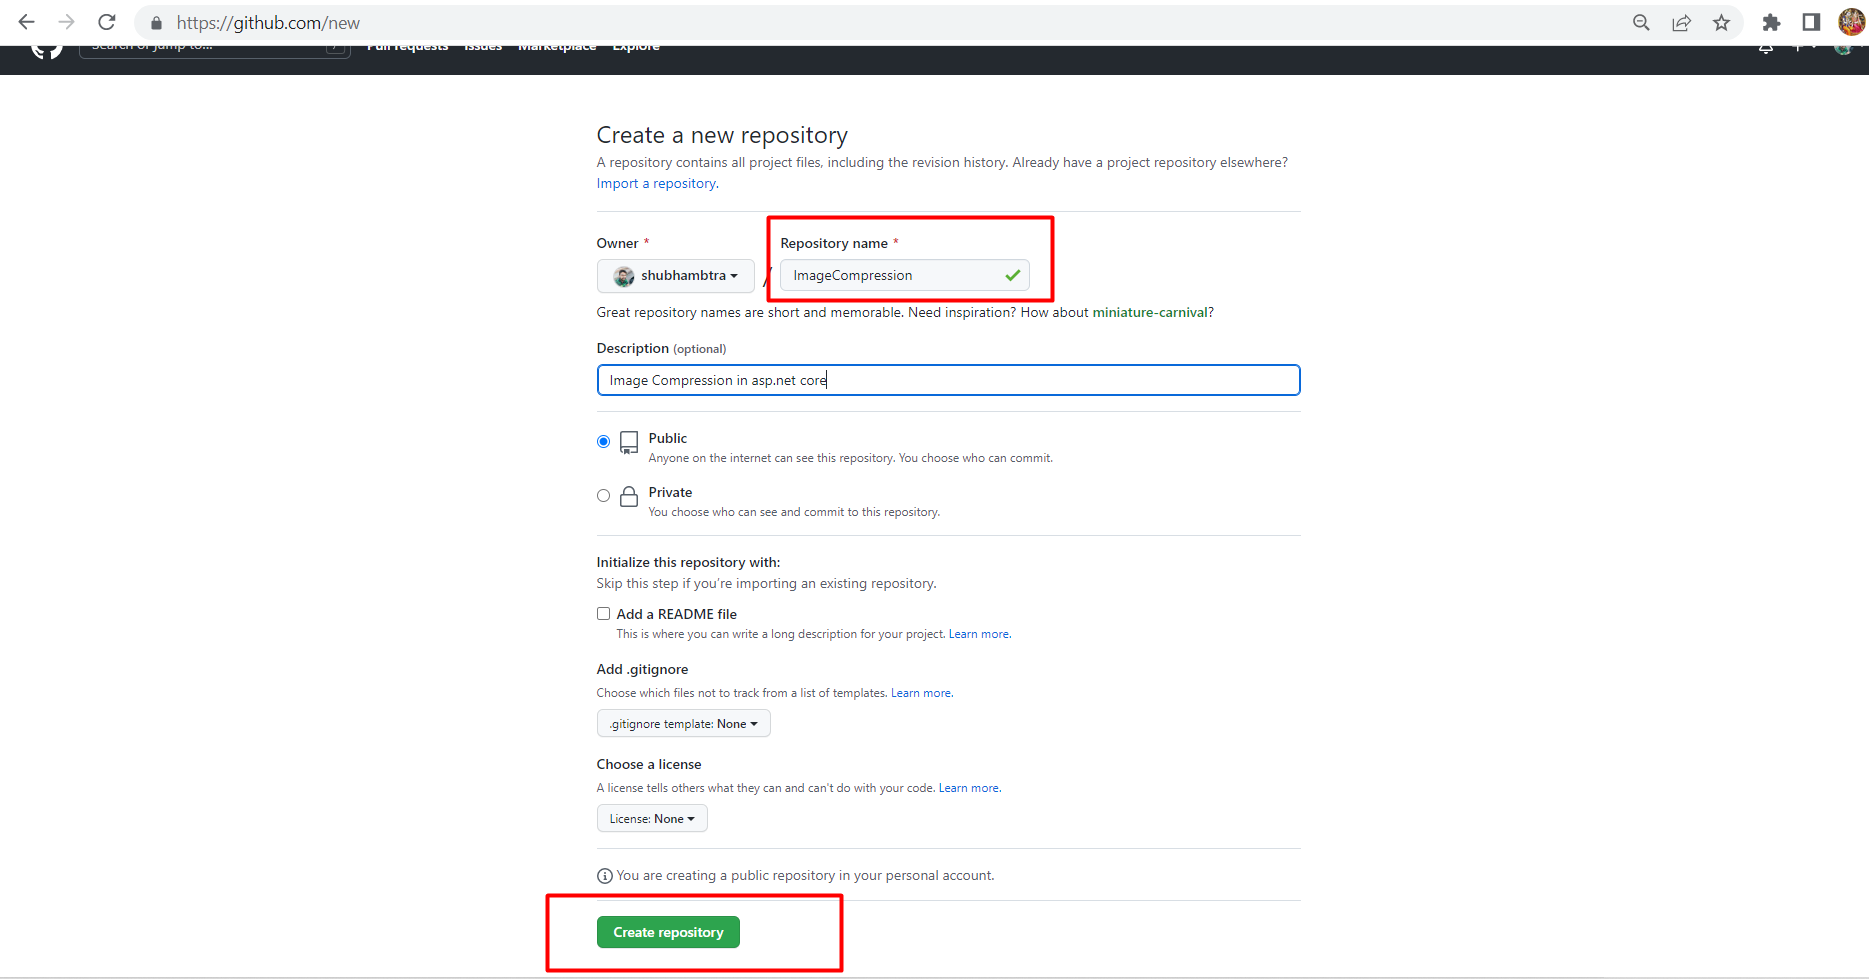
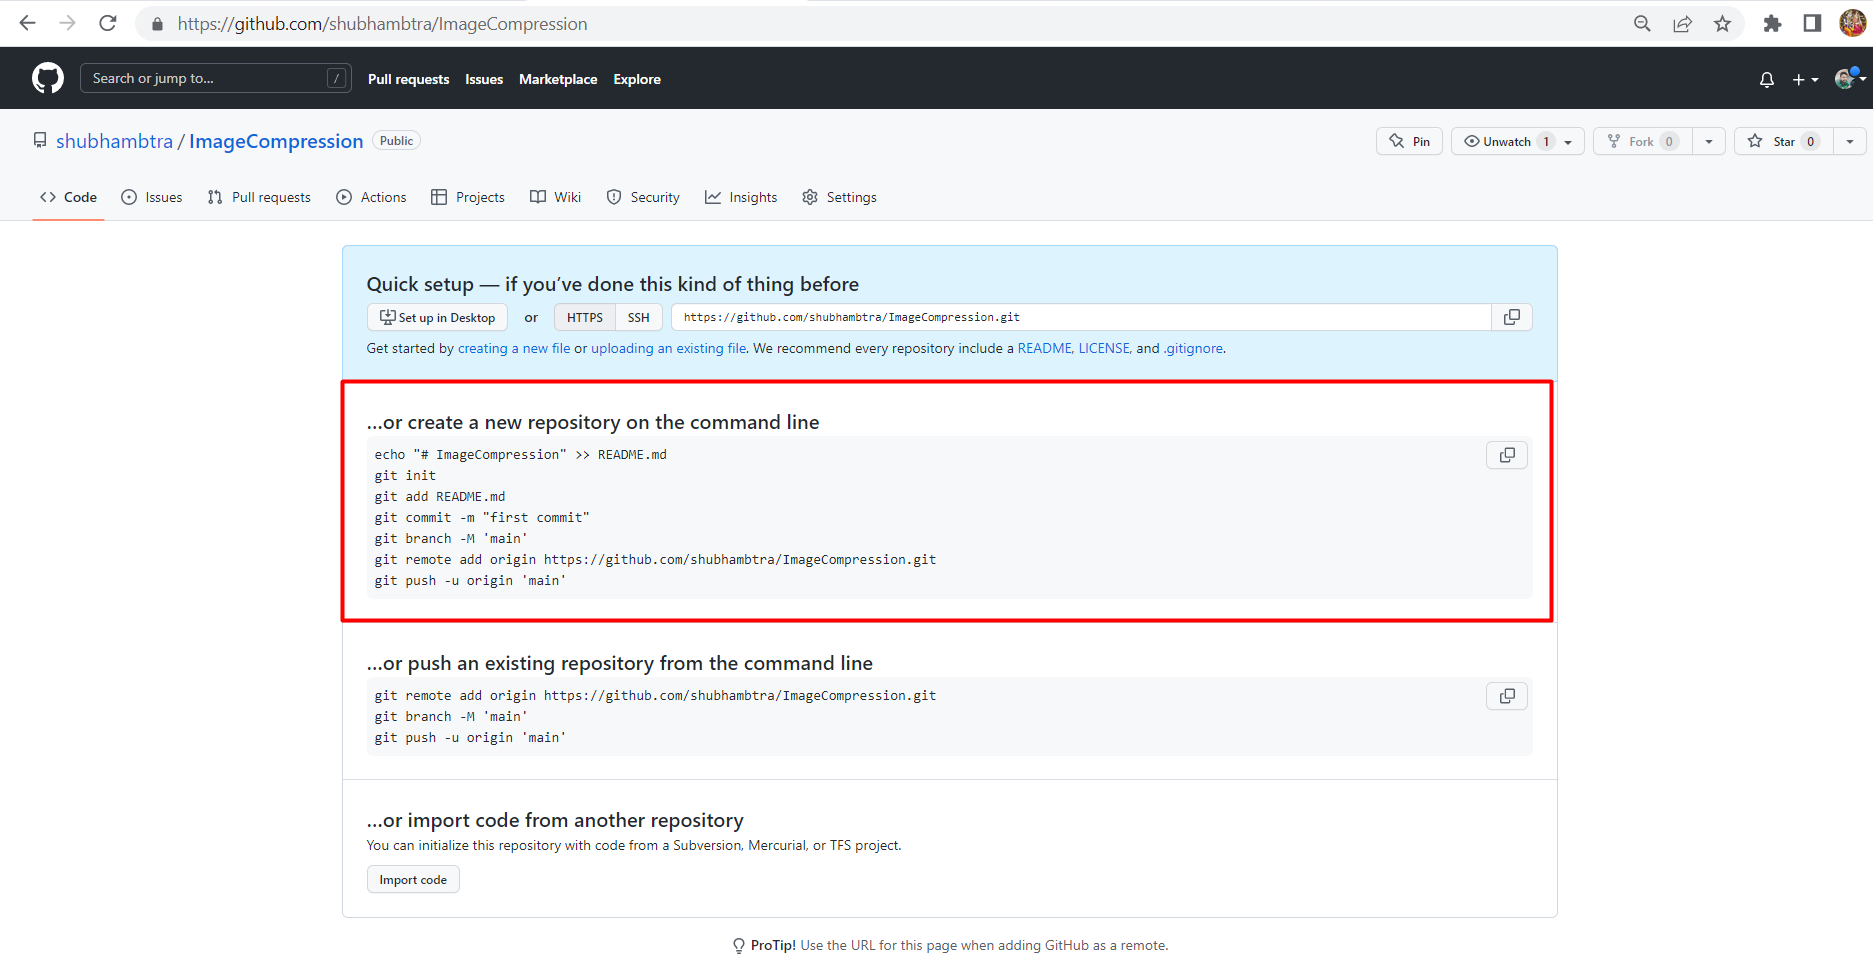
Now since you have created repositories , you will get these command as help by github. These commands are which we will use to push or commit our code to repository.
git init
git add *
git add README.md
git commit -m "first commit"
git remote add origin https://github.com/shubhambtra/ImageCompression.git
git push -u origin master
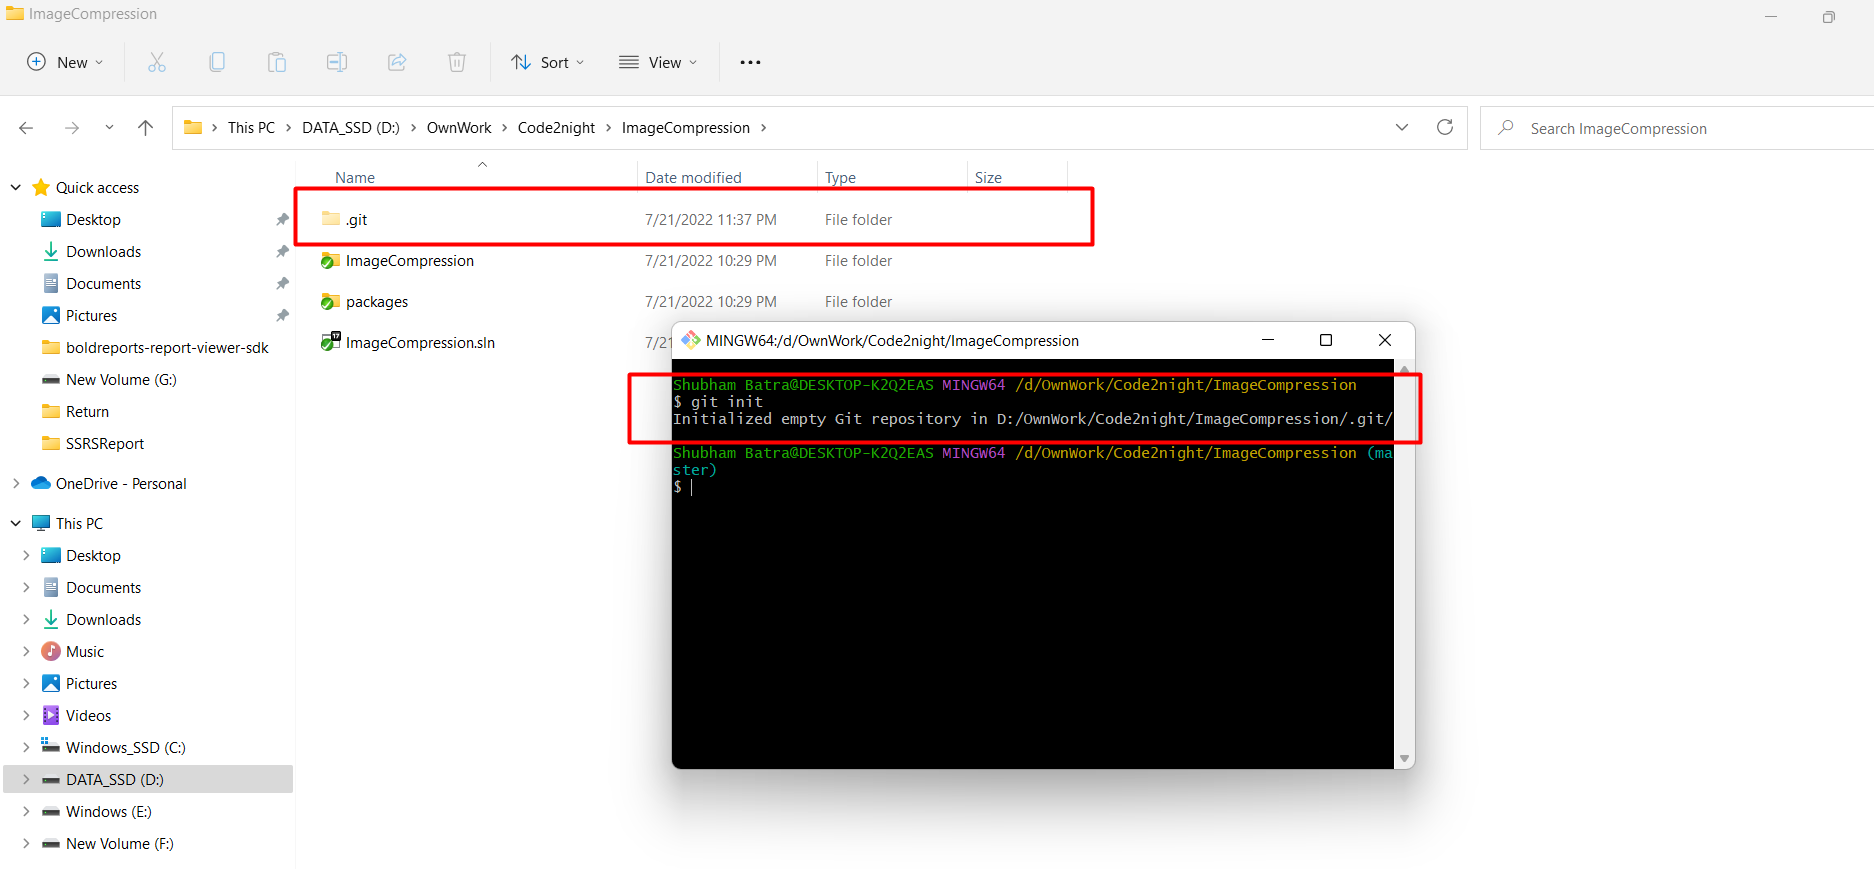
Now you have to go to file explorer to your project which you want to push on repository. Open the location of the project and open command prompt.
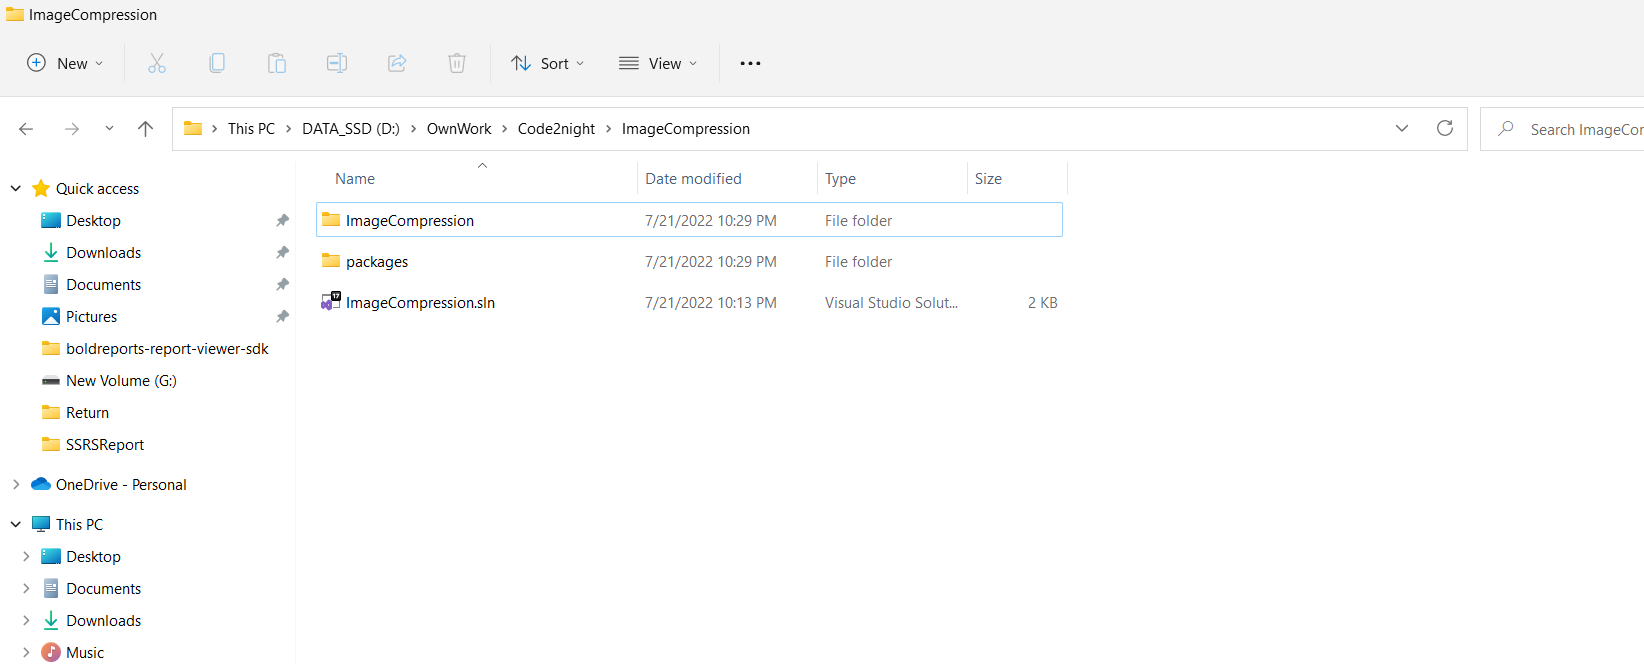
git init: We use the git init command to initialize a Git repository in the root of a folder
git init is the first command that we will use to intialize git on your project location. Enter the command in the command prompt and press Enter
git init
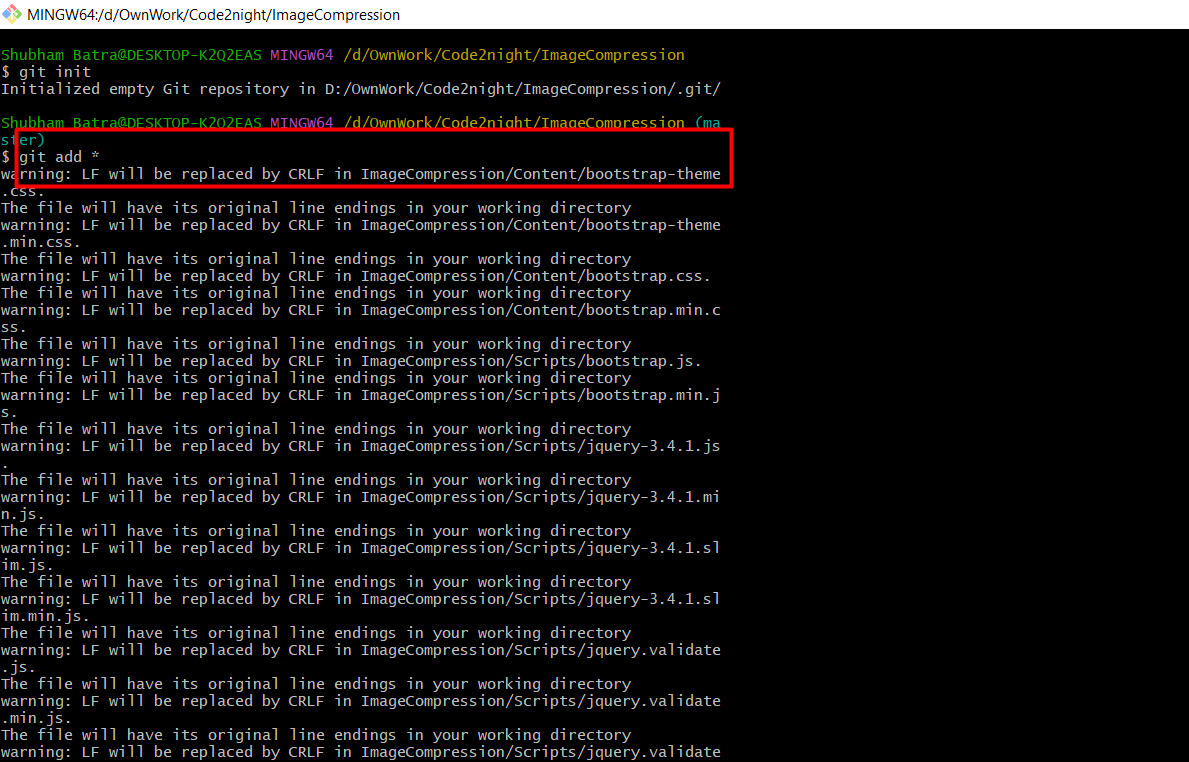
git add * : git add command adds a change in the working directory to the staging area . This will add all the files to the queue of files that will be commited in next commit. So whenever we are trying to push new project to repository we have to perform git add *.
git add *
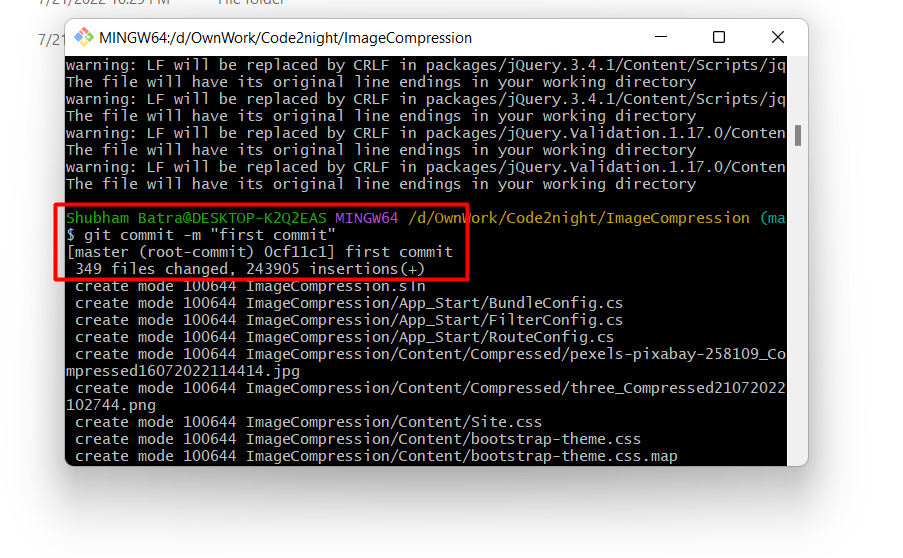
git commit: This command is used to commit the changes added by the previous command. Now you have to remember it will just commit the changes locally and the changes still will not reach to repository. You can give any name after git commit -m 'enter any thing' .Now we are ready Now we will use the git commit command as shown below:
git commit -m "first commit"
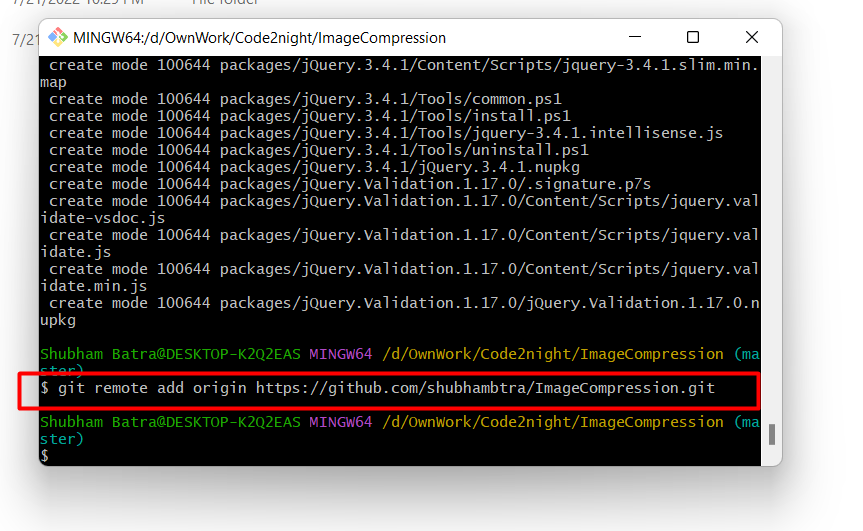
git remote add origin https://github.com/shubhambtra/ImageCompression.git
git push: this command is used to commited changes to push the changes from local commit to git repository. This will add up your changes to repository. Here master in the end stand for master branch . Which is also the main branch which comes by deault. In big project we have to keep only finalized changes in this branch.
To push an existing repository to a remote repository
git push -u origin master
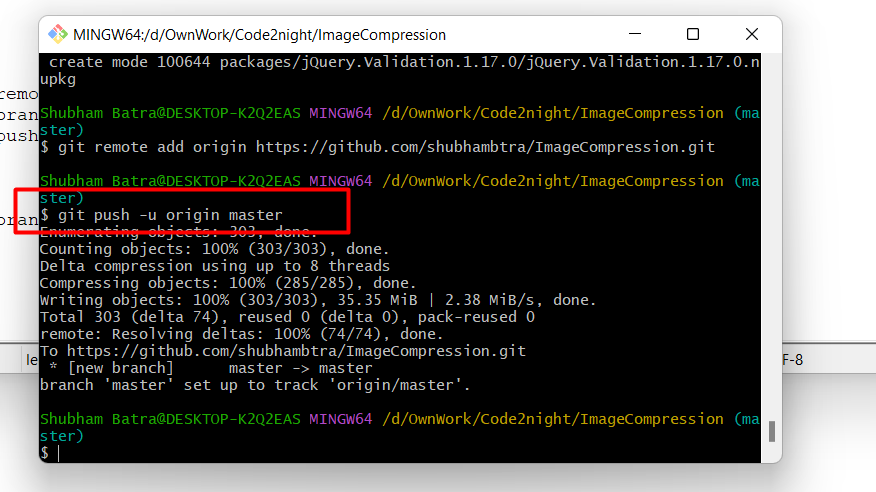
Now, since you have pushed your changes to repository. You can go to your github account and go to the repository. There you will be able to see your project changes and also the commit details. You can check in the screenshot below:
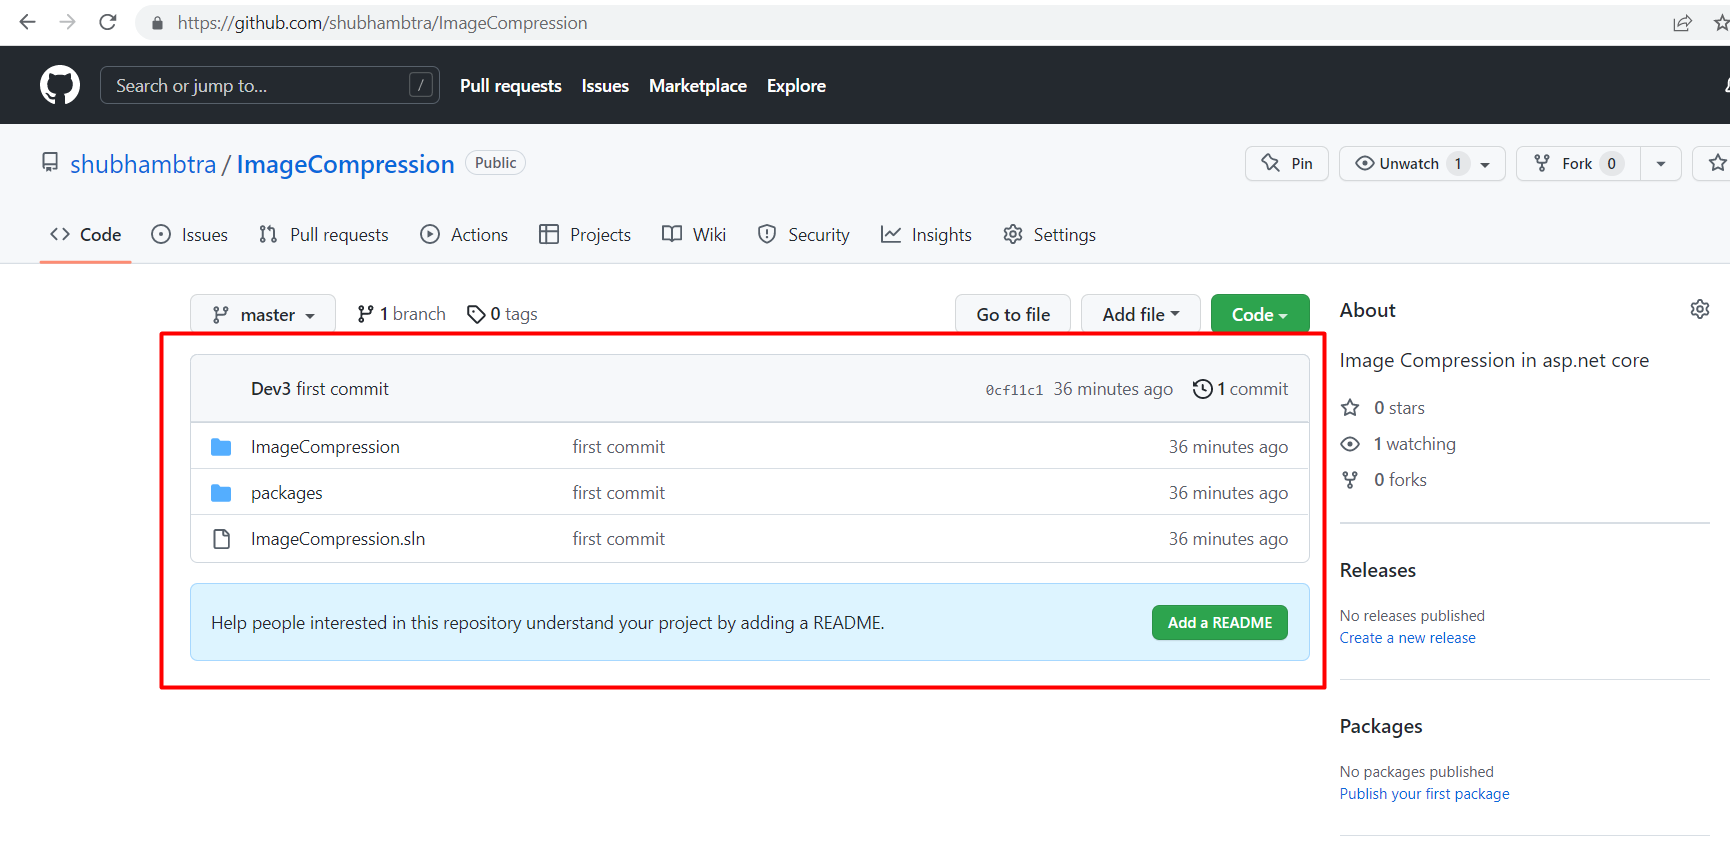 So this is how you can commit your project or add your project to git repository.

