How to Resolve error while installing JDK.
Understanding the JDK and Its Importance
The Java Development Kit (JDK) is a software development environment used for developing Java applications. It includes tools such as the Java compiler (javac), Java Runtime Environment (JRE), and various libraries necessary for Java development. Without the JDK, developers cannot compile or run Java programs, making it a critical component for anyone working with Java.
In real-world applications, the JDK allows developers to create a wide range of applications, from desktop software to web applications and mobile apps. Understanding how to properly install and configure the JDK is crucial to ensuring a smooth development experience.
Prerequisites
Before proceeding with the installation and configuration of the JDK, ensure that you have the following prerequisites:
- A computer running Windows, macOS, or Linux.
- Administrator access to install software.
- Basic knowledge of using command-line interfaces.
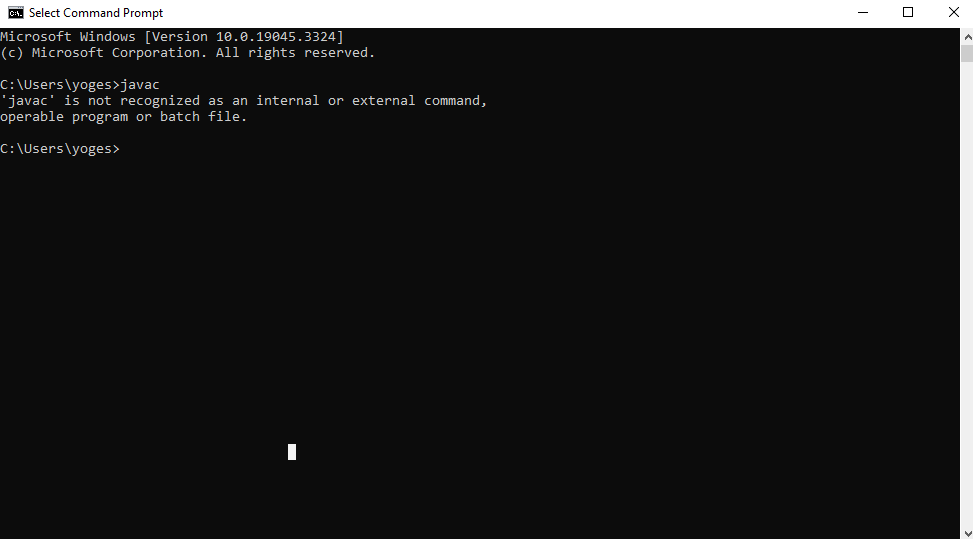
Steps to Resolve the 'javac' Command Error
Follow these steps to resolve the error message that appears when you try to run the 'javac' command:
- Go to This PC.
- Navigate to Local Disk (C:), then go to Program Files.
- Double-click on the Java folder, where you should see a folder named jdk1.8.0_121 (or your installed version). Double-click to open it.
- Copy the path of the JDK folder; it should look something like this:
C:\Program Files\Java\jdk1.8.0_121. - Repeat steps 1 to 3 to navigate into the bin folder of the JDK. Copy the path of the bin folder, which should look like this:
C:\Program Files\Java\jdk1.8.0_121\bin. - Right-click on This PC and select Properties.
- Go to Advanced system settings.
- In the System Properties window, click on the Environment Variables button.
- In the System variables section, click on New.
- In the Variable name field, enter JAVA_HOME, and in the Variable value field, paste the path of the JDK folder you copied earlier.
- Next, locate the Path variable in the System variables section and select it. Click on Edit.
- In the Edit Environment Variable window, click on New and paste the path of the bin folder.
- Ensure the new entry is at the top of the list by selecting it and clicking on Move Up.
After completing these steps, open a new command prompt window and type javac. You should no longer see the error message.
Verifying the Installation
After setting up the environment variables, it's crucial to verify that the JDK is correctly installed. You can do this by running a couple of commands in the command prompt:
java -version
javac -version
The first command checks the version of the Java Runtime Environment, while the second command checks the version of the Java compiler. If both commands return version information without errors, your installation is successful.
Common Errors and Their Solutions
While configuring the JDK, users may encounter various errors. Here are some common issues and how to resolve them:
- Incorrect JAVA_HOME Path: Ensure that the path set in the JAVA_HOME variable points to the correct JDK folder. A common mistake is to set it to the bin folder instead of the main JDK folder.
- Path Variable Not Updated: If the changes to the Path variable don't seem to take effect, ensure you open a new command prompt window after making changes. The command prompt needs to be restarted to recognize the updated environment variables.
- Multiple JDK Installations: Having multiple JDK installations can lead to conflicts. Ensure that the Path variable points to the bin folder of the desired JDK version.
Edge Cases & Gotchas
While the steps outlined above generally resolve the 'javac' not recognized error, there are edge cases to consider:
- Installing JDK in a Custom Directory: If you choose to install the JDK in a directory other than the default Program Files, ensure that you update the JAVA_HOME and Path variables accordingly.
- Using Different Versions of Java: If you are working on multiple projects that require different Java versions, consider using a version manager like SDKMAN! or JEnv to easily switch between JDKs.
- Permissions Issues: On some systems, you may need administrative rights to change system environment variables. If you encounter permission errors, consult with your system administrator.
Performance & Best Practices
To ensure optimal performance when working with Java, consider the following best practices:
- Keep Your JDK Updated: Regularly check for updates to the JDK to benefit from performance improvements, security fixes, and new features.
- Use the Latest Version: Whenever possible, use the latest stable version of the JDK to take advantage of the latest enhancements and support.
- Clean Up Unused Versions: If you have multiple JDK versions installed, remove any versions that you no longer use to avoid confusion and potential conflicts.
- Document Your Environment: Maintain documentation of your development environment, including the versions of Java and any libraries or frameworks you use.
Conclusion
In conclusion, resolving the 'javac' not recognized error is a straightforward process when you follow the correct steps. By ensuring that your JDK is properly installed and configured, you can avoid common pitfalls and enhance your Java development experience.
- Understand the importance of the JDK for Java development.
- Follow the outlined steps to configure environment variables correctly.
- Verify your installation to ensure everything is set up correctly.
- Be aware of common errors and best practices to maintain a clean development environment.
20230823110243.png)
