Integrate Stripe Payment Gateway In ASP.NET Core 8.0
Stripe Payment Gateway
In today's digital world, businesses of all sizes are moving towards online payments. However, implementing a secure and reliable payment gateway can be a daunting task, especially for those who are new to the process. This is where Stripe comes in as a popular payment gateway solution that allows businesses to accept online payments with ease. In this tutorial, we will demonstrate how to implement Stripe Payment Gateway in an ASP.NET Core 8.0 application built with C#. We will be using the latest version of Stripe.Net API to integrate the Stripe Checkout feature. So, welcome to Code2Night, and let's get started and learn how to accept payments with Stripe Checkout in our ASP.NET Core 8.0 application. Join us in this step-by-step guide and learn how to implement Stripe Payment Gateway in ASP.NET Core 8.0 today!
Step 1: Create the project
1.) Open Visual Studio 2022 and Click on Create a new Project.
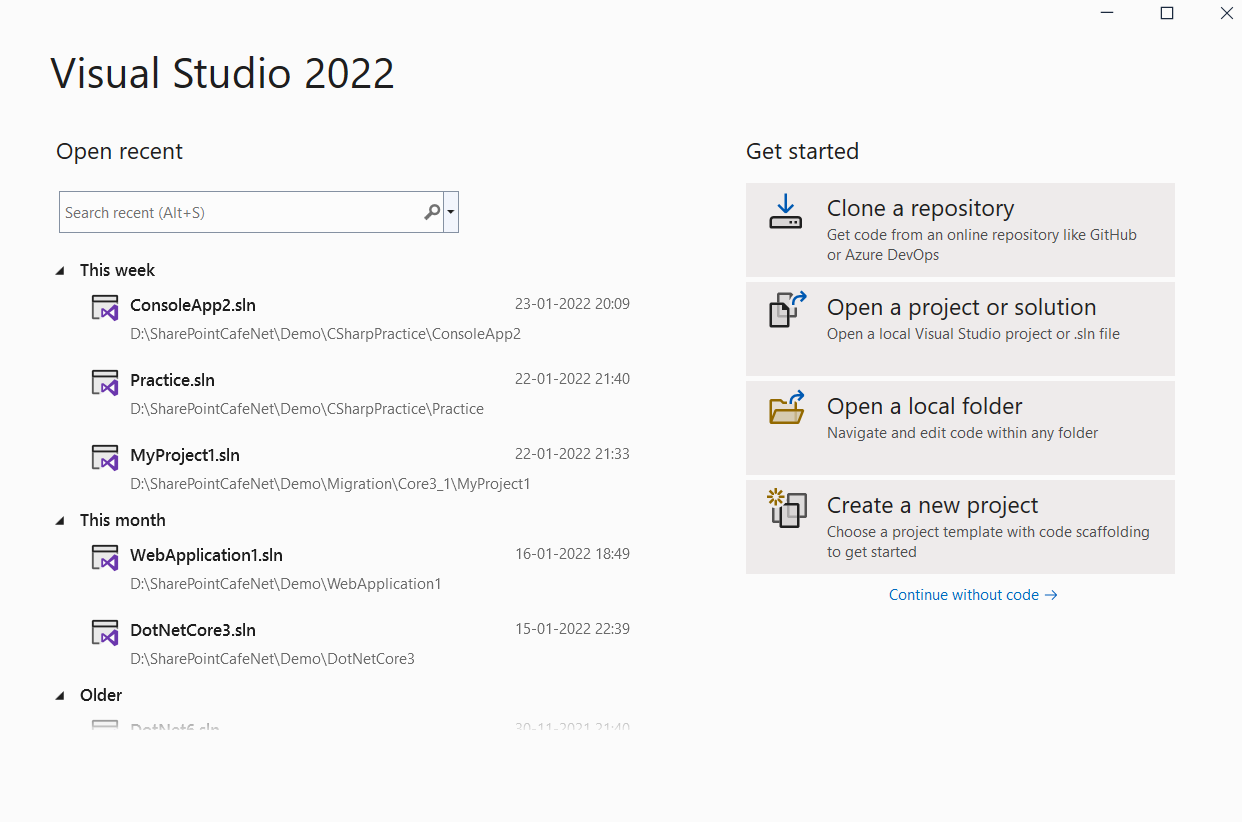
2.) Search for MVC and select ASP.NET Core Web App(Model-View-Controller) as shown in the below image.

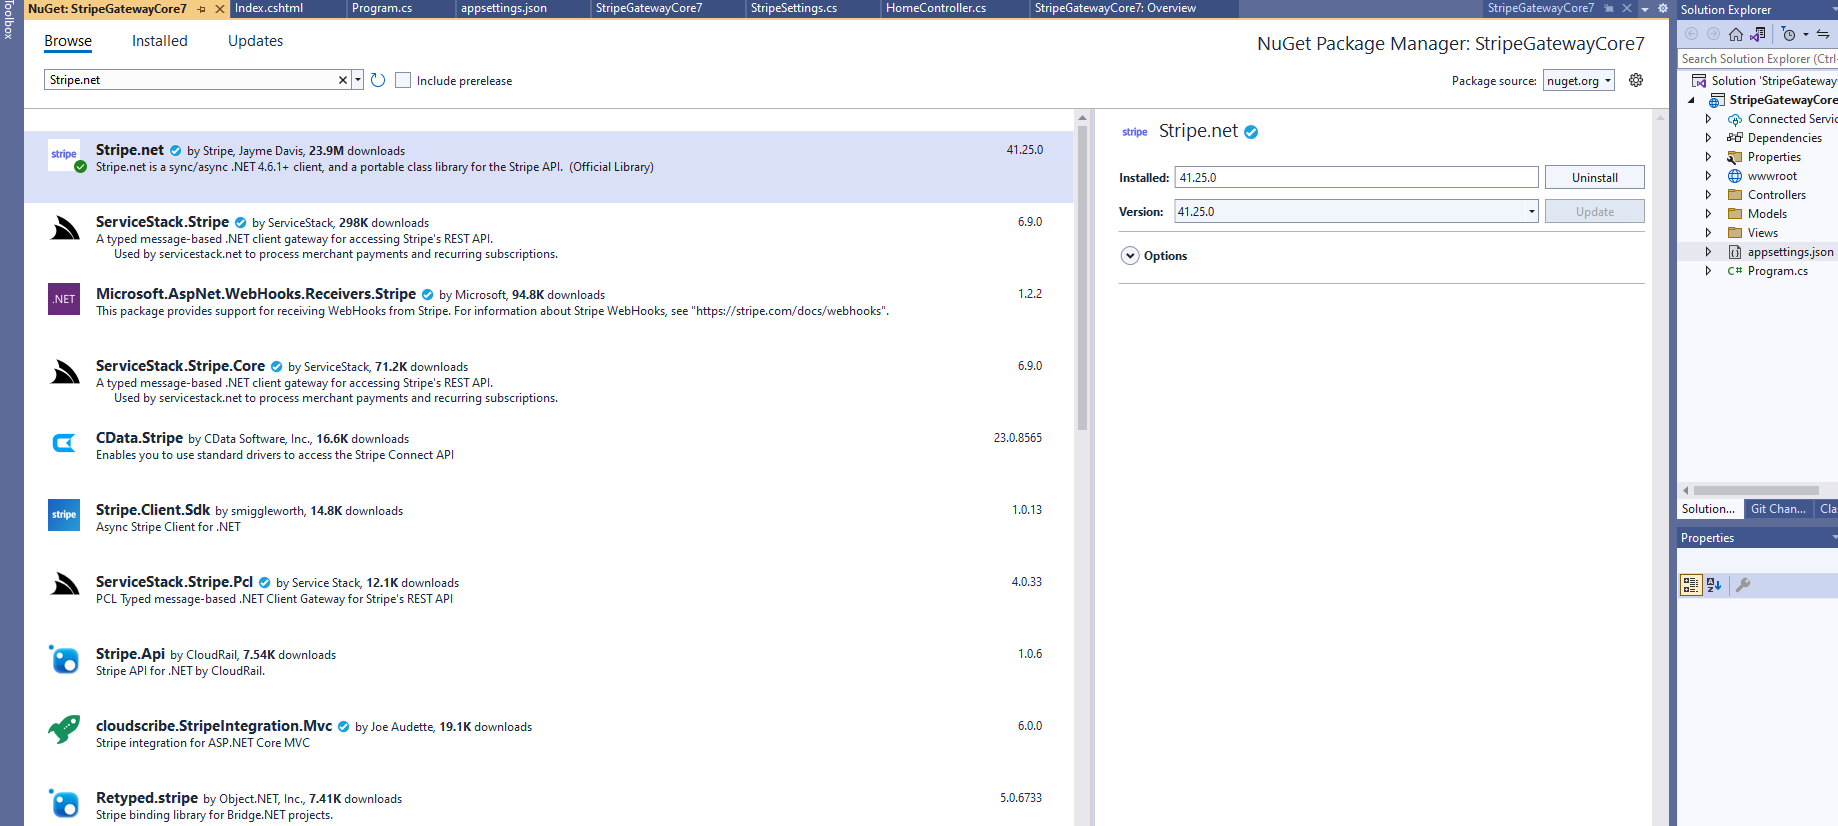
Step 2: Add the Stripe.net package to your project from NuGet
In this, we will use the Stripe.net package's latest version for implementing the Stripe payment gateway in your project. So you have to go to Manage Nuget Packages and add Stripe.Net to your project.
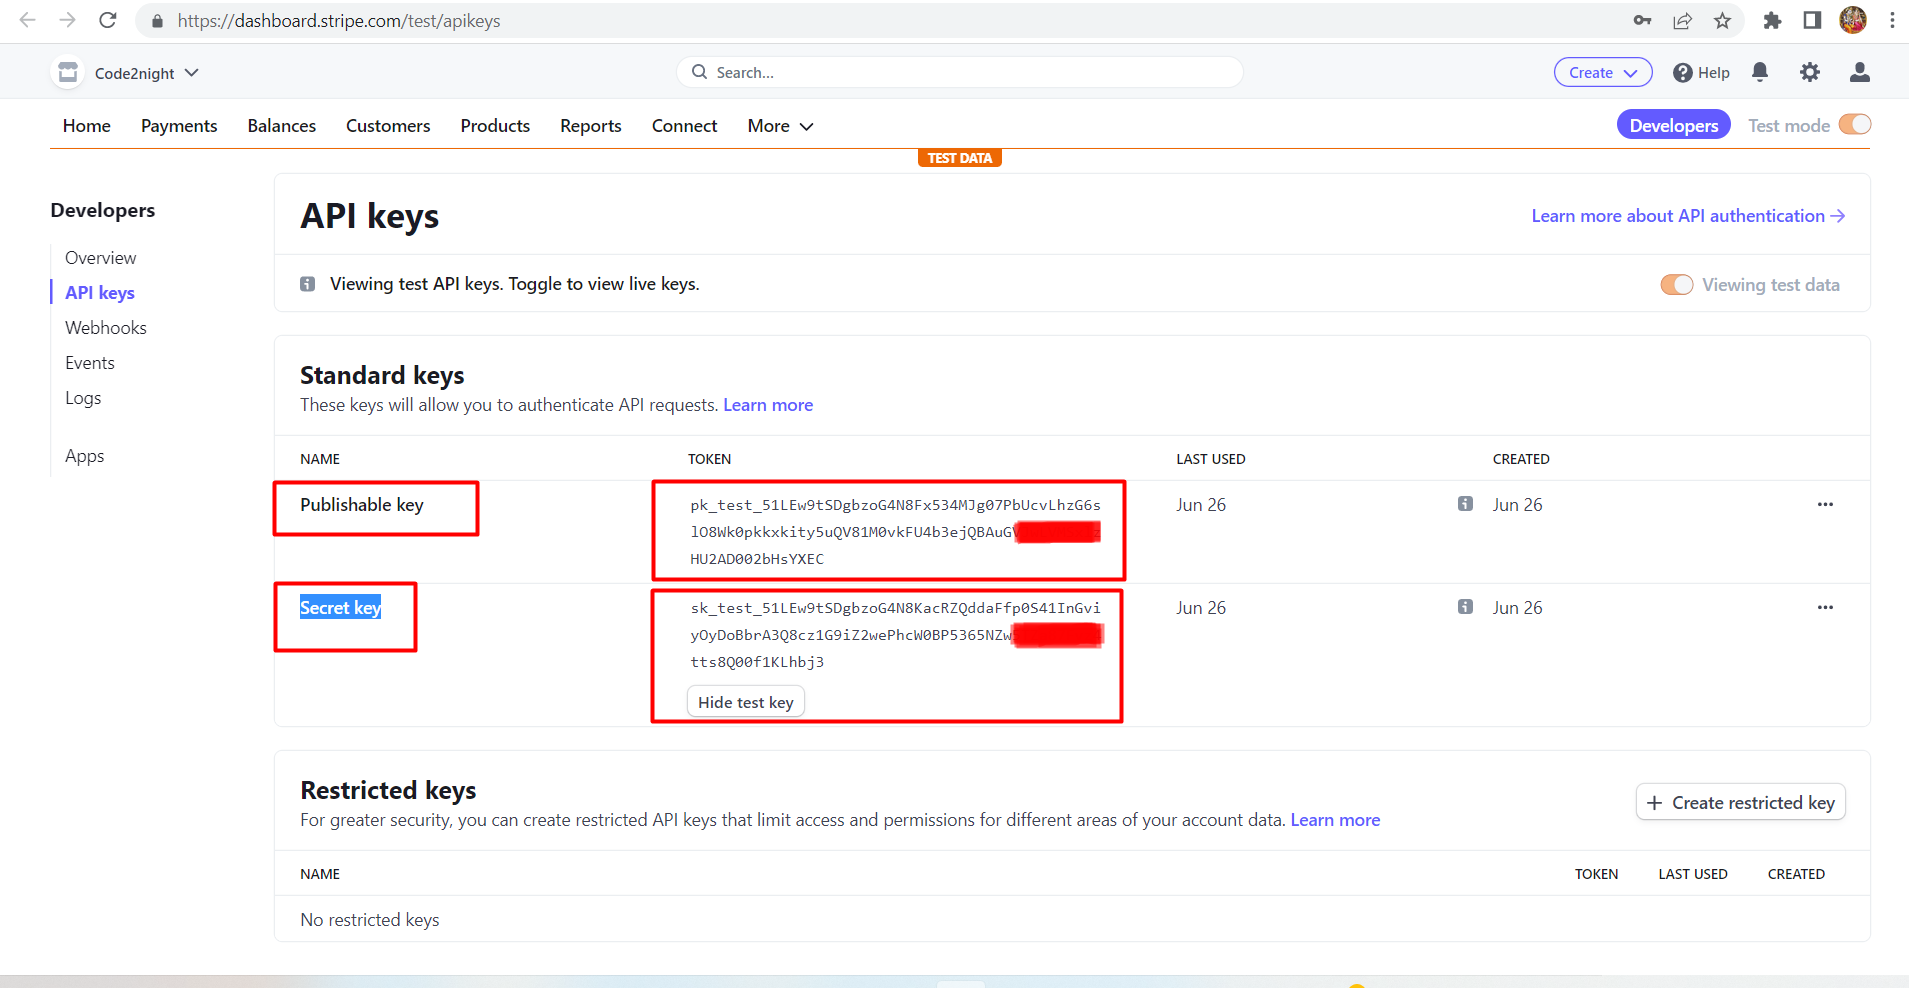
Step 3: Add the Stripe secret and publishable key in the appsettings.json file
{
  "Logging": {
    "LogLevel": {
      "Default": "Information",
      "Microsoft": "Warning",
      "Microsoft.Hosting.Lifetime": "Information"
    }
  },
  "AllowedHosts": "*",
  "StripeSettings": {
    "SecretKey": "sk_test_51LEw9tSDgbzoG4N8KacRZQddaFfp0S41InGviyOyDoBbrA3Q8cz1G9iZ2wePhcW0BP5365NZw5TZa87Fvz4tts8Q00f1KLhbj3",
    "PublicKey": "pk_test_51LEw9tSDgbzoG4N8Fx534MJg07PbUcvLhzG6slO8Wk0pkkxkity5uQV81M0vkFU4b3ejQBAuGVJwLVMSxlzHU2AD002bHsYXEC"
  }
}
In this step, you have to go to your appsetting.json and add an app setting section with your Stripe secret key and publishable key as we have shown below
Stripe Publishable key, Secret key
Step 4: Create one class file to store StripeSettings:
  public class StripeSettings
    {
        public string SecretKey { get; set; }
        public string PublicKey { get; set; }
    }
Now you have to go to program.cs file and add following code
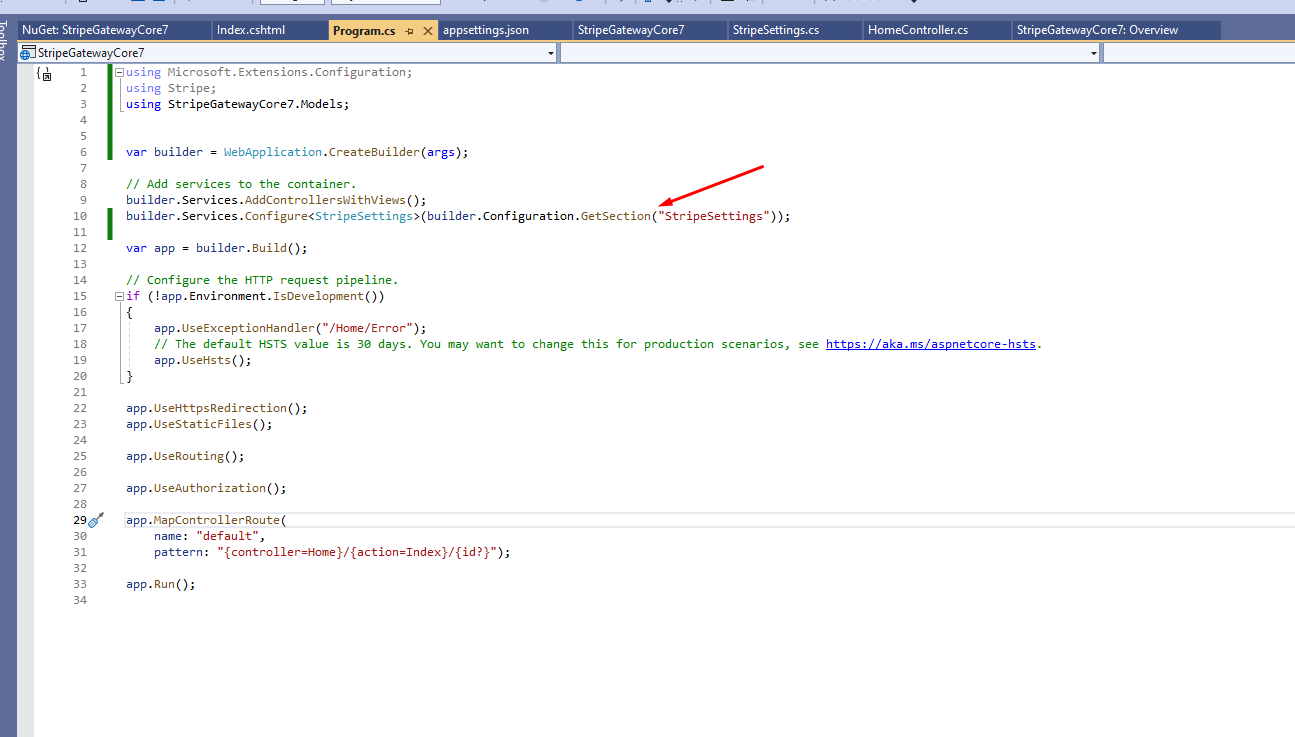
builder.Services.Configure<StripeSettings>(builder.Configuration.GetSection("StripeSettings"));
Step 5: Create the payment Web page
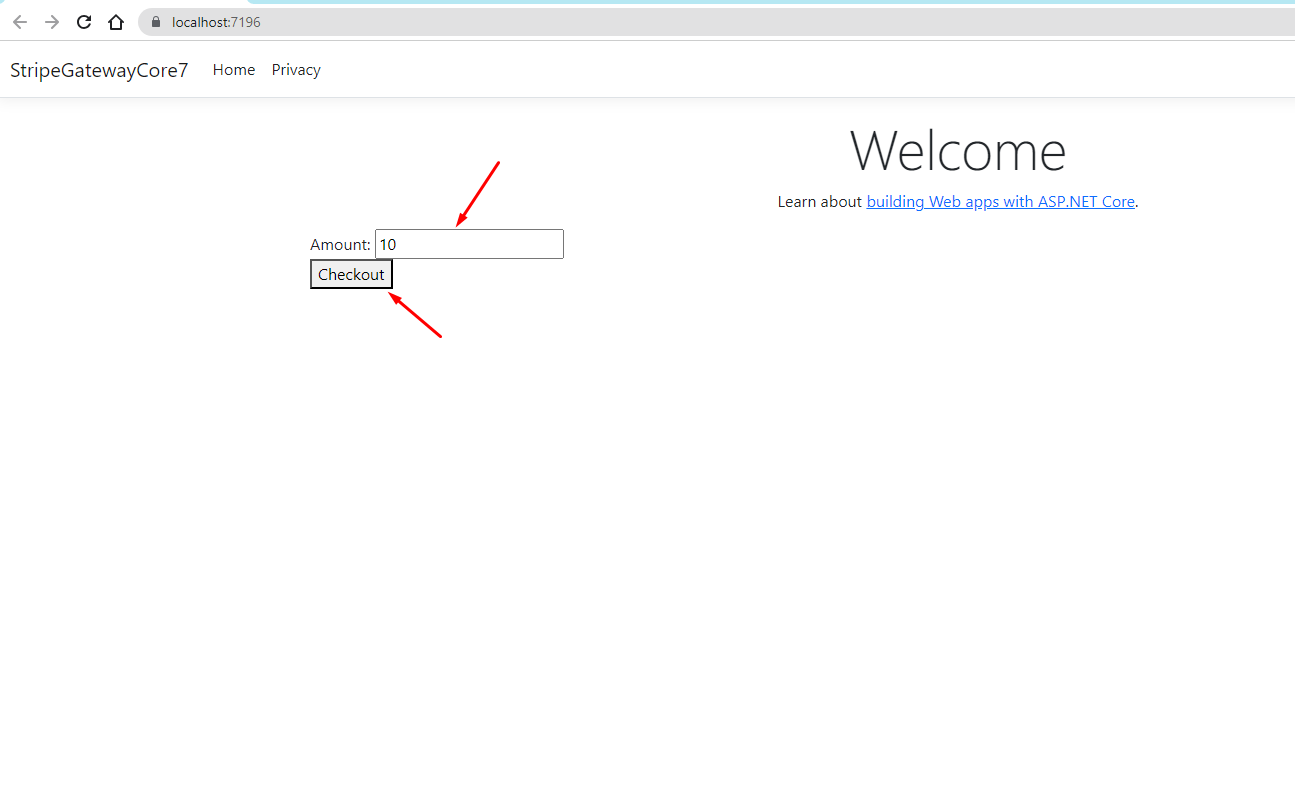
Create a new Web page called Index.cshtml. In the file, add the following HTML markup inside of the <form> tag. Here we are adding one input box for getting the transaction amount and a button for checkout.
<form method="post" action="/Home/CreateCheckoutSession">
    <!-- Form fields -->
    <div>
        <label for="name">Amount:</label>
        <input type="text" id="amount" name="amount" value="" />
    </div>


    <!-- Submit button -->
    <button type="submit">Checkout</button>
</form>
Step 6: Go to Home Controller create new action method CreateCheckoutSession add the following code to the CreateCheckoutSession method:
using Microsoft.AspNetCore.Mvc;
using Microsoft.Extensions.Options;
using Stripe;
using Stripe.Checkout;
using StripeGatewayCore7.Models;
using System.Diagnostics;
namespace StripeGatewayCore7.Controllers
{
public class HomeController : Controller
{
private readonly StripeSettings _stripeSettings;
public HomeController(IOptions<StripeSettings> stripeSettings)
{
_stripeSettings = stripeSettings.Value;
}
public IActionResult Index()
{
return View();
}
public IActionResult CreateCheckoutSession(string amount)
{
var currency = "usd"; // Currency code
var successUrl = "https://localhost:7196/Home/success";
var cancelUrl = "https://localhost:7196/Home/cancel";
StripeConfiguration.ApiKey = _stripeSettings.SecretKey;
var options = new SessionCreateOptions
{
PaymentMethodTypes = new List<string>
{
"card"
},
LineItems = new List<SessionLineItemOptions>
{
new SessionLineItemOptions
{
PriceData = new SessionLineItemPriceDataOptions
{
Currency = currency,
UnitAmount = Convert.ToInt32(amount) * 100, // Amount in smallest currency unit (e.g., cents)
ProductData = new SessionLineItemPriceDataProductDataOptions
{
Name = "Product Name",
Description = "Product Description"
}
},
Quantity = 1
}
},
Mode = "payment",
SuccessUrl = successUrl,
CancelUrl = cancelUrl
};
var service = new SessionService();
var session = service.Create(options);
return Redirect(session.Url);
}
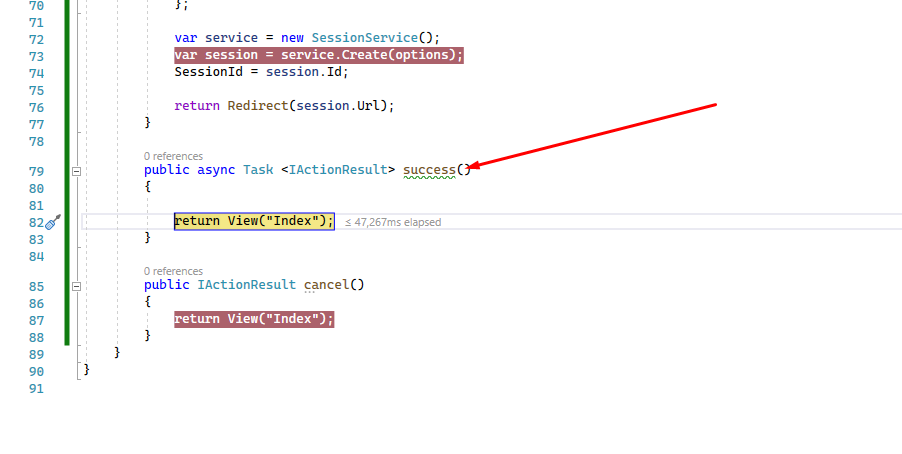
public async Task<IActionResult> success()
{
return View("Index");
}
public IActionResult cancel()
{
return View("Index");
}
[ResponseCache(Duration = 0, Location = ResponseCacheLocation.None, NoStore = true)]
public IActionResult Error()
{
return View(new ErrorViewModel { RequestId = Activity.Current?.Id ?? HttpContext.TraceIdentifier });
}
}
}
That’s it, a complete Stripe and ASP.NET Core integration built with C#.
Step 7: Run the application
Now run the application and enter amount and submit
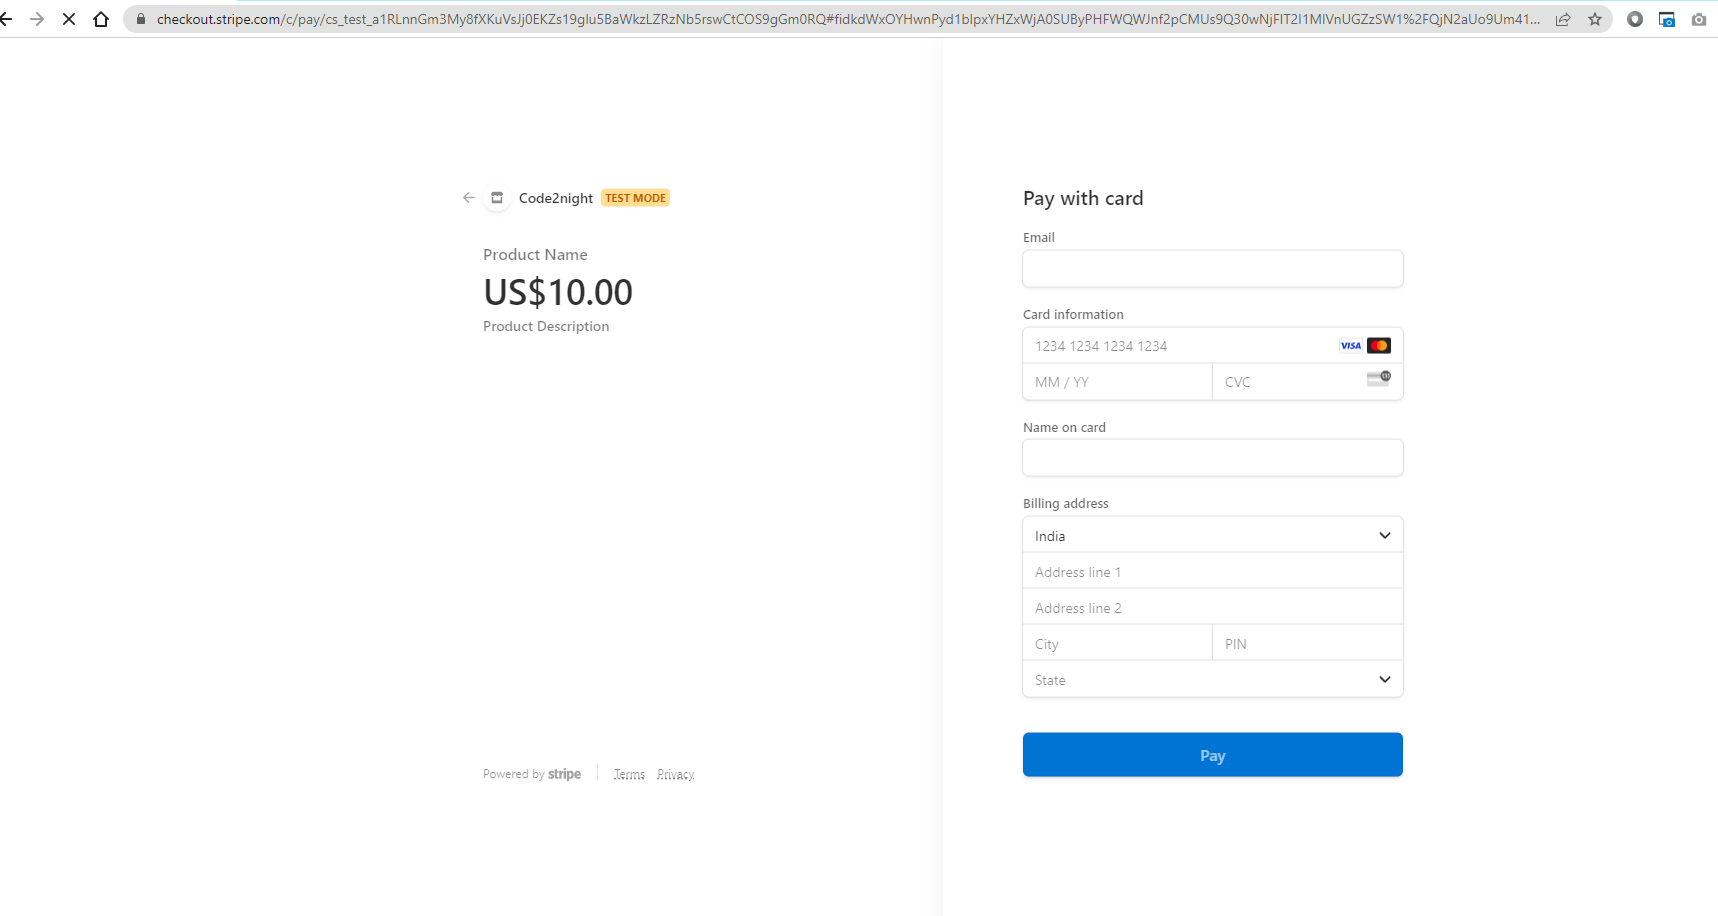
In the web browser, click the button to launch the payment form. If you’re using Stripe test keys, you can test it with some dummy data. Enter the test number 4242 4242 4242 4242, a three-digit 123, and a future expiry date. Submit the form and see if the application correctly displays the successful charge page.

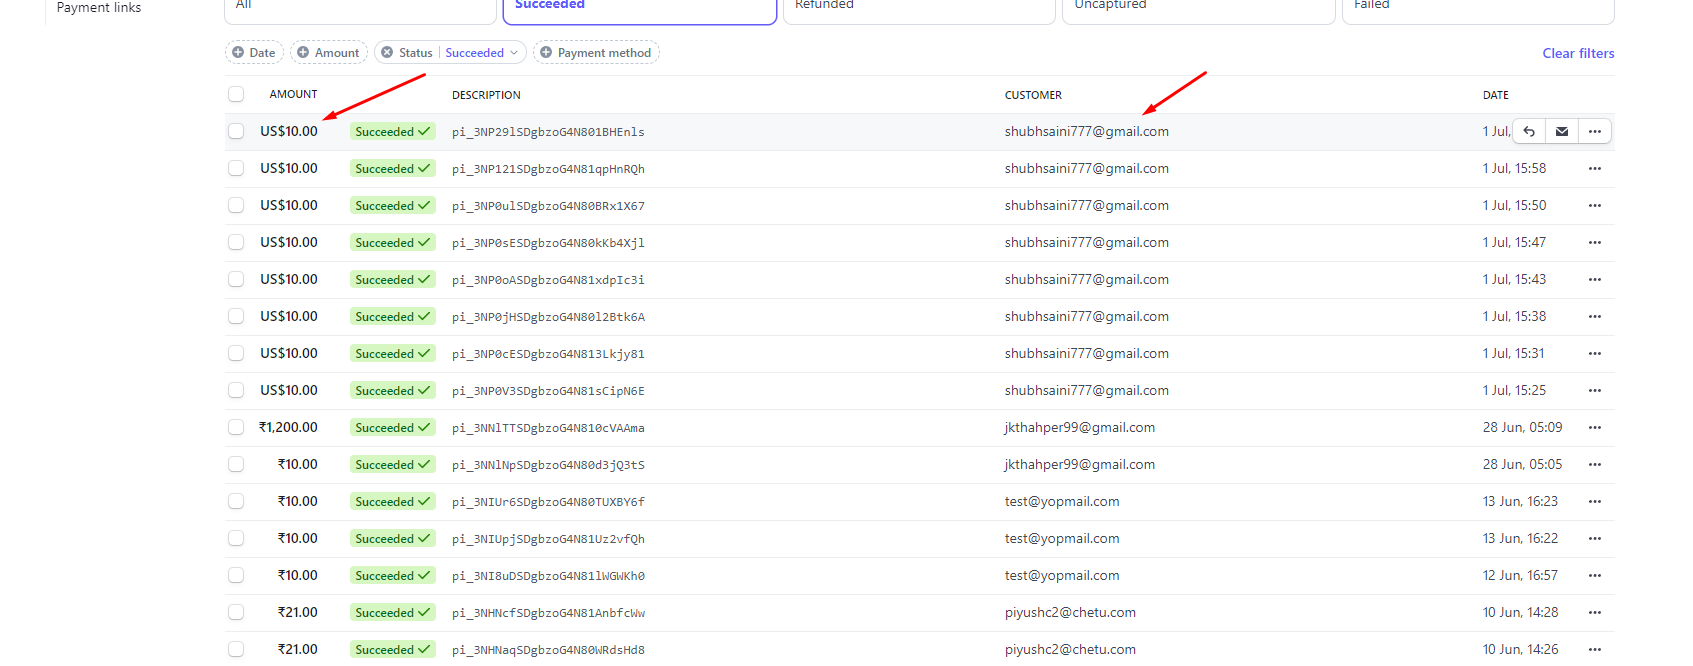
So you can see the payment has been completed successfully. So this is how we can integrate stripe payment gateway in asp.net core 8.0 Web application.
Let us know the feedback .
Happy coding :)
